

Picture yourself on a warm summer evening, gently swaying back and forth with a cool drink in hand. A sturdy swing is the centerpiece of any relaxing backyard, but buying a pre-made set can be incredibly expensive. That’s why many homeowners decide to learn how to build a patio swing frame themselves. Not only does this project save you money, but it also allows you to customize the size and finish to match your outdoor décor perfectly.
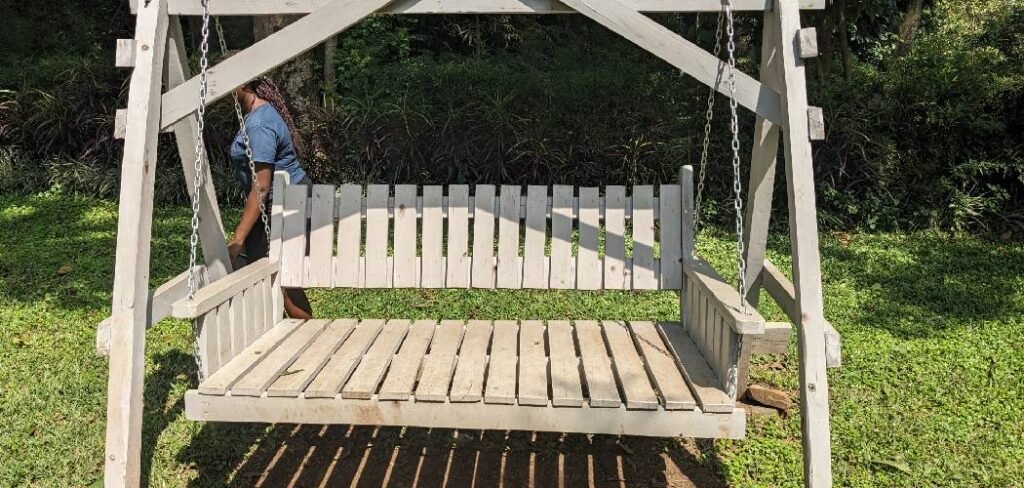
This guide is designed for beginners who are comfortable with basic power tools. We will walk you through the process of constructing a durable, A-frame style support that will hold your favorite porch swing safely. With the right materials and a free weekend, you can transform your patio into a personal retreat. Let’s get started on creating your new favorite spot to unwind.
Why Build Your Own Swing Frame?
Building your own outdoor furniture is one of the most rewarding DIY projects you can undertake. When you choose to construct your own frame rather than buying a kit from a big-box store, you gain complete control over the quality of materials. Commercial kits often use thin metal or treated pine that might warp or rust over time. By sourcing your own pressure-treated lumber or cedar, you ensure that your structure will withstand the elements for years to come.
Additionally, a custom build allows for aesthetic flexibility. You aren’t limited to the standard brown or grey finishes found in stores. You can stain the wood a rich mahogany, paint it white for a farmhouse look, or leave it natural to silver with age. Beyond aesthetics, the structural integrity of a homemade A-frame is often superior. You can use heavier hardware and thicker beams, giving you peace of mind that your family is safe while enjoying the outdoors. Finally, the sense of accomplishment you get from seeing your family enjoy something you built with your own hands is truly unbeatable.
7 Step-by-Step Guide on How to Build a Patio Swing Frame
Step 1: Select the Right Lumber and Hardware
The first crucial task in this project is gathering high-quality materials that can support significant weight and resist weather damage. You generally want to choose pressure-treated lumber or a naturally rot-resistant wood like cedar or redwood. For a standard A-frame design, you will typically need 4×4 posts for the legs to ensure stability and a robust 4×6 beam for the top header. Do not compromise on the hardware.
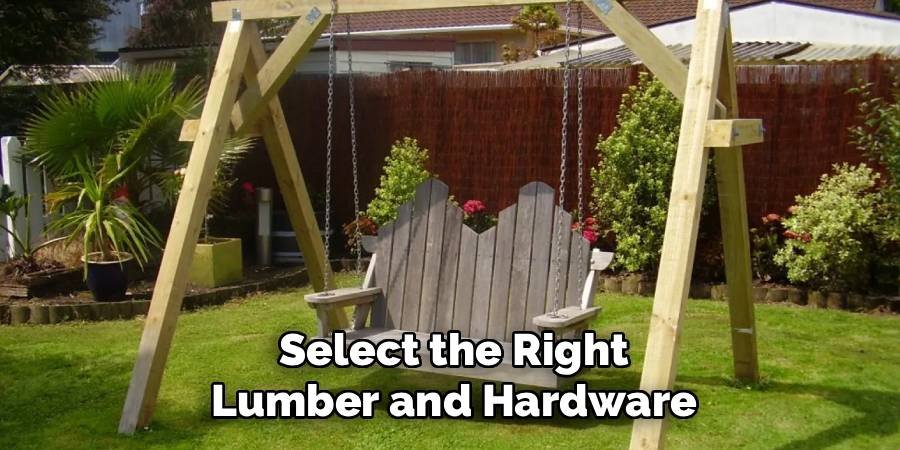
Purchase heavy-duty galvanized carriage bolts, washers, and nuts, as these will resist rust and corrosion. You will also need strong swing hangers specifically rated for the weight capacity you intend to support. Inspect every piece of lumber at the store to ensure it is straight and free from large cracks or knots that could weaken the structure.
Step 2: Measure and Cut the Legs
Once you have your materials on site, it is time to cut the legs to the correct length and angle. Stability relies on the A-frame legs splaying outward, so you need to cut the tops of your 4×4 posts at a specific angle, usually around 15 to 20 degrees depending on your design height. Use a speed square to mark your cut lines clearly on the timber.
A circular saw or a miter saw is best for making these angled cuts cleanly. Remember that safety is paramount, so wear your protective eyewear. After cutting the tops, measure the length down the post and cut the bottoms at the same angle but in the opposite direction so the feet sit flush against the ground. This ensures your frame stands solid and doesn’t rock.
Step 3: Join the A-Frame Legs Together
Now you need to assemble the side supports. Lay two of your cut legs on a flat surface, such as a driveway or garage floor, to form an “V” shape. The angled tops should meet perfectly to create a flat surface for the top beam to rest on later. You will join these legs using a half-lap joint or by using heavy-duty metal brackets if you prefer a simpler method.
If using bolts, drill holes through both posts where they overlap near the top. Insert your galvanized carriage bolts and tighten them securely with a wrench. This “A” shape is the skeleton of your project. Repeat this process for the second pair of legs, ensuring both A-frames are identical in width and height before moving on.
Step 4: Add the Cross Braces for Stability
An A-frame can still wobble if the legs are not tied together horizontally. You need to install cross braces on both side frames to prevent the legs from spreading apart under a heavy load. Measure about one-third of the way up from the bottom of the legs and mark a spot on both sides.
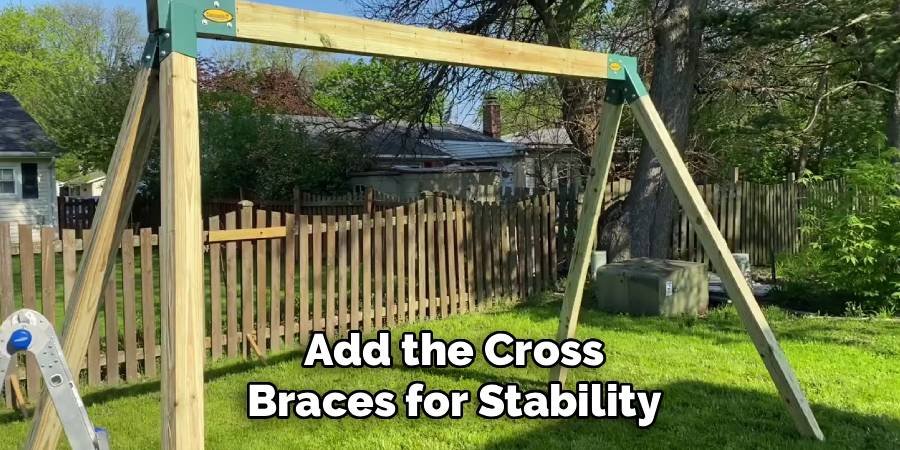
Cut a 2×6 or 4×4 piece of lumber to span across the legs at this height. You can attach these braces using long deck screws or additional carriage bolts for extra strength. The brace acts as the horizontal bar in the letter “A”. This step is vital for rigidity. If you skip this, the weight of the swing could eventually cause the legs to splay outward, compromising the safety of the entire structure.
Step 5: Attach the Top Beam
This is the step where your project truly takes shape. You will likely need a helper for this part because the top beam is heavy and awkward to maneuver alone. Stand both A-frames upright, spacing them apart at the desired width of your swing plus clearance room. Lift the 4×6 top beam and place it onto the flat notches or brackets at the peak of your A-frames.
Make sure the beam overhangs the legs equally on both sides for a balanced look. Once positioned correctly, secure the beam to the legs using large lag screws or bolts. Ensure everything is square and level before tightening the hardware completely. This top beam is what will bear the entire load of the swing, so double-check every connection.
Step 6: Install the Swing Hangers
With the frame standing and stable, it is time to install the hardware that will hold the swing itself. Mark the locations for your hangers on the underside of the top beam. The spacing should match the width of your swing seat hooks, usually slightly wider than the seat itself to ensure a smooth swinging motion.
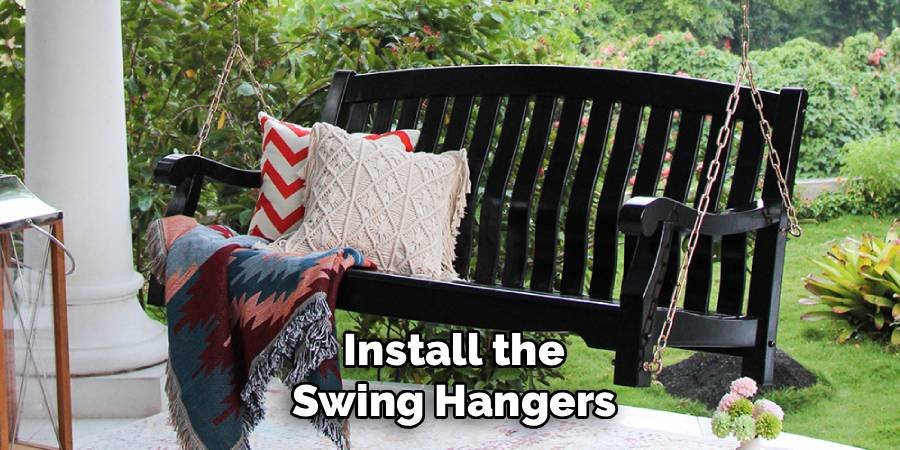
Drill pilot holes into the beam at your marked spots to prevent the wood from splitting. Screw in your heavy-duty swing hangers or drill through the beam to install bolt-through hangers, which are often safer. If you are still wondering how to build a patio swing frame that doesn’t squeak, the secret lies here: use hangers with nylon bushings or bearings to ensure a quiet, smooth ride.
Step 7: Stabilize and Anchor the Feet
Even a heavy frame can shift or tip over during vigorous swinging or high winds if it is not properly anchored. You have a few options depending on where your swing is located. If it is on a concrete patio, you can use metal post bases bolted into the concrete. If it sits on grass or soil, you should dig small holes under each leg, fill them with concrete, and set anchors into the wet mix.
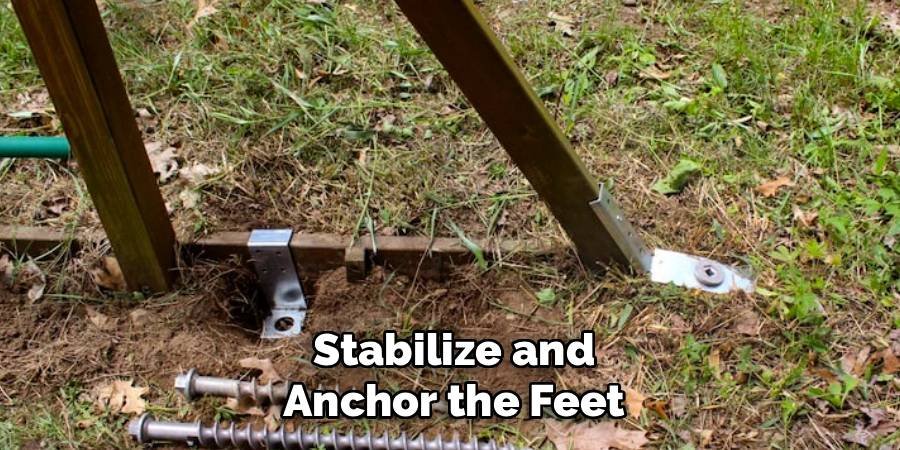
Alternatively, for a less permanent solution on grass, you can drive long rebar stakes through holes drilled in the bottom of the legs. Ensuring the feet are secure prevents the frame from lifting off the ground when someone swings high, keeping everyone safe.
Apply Finish and Sealant
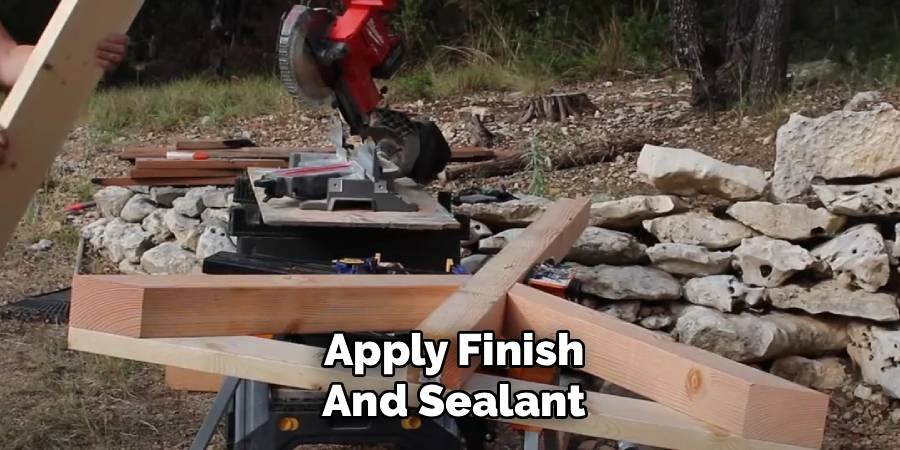
Your frame is built, but you must protect it from the sun and rain to ensure longevity. Sand down any rough edges or splinters, paying special attention to areas where people might touch the frame. Wipe away the sawdust and choose a high-quality exterior wood stain, paint, or water sealer. Apply the finish generously, following the manufacturer’s instructions regarding drying times and number of coats. This not only makes your project look professional and polished but also prevents moisture from penetrating the wood, which causes rot and warping. A good sealant will keep your swing frame looking brand new for years. Once the finish is dry, you are ready to hang your swing and enjoy.
Frequently Asked Questions
What is the best wood to use for an outdoor swing frame?
The best wood choices for outdoor projects are those that naturally resist rot and insects. Western Red Cedar and Redwood are premium options because they are durable and look beautiful, though they can be pricey. Pressure-treated Southern Yellow Pine is a very popular, budget-friendly alternative that is chemically treated to withstand the elements. Regardless of the species you choose, always apply a water-repellant sealer to extend the life of the wood.
How much weight can a DIY swing frame hold?
The weight capacity depends heavily on the thickness of your lumber and the quality of your hardware. A standard A-frame built with 4×4 legs and a 4×6 top beam, using heavy-duty galvanized bolts, can typically support between 500 to 700 pounds. However, you must always check the weight rating of the specific swing hangers you purchase. The weakest link in the chain—usually the hardware—dictates the total safe weight limit.
Do I need to concrete the posts into the ground?
You do not necessarily have to pour concrete footings for the posts, but anchoring is highly recommended for safety. An A-frame design is naturally stable due to its wide base, but it can still tip or “walk” during heavy use. If you don’t want to pour permanent concrete footings, you can use ground anchors that screw into the soil and bolt to the legs. This keeps the frame secure without requiring a permanent mess.
How wide should the frame be for a standard porch swing?
To determine the correct width, you should measure your swing seat and add ample clearance on both sides. A good rule of thumb is to allow for at least 2 feet of clearance on either side of the swing to prevent it from hitting the frame legs. For a standard 4-foot or 5-foot swing, a top beam that is 8 to 10 feet long is usually ideal. This provides plenty of room for a comfortable, safe swinging motion.
Can I build this frame by myself?
While it is possible to cut the lumber and assemble the A-frame sides alone, you will almost certainly need assistance during the final assembly. Lifting the heavy top beam and securing it while keeping the side frames upright is dangerous and difficult for one person. Having a second pair of hands ensures the structure stays square and safe during that critical step. Safety should always be your priority, so ask a friend or neighbor for help.
Conclusion
Creating a custom relaxation spot in your backyard is a project that pays off for years. You now have the knowledge and a clear plan to construct a durable, stylish support for your outdoor seating. By selecting quality lumber, making precise cuts, and prioritizing safety with strong anchors, you ensure your project will withstand the seasons.
Now that you understand how to build a patio swing frame, it is time to head to the lumber yard and get started. Don’t let another summer pass by without that perfect spot to read a book or enjoy a morning coffee. Gather your tools, call a friend for help, and start building your backyard oasis this weekend.

About
Jovie Mathews is a backyard and outdoor expert writer with over 12 years of hands-on experience transforming neglected outdoor spaces into thriving gardens and functional retreats. Raised in a family where weekends meant digging in the soil and building raised beds from scratch, Jovie developed a genuine love for the outdoors long before it became a career.
She writes with a practical, no-fluff approach — always testing ideas in her own backyard before sharing them with readers. From composting systems and native plant selection to patio design and pest control, Jovie covers the full spectrum of backyard life with equal parts expertise and enthusiasm.
Education
B.Sc. in Horticulture Science
University of Florida (UF) · Gainesville, FL · 2014
IFAS College of Agricultural and Life Sciences
Minor in Environmental Studies
University of Florida (UF) · Gainesville, FL · 2014
College of Liberal Arts and Sciences
Areas of expertise
- Lawn & Garden Care
- Soil prep, planting, seasonal care
- Outdoor DIY Projects
- Raised beds, fencing, pathways
- Composting & Soil Health
- Organic methods, amendments
- Native Plants & Wildlife
- Pollinators, habitat gardening
When she is not writing, Jovie can be found testing new composting techniques, growing tomatoes in questionable quantities, or convincing her neighbors that clover lawns are actually a great idea. She currently gardens in the Pacific Northwest.




