

A sturdy, level shed base is the key to a long-lasting outdoor structure. Without a proper foundation, your shed can shift, leading to warped doors, cracked walls, and an unstable frame. While building on concrete might seem ideal, creating a solid base directly on your lawn is a perfectly achievable and cost-effective option for many homeowners.
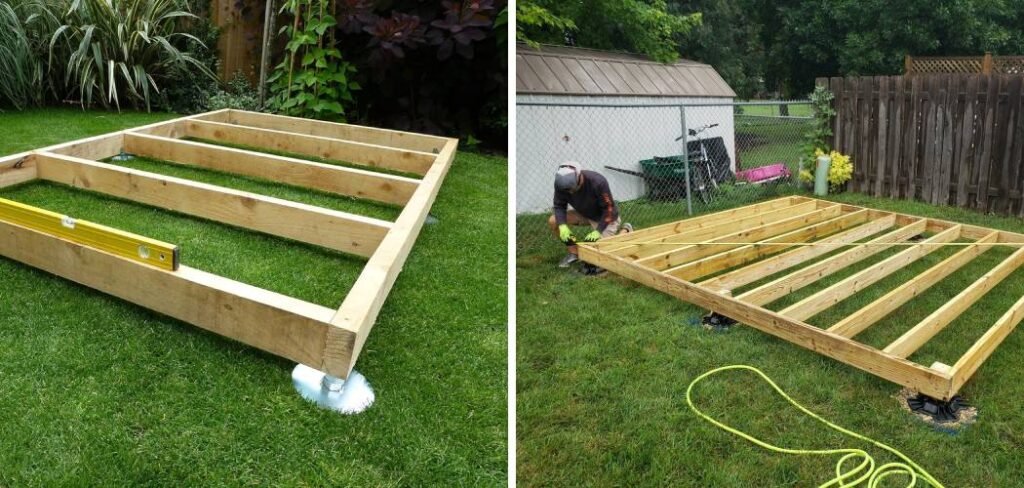
This guide will walk you through the entire process, showing you exactly how to build a shed base on grass. We will cover everything from preparing the ground to laying the final pavers, ensuring your shed has the support it needs to last for years.
Why a Solid Shed Base is Non-Negotiable
A shed is a significant investment, and its longevity starts from the ground up. Placing a shed directly on unprepared grass is a recipe for disaster. The soft, uneven ground will cause the structure to settle unevenly over time. This settlement leads to a host of problems, including doors that won’t close properly, windows that stick, and stress fractures in the frame and siding.
More importantly, direct contact with the damp ground promotes rot, decay, and pest infestations, drastically shortening the lifespan of your shed. A proper base elevates the structure, protecting it from ground moisture and providing a stable, level platform that distributes the weight evenly. This prevents structural warping and ensures your shed remains a functional and valuable addition to your property for years to come.
8 Step-by-Step Guide on How to Build a Shed Base on Grass
Step 1: Choose and Mark Your Location
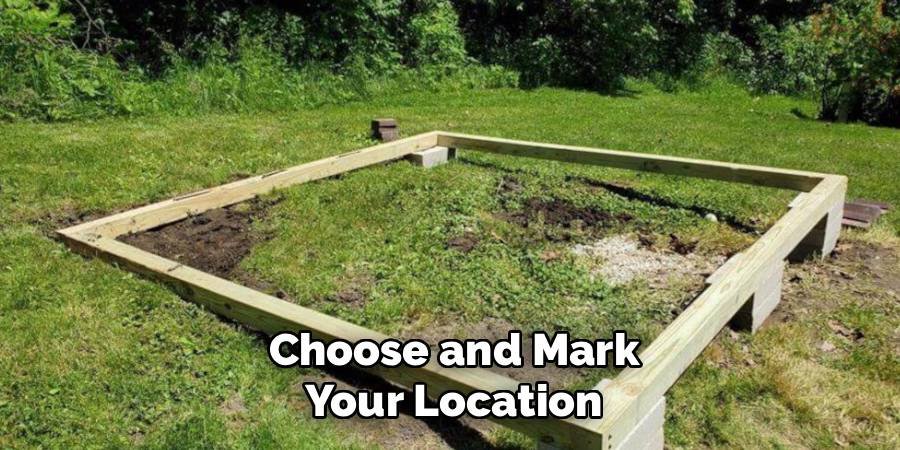
The first step is selecting the best spot for your shed. Look for a relatively flat area in your yard to minimize the amount of digging required. Check for any local zoning regulations or homeowner association rules regarding shed placement and size. Once you have a location, use a tape measure, wooden stakes, and string to mark out the exact dimensions of your shed base. Make sure the corners are perfectly square by measuring the diagonals; they should be equal in length. This simple check ensures your frame and base will align correctly.
Step 2: Clear and Excavate the Area
With your area marked, it’s time to prepare the ground. Remove all the grass, weeds, and topsoil from within the staked-out perimeter. A flat-edged spade is the best tool for this job. You’ll need to dig down about 4 to 6 inches to create enough depth for your base materials. The goal is to remove the organic layer of soil and get down to the more stable subsoil. As you dig, use a level to frequently check the ground, ensuring the excavated area is as flat and even as possible. This foundational work is crucial for a stable final product.
Step 3: Level the Ground
Once the area is excavated, the next task is to create a perfectly level surface. Use a long, straight piece of timber and a spirit level to check for high and low spots across the entire area. Scrape away soil from high points and fill in any dips with compacted soil. Take your time with this step, as any imperfections here will be magnified in the final base. For larger areas, you might find it helpful to use a tamper tool to compact the soil firmly, creating a solid and unyielding ground layer for the next stage of the project.
Step 4: Install a Weed-Proof Membrane
Before adding your sub-base material, lay down a heavy-duty weed-proof membrane over the entire excavated area. This landscape fabric is essential for preventing weeds and grass from growing up through your shed base, which could cause it to become uneven over time.
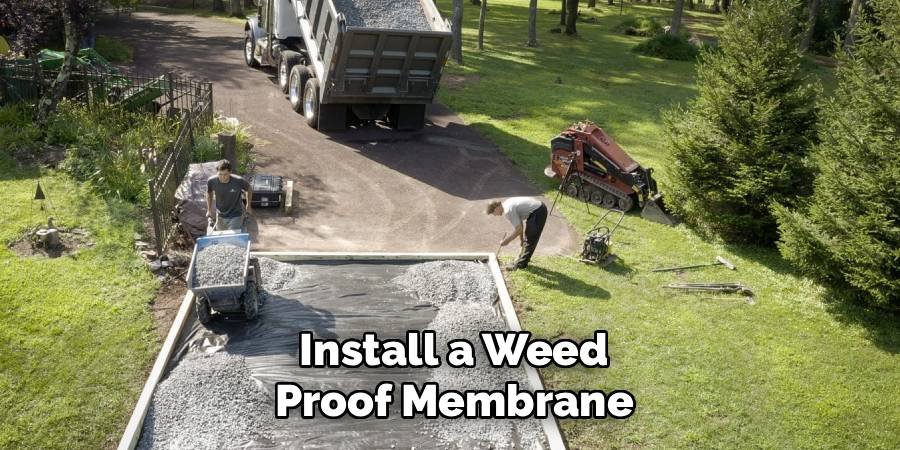
Overlap the edges of the fabric by several inches if you need to use more than one piece. Secure the membrane in place with landscape staples or by placing a few heavy stones around the edges to keep it from shifting while you work. This barrier is a low-cost addition that saves you from future maintenance headaches.
Step 5: Build the Outer Frame
To contain the sub-base material, you need to construct a sturdy wooden frame around the perimeter of your excavated area. Use pressure-treated lumber (such as 4×4 or 2×6 boards) cut to the dimensions of your base. Assemble the frame by screwing the corners together, once again checking that it is square by measuring the diagonals. Place the frame into the excavated site and use a spirit level to ensure it is perfectly level on all sides. You may need to dig out small trenches or add compacted soil under the frame to adjust its height until it is perfectly flat.
Step 6: Add and Compact the Sub-Base
Now it’s time to add the sub-base, which provides the primary support for your shed. The best material for this is MOT Type 1 hardcore or a similar crushed stone aggregate. Pour the material into your wooden frame, spreading it evenly with a rake to a depth of about 3 to 4 inches. It is crucial to compact this layer thoroughly to create a solid, interlocking base that won’t shift. For a professional result, rent a powered plate compactor (or “wacker plate”) from a local tool hire shop. Go over the entire area several times until the stone is tightly packed and level.
Step 7: Add a Layer of Sand
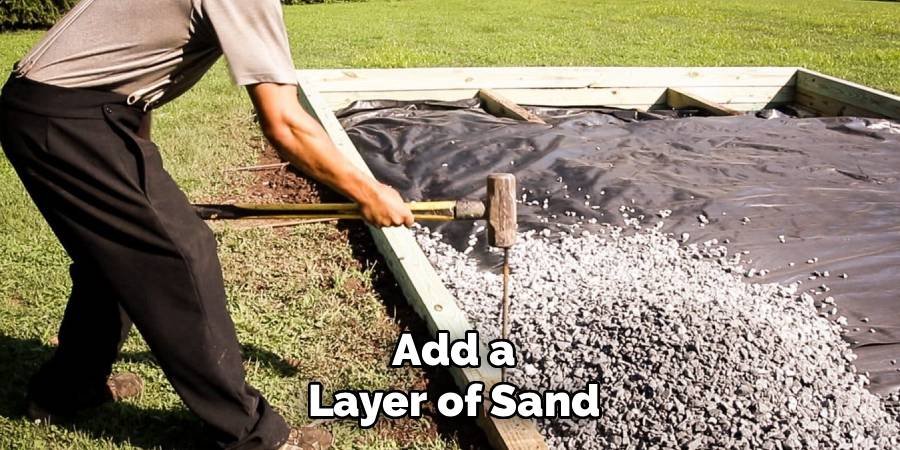
After compacting the hardcore, you will add a final layer of sharp sand. This layer creates a smooth, level surface on which to lay your final paving slabs or bearers. Spread the sand to a depth of about 1 to 2 inches over the entire sub-base. Use a long, straight piece of wood (a process known as “screeding”) to drag across the top of the frame, smoothing the sand to a perfectly flat and consistent level. This step is critical for ensuring your shed floor is completely even and free of any rocking or movement.
Step 8: Lay the Final Surface
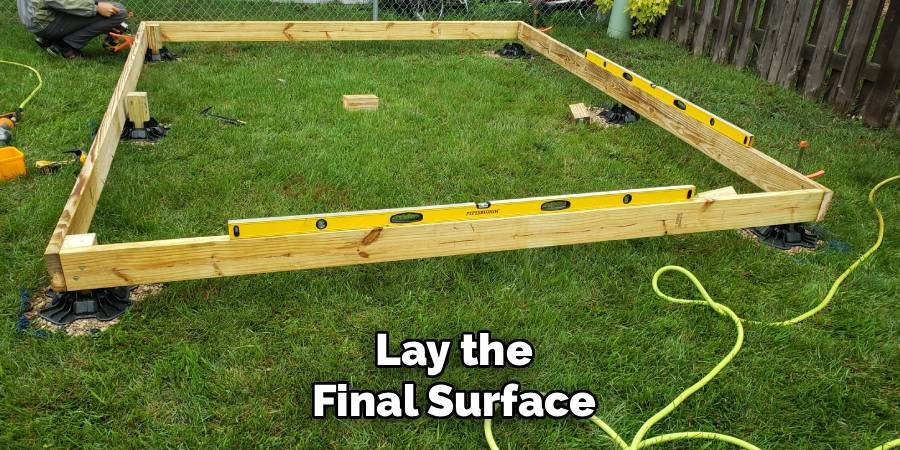
The final step in learning how to build a shed base on grass is laying the top surface. This is typically done with concrete paving slabs. Starting from one corner, carefully place the slabs onto the sand bed. Use a rubber mallet to gently tap them into place, ensuring they are level with the frame and with each other. Leave a small gap between each slab. Use a spirit level continuously across multiple slabs to check for consistency. Once all the slabs are laid, you can brush dry sand or a cement mix into the gaps to lock them firmly in place.
Frequently Asked Questions
Can I Put a Shed Base Directly on Grass?
While you technically can, it is highly discouraged. Placing a base directly on grass without proper excavation will lead to the base sinking and becoming uneven. Grass and topsoil are too soft and unstable to support the weight of a shed. Proper ground preparation is essential for a long-lasting and stable foundation.
What Is the Easiest Shed Base to Build on Uneven Ground?
For uneven ground, an adjustable concrete pier or post base is often the easiest solution. This method involves digging holes, filling them with concrete, and setting adjustable metal brackets into the wet concrete. You can then attach a timber frame to these brackets, easily adjusting the height of each post to create a perfectly level platform without having to excavate the entire area.
Do I Need Planning Permission to Build a Shed Base?
In most cases, you do not need planning permission for a shed or its base, as they are considered “permitted development.” However, rules can vary based on your location, the size of the shed, and its proximity to property boundaries. It is always wise to check with your local planning authority before starting any work to ensure you comply with all regulations.
How Deep Should a Shed Base Be?
A standard shed base should be between 4 and 6 inches deep. This depth typically consists of 3-4 inches of compacted hardcore (like MOT Type 1) and 1-2 inches of sharp sand. This combination provides excellent drainage and a firm, stable foundation capable of supporting most standard garden sheds without shifting or sinking over time.
What Can I Use for a Cheap Shed Base?
A gravel-and-timber frame is one of the most budget-friendly options. This involves creating a pressure-treated wood frame, filling it with a few inches of compacted gravel, and placing the shed’s floor joists directly on top. While less permanent than a paving slab base, it provides good drainage and adequate support for smaller, lighter sheds.
Conclusion
Building a shed base may seem like a lot of work, but it is a project well within the reach of a determined DIYer. By following these steps, you can create a foundation that is strong, level, and built to last. A solid base is the single most important factor in protecting your investment and ensuring your shed remains a stable and functional space for years. Now that you understand how to build a shed base on grass, you have the knowledge to tackle this project with confidence and achieve a professional-quality result that you can be proud of.

About
Jovie Mathews is a backyard and outdoor expert writer with over 12 years of hands-on experience transforming neglected outdoor spaces into thriving gardens and functional retreats. Raised in a family where weekends meant digging in the soil and building raised beds from scratch, Jovie developed a genuine love for the outdoors long before it became a career.
She writes with a practical, no-fluff approach — always testing ideas in her own backyard before sharing them with readers. From composting systems and native plant selection to patio design and pest control, Jovie covers the full spectrum of backyard life with equal parts expertise and enthusiasm.
Education
B.Sc. in Horticulture Science
University of Florida (UF) · Gainesville, FL · 2014
IFAS College of Agricultural and Life Sciences
Minor in Environmental Studies
University of Florida (UF) · Gainesville, FL · 2014
College of Liberal Arts and Sciences
Areas of expertise
- Lawn & Garden Care
- Soil prep, planting, seasonal care
- Outdoor DIY Projects
- Raised beds, fencing, pathways
- Composting & Soil Health
- Organic methods, amendments
- Native Plants & Wildlife
- Pollinators, habitat gardening
When she is not writing, Jovie can be found testing new composting techniques, growing tomatoes in questionable quantities, or convincing her neighbors that clover lawns are actually a great idea. She currently gardens in the Pacific Northwest.




