Creating an outdoor living space transforms your backyard into a personal retreat, perfect for morning coffees or evening gatherings. While many homeowners assume hardscaping requires professional help, learning how to build brick patio spaces is actually a manageable DIY project.
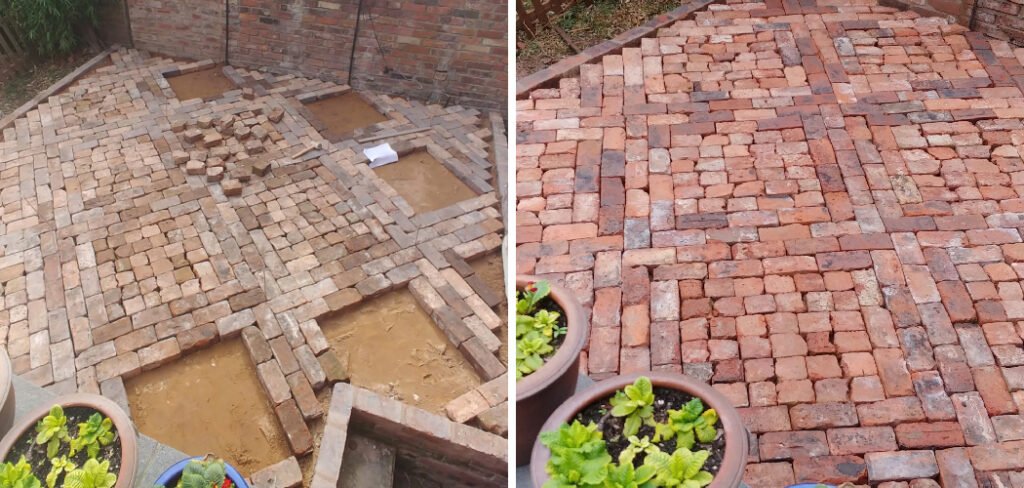
This guide breaks down the process into simple, actionable steps that anyone can follow, regardless of prior experience. We will walk you through everything from selecting the right pavers to locking them in place for decades of durability. By the end of this article, you will feel confident enough to pick up a shovel and start transforming your landscape. Let’s get started on upgrading your home’s value and aesthetic appeal with a classic, durable brick surface.
Why Learning How to Build Brick Patio Spaces Is Worth It
Undertaking a hardscaping project yourself offers significant advantages beyond just saving money on labor costs. When you take the time to understand the mechanics of patio construction, you gain full creative control over the design, patterns, and materials used. You aren’t limited by a contractor’s schedule or their preferred vendors.
Furthermore, a well-constructed brick patio increases your property value and curb appeal immediately. Brick is timeless, durable, and weathers beautifully over time, unlike wood decks that require frequent staining or sealing. The satisfaction of standing on a solid surface you laid with your own hands is unmatched. It provides a permanent foundation for family memories, barbecues, and relaxation. Plus, the skills you acquire here—leveling ground, setting pavers, and managing drainage—are transferable to walkways, driveways, and other garden projects.
10 Step-by-Step Guide on How to Build Brick Patio Areas
Step 1: Planning and Layout Design
Before you break ground, you need a solid plan. Start by marking the perimeter of your new patio area using batter boards and mason’s line. This string layout acts as your guide throughout the entire excavation and paving process.
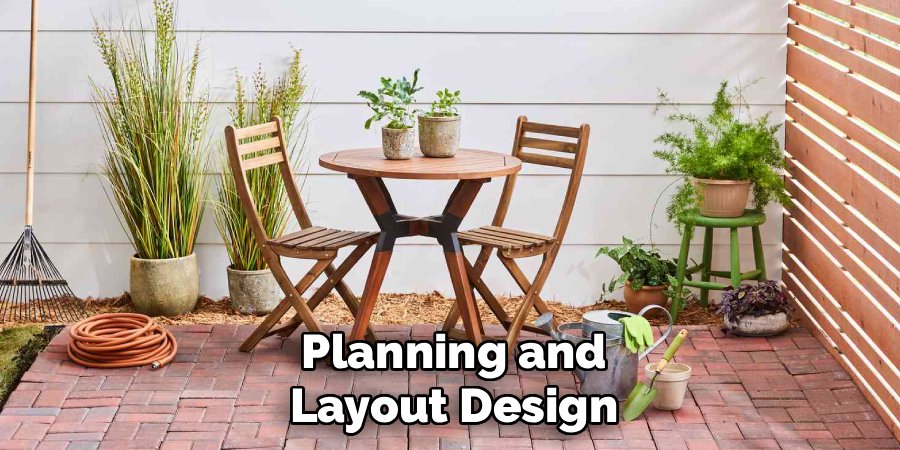
You should use the 3-4-5 triangle method to ensure your corners are perfectly square, which prevents headaches later when laying rectangular bricks. Take time to visualize the size; place your patio furniture inside the string lines to ensure everything fits comfortably. Once you are satisfied with the dimensions, spray paint the outline directly on the grass to mark your excavation zone clearly.
Step 2: Excavating the Site
Digging is the most physically demanding part of the project, but getting the depth right is crucial for longevity. You need to excavate the soil to a depth of about 7 to 9 inches below your desired finished patio height. This depth accommodates a 4-inch gravel base, a 1-inch sand bed, and the thickness of the bricks themselves. As you dig, verify the slope of the ground. The soil should slope away from your house foundation at a rate of roughly 1/4 inch per foot to ensure proper water drainage. Remove all organic matter, roots, and soft topsoil to prevent the patio from settling unevenly later.
Step 3: Installing the Gravel Base
A stable patio relies entirely on a solid foundation. Pour a layer of crushed gravel or paver base into the excavated area, filling it to a depth of about 4 inches. Do not pour it all at once; instead, add the gravel in 2-inch lifts.
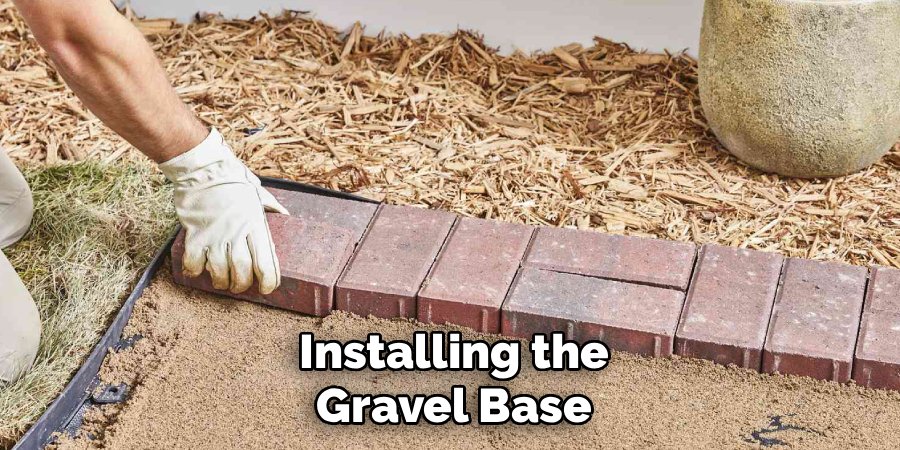
After spreading each layer, use a plate compactor (which you can rent from a local hardware store) to pack the material down tightly. This step is critical because if the base shifts, your bricks will move. Wetting the gravel slightly before compacting helps the stones lock together, creating a surface as hard as concrete but flexible enough to handle freeze-thaw cycles.
Step 4: Installing Edging Restraints
Once your base is compacted and level, you must install rigid edging to keep the bricks from spreading outward over time. Place plastic or aluminum paver edging along the perimeter of your compacted base, securing it into the ground with 10-inch steel spikes. These restraints act as a frame for your artwork. Without them, the bricks on the edges would eventually drift into the surrounding garden beds, ruining the structural integrity of the patio. Make sure the edging sits tight against where your bricks will be placed, but leave the side facing the lawn accessible for backfilling later.
Step 5: Adding the Sand Bedding Layer
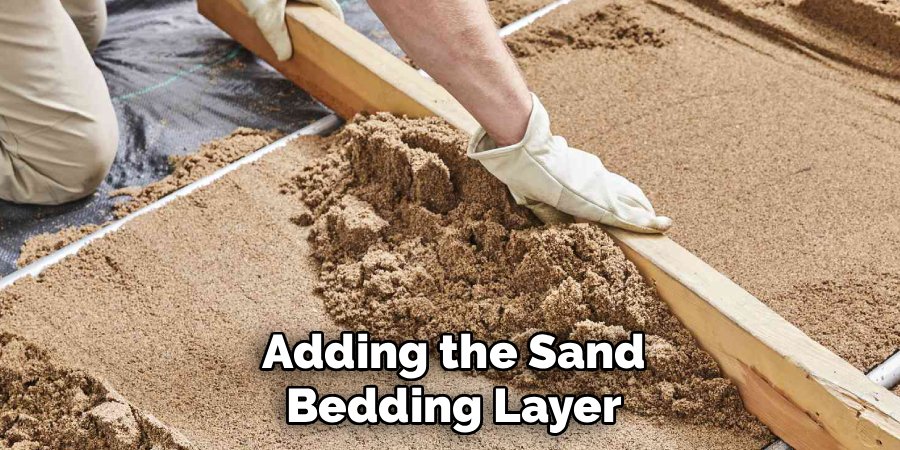
Now you need to create the smooth bed that the bricks will actually sit on. Lay down two long 1-inch diameter PVC pipes across the compacted gravel to serve as screed rails. Pour coarse concrete sand over the area and use a straight 2×4 board to drag (or screed) the sand across the pipes, creating a perfectly flat, uniform 1-inch layer. Do not compact this sand yet! The loose sand allows you to adjust the height of the bricks as you tap them into place. Remove the PVC pipes carefully and fill the indentations they left behind with a trowel and fresh sand.
Step 6: Laying the Bricks
Start placing your bricks in one corner, preferably against a solid edge like the house foundation or your installed edging. Press them straight down into the sand rather than sliding them, which disrupts the level surface. Maintain a consistent pattern, such as running bond, herringbone, or basket weave. Keep a small gap of about 1/8 inch between pavers if they don’t have built-in spacers; this gap is essential for the joint sand later. Check your alignment frequently using a string line to ensure your rows remain straight. This is the stage where you finally see how to build brick patio surfaces that look professional and uniform.
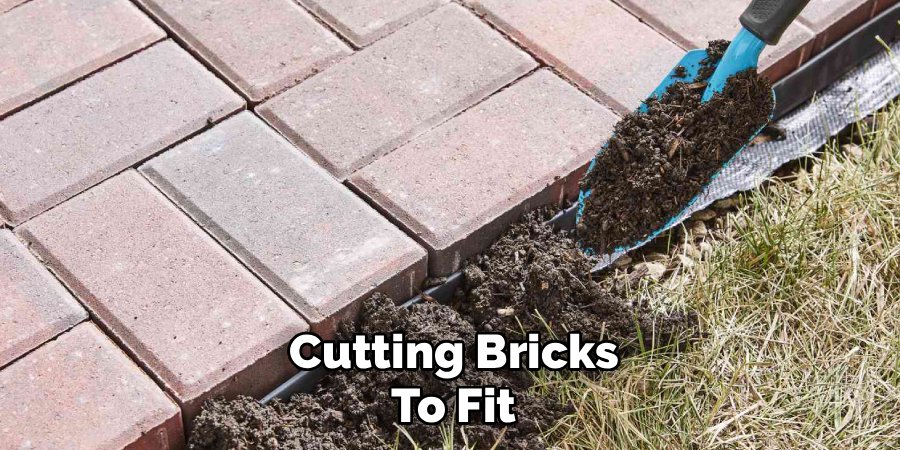
Step 7: Cutting Bricks to Fit
Unless you are incredibly lucky with your dimensions, you will likely need to cut bricks to fit the edges or around obstacles. Mark the cut line clearly on the brick using a pencil and a straightedge. For a few simple cuts, a hammer and chisel might suffice, but for a clean, professional look, rent a masonry saw with a diamond blade. Alternatively, a guillotine-style block splitter works well for simpler cuts. Wear safety glasses and hearing protection during this step. Fit the cut pieces into the gaps along the borders, ensuring the gap width matches the rest of the patio for a cohesive appearance.
Step 8: Compacting and Setting the Bricks
With all the whole and cut bricks in place, it is time to set them into the sand bed. Run the plate compactor over the surface of the bricks. To protect the brick face from scuffs or cracks, it is wise to place a protective pad or a piece of carpet under the compactor. The vibration forces the bricks down into the loose sand bedding, leveling out minor height differences and locking the pavers tightly together. You will notice the surface becoming incredibly firm and unified during this process. This step transforms loose stones into a solid, walkable surface capable of supporting heavy furniture.
Step 9: Filling the Joints with Polymeric Sand
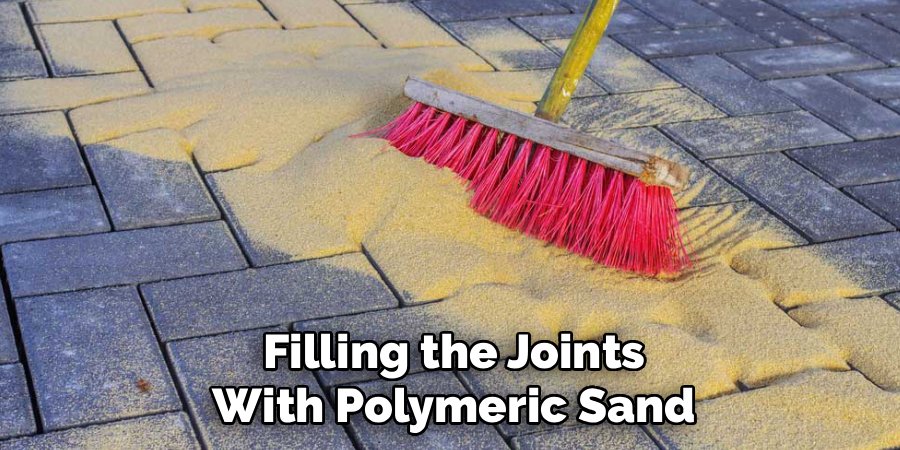
The final structural step involves locking everything together with joint sand. Spread polymeric sand over the dry patio surface and use a push broom to sweep it into the cracks. Sweep in multiple directions to ensure every crevice is filled completely. Polymeric sand contains a bonding agent that hardens when wet, preventing weeds and ants from invading the joints. Once the joints are full, use a leaf blower on the lowest setting to gently remove all excess dust from the brick surface. This is vital because any dust left on top will stain the bricks once you apply water.
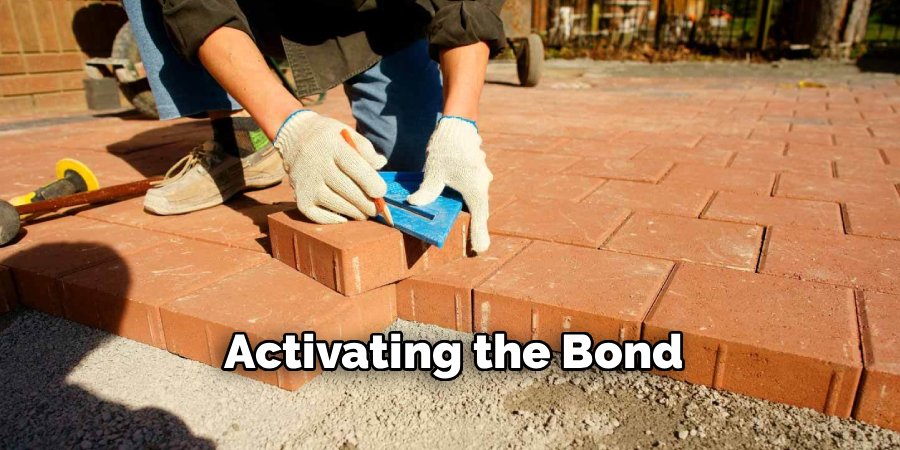
Step 10: Activating the Bond
To finish the project, you must activate the polymeric sand. Using a garden hose with a spray nozzle set to a fine mist, gently water the entire patio. You want to saturate the sand in the joints without washing it out. Start at the highest point of the patio and work your way down. The water activates the polymers, turning the sand into a flexible, mortar-like substance. Keep traffic off the patio for at least 24 hours to allow the sand to cure fully. Once dry, you have successfully completed the project and learned exactly how to build brick patio features that will last for years.
Frequently Asked Questions
What Is the Best Base for a Brick Patio?
The best base consists of two distinct layers. First, you need a 4-to-6-inch layer of crushed gravel or “Item 4” (a mix of stone dust and crushed stone) which provides structural stability and drainage. On top of that, you need a 1-inch layer of coarse concrete sand or bedding sand. This combination allows water to drain away while providing a stable, level surface for the bricks to rest on.
Do I Need to Put Plastic Under My Patio?
Generally, you should use a geotextile landscape fabric rather than plastic. Place this fabric between the soil and the gravel base layer. The fabric separates the subsoil from the gravel, preventing the rocks from sinking into the dirt over time while still allowing water to drain through. Solid plastic can trap water, causing the patio to heave during freezing weather or create puddles.
How Much Slope Should a Patio Have for Drainage?
Proper drainage is essential to prevent water from pooling near your home’s foundation. A standard rule of thumb is to slope the patio away from the house at a rate of 1/4 inch drop for every linear foot of length. For example, a patio that is 12 feet long should be 3 inches lower at the far edge than it is against the house.
Can I Lay Bricks Directly on Dirt?
Laying bricks directly on dirt is not recommended for a long-lasting patio. Without a gravel base, the bricks will shift, sink, and heave with weather changes and soil movement. Weeds will also grow through the joints much faster. While it might look okay for a few weeks, a dirt-set patio will become uneven and unstable very quickly, leading to trip hazards.
How Do I Keep Weeds from Growing Between Bricks?
The most effective way to prevent weeds is by using polymeric sand for the joints. This sand hardens like mortar when activated with water, creating a barrier that weeds cannot easily penetrate. Additionally, installing a high-quality geotextile fabric beneath the gravel base prevents weeds from growing up from the soil below. Regular sweeping also stops organic debris from settling in cracks and sprouting seeds.
Conclusion
Building your own patio is a rewarding project that combines physical effort with creative design. By following these steps—from proper excavation and base preparation to the final sanding—you ensure a durable and beautiful result. Remember that the secret to longevity lies in the preparation of the sub-base; do not rush the digging and compacting phases. Now that you understand the process, you have the knowledge to transform your backyard into a stunning oasis. Gather your tools, order your materials, and start planning your layout today. Once you master how to build brick patio areas, you’ll have a permanent space to enjoy the outdoors for years to come.

About
Jovie Mathews is a backyard and outdoor living writer with over 12 years of hands-on experience transforming neglected outdoor spaces into thriving gardens and functional retreats. Raised in a family where weekends meant digging in the soil and building raised beds from scratch, Jovie developed a genuine love for the outdoors long before it became a career.
She writes with a practical, no-fluff approach — always testing ideas in her own backyard before sharing them with readers. From composting systems and native plant selection to patio design and pest control, Jovie covers the full spectrum of backyard life with equal parts expertise and enthusiasm.
Education
B.Sc. in Horticulture Science
University of Florida (UF) · Gainesville, FL · 2014
IFAS College of Agricultural and Life Sciences
Minor in Environmental Studies
University of Florida (UF) · Gainesville, FL · 2014
College of Liberal Arts and Sciences
Areas of expertise
- Lawn & Garden Care
- Soil prep, planting, seasonal care
- Outdoor DIY Projects
- Raised beds, fencing, pathways
- Composting & Soil Health
- Organic methods, amendments
- Native Plants & Wildlife
- Pollinators, habitat gardening
When she is not writing, Jovie can be found testing new composting techniques, growing tomatoes in questionable quantities, or convincing her neighbors that clover lawns are actually a great idea. She currently gardens in the Pacific Northwest.