

Welcome to the wonderful world of composite decking! You have likely chosen this material because it promises durability and beauty with minimal fuss. While it is true that composite materials require far less labor than traditional wood, they are not completely maintenance-free. Over time, pollen, dirt, grease, and even mildew can accumulate, dulling that beautiful finish you love.
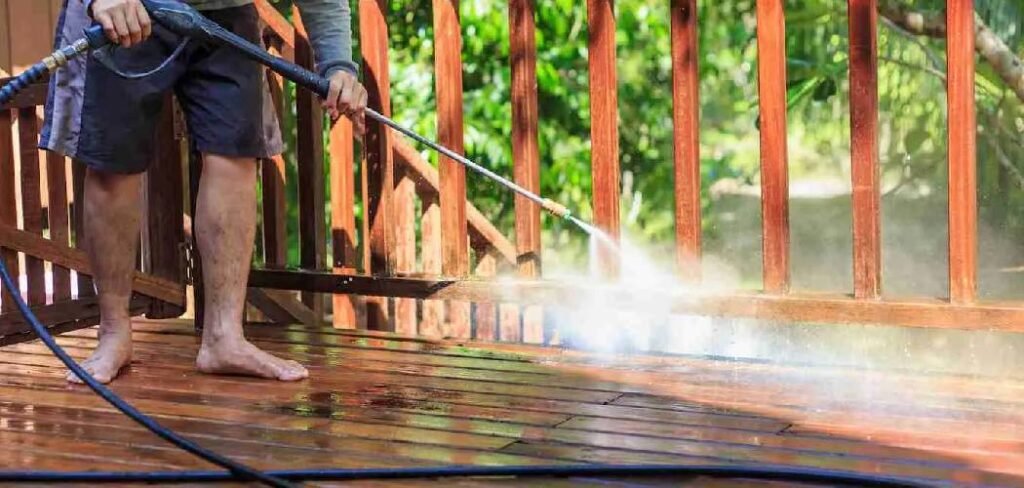
The good news is that maintaining your outdoor oasis is straightforward if you have the right plan. You do not need expensive machinery or harsh chemicals to get the job done. With a few simple tools and a free afternoon, you can restore your deck’s original shine. In this guide, we will walk you through how to clean a composite deck safely and effectively, ensuring your gathering space remains the envy of the neighborhood for years to come.
Why Regular Maintenance Matters for Your Deck
You might be wondering why you need to dedicate time to scrubbing a material that is engineered to be tough. While composite decking is designed to resist rot and insect damage, it is still susceptible to environmental factors that can impact its longevity and appearance.
A consistent cleaning schedule is about more than just aesthetics; it is about preservation. When organic debris like leaves and pine needles sit on the surface, they trap moisture. This constant dampness creates the perfect breeding ground for mold and mildew, which can be surprisingly difficult to remove once they take root in the texture of the boards.
7 Step-by-Step Guide on How to Clean a Composite Deck
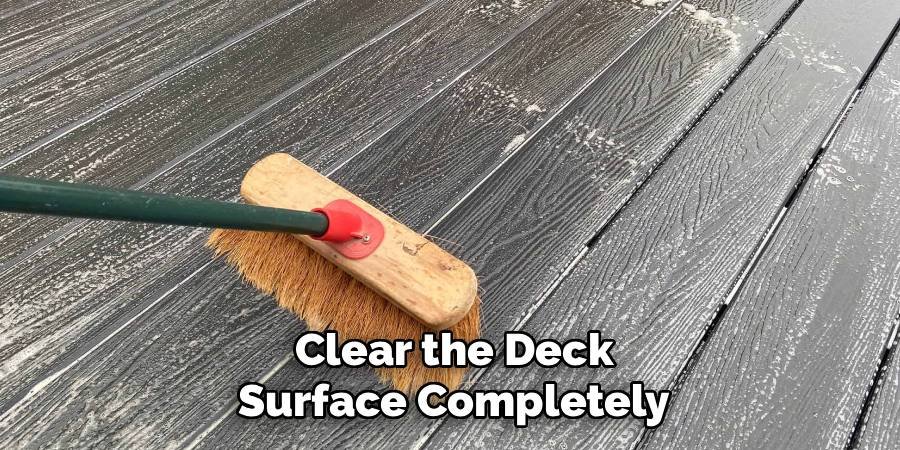
Step 1: Clear the Deck Surface Completely
Before you introduce any water or soap to the equation, you must remove every obstacle from the deck surface. This means taking the time to move patio furniture, heavy planters, grills, and outdoor rugs off the deck entirely. It is tempting to just work around these items, but doing so often results in unsightly clean rings where the objects stood.
Furthermore, moisture trapped under heavy pots or rubber-backed mats is often the primary cause of stubborn stains and mold growth. Moving these items allows you to inspect the entire floor for damage and ensures that your cleaning solution reaches every inch of the material. Take this opportunity to wipe down the feet of your furniture as well, so you do not track dirt back onto your freshly cleaned surface later.
Step 2: Sweep Away All Loose Debris
Once the deck is clear, your next task is to perform a thorough dry sweep of the entire area. Use a broom with standard bristles to dislodge dirt, dead leaves, and pine needles that have settled into the grooves of the boards. It is critical to pay special attention to the gaps between the deck boards during this phase.
These gaps are essential for proper drainage and ventilation, and if they become clogged with organic matter, it can lead to moisture buildup and eventual rot in the joists underneath. If your broom cannot reach deep into these crevices, consider using a putty knife or a specialized deck tool to gently dislodge stubborn debris. Removing this loose layer now prevents it from turning into a muddy sludge once you start washing.
Step 3: Rinse the Surface with Water
After sweeping, grab your garden hose and give the entire deck a comprehensive pre-rinse. This step serves two important purposes for the cleaning process. First, it helps to soften any dried bird droppings, tree sap, or caked-on mud, making them much easier to scrub away later.
Second, wetting the composite material cools down the surface temperature. If you apply a cleaning solution directly onto a hot, dry deck in the sun, the liquid will evaporate too quickly, leaving behind soap scum that is difficult to rinse off. Aim to spray the water in a sweeping motion to push any remaining fine dust off the edge of the deck. Ensure every board is thoroughly saturated before moving on to the next step.
Step 4: Prepare a Gentle Cleaning Solution
You do not need to buy expensive, harsh chemicals to get a great result on your composite deck. In fact, many manufacturers recommend avoiding bleach-based cleaners as they can fade the color of the boards over time. Instead, prepare a simple, effective solution using warm water and a mild liquid dish soap.
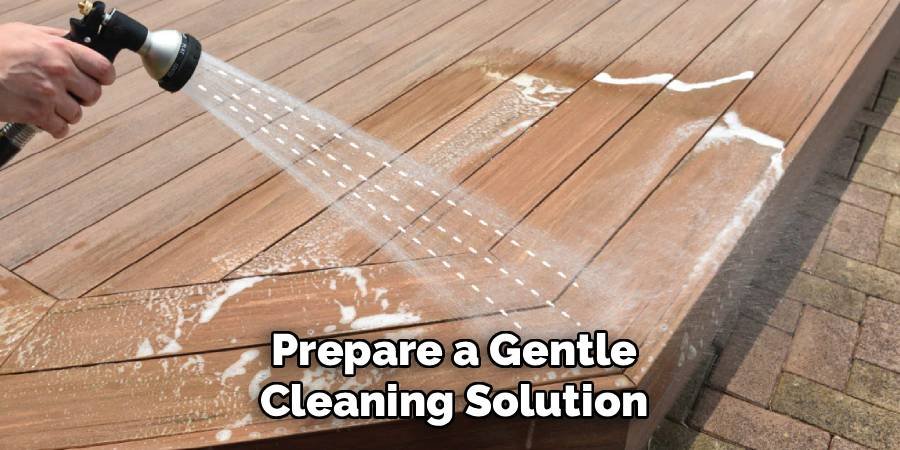
In a large bucket, mix the soap with the water until you have a nice, sudsy consistency. The warm water helps to break down grease and oils more effectively than cold water. If you are dealing with specific mold issues, you might check your manufacturer’s guide for a recommended specialized cleaner, but for general maintenance, soapy water is usually sufficient and much safer for your surrounding garden plants.
Step 5: Apply the Solution and Let It Soak
Detailed application is key to success when you are learning the nuances of cleaning composite materials. Pour your prepared soapy mixture onto the deck, working in manageable sections rather than trying to cover the whole area at once.
A good rule of thumb is to work on a section that is about the width of your arm span. Once applied, let the solution sit on the surface for several minutes. This “dwell time” allows the soap agents to break down the bond between the dirt and the composite material. However, you must keep an eye on it to ensure it does not dry out completely. If it starts to dry, mist it lightly with your hose. This soaking period reduces the amount of elbow grease you will need to use during the scrubbing phase.
Step 6: Scrub Gently with the Grain
Now comes the most active part of the process. Using a soft-bristle brush, scrub the deck boards to lift the dirt and grime. It is vital that you use a soft brush rather than a coarse or wire brush, as stiff bristles can permanently scratch the synthetic capping of your composite decking. As you scrub, always move the brush in the same direction as the grain of the wood pattern.
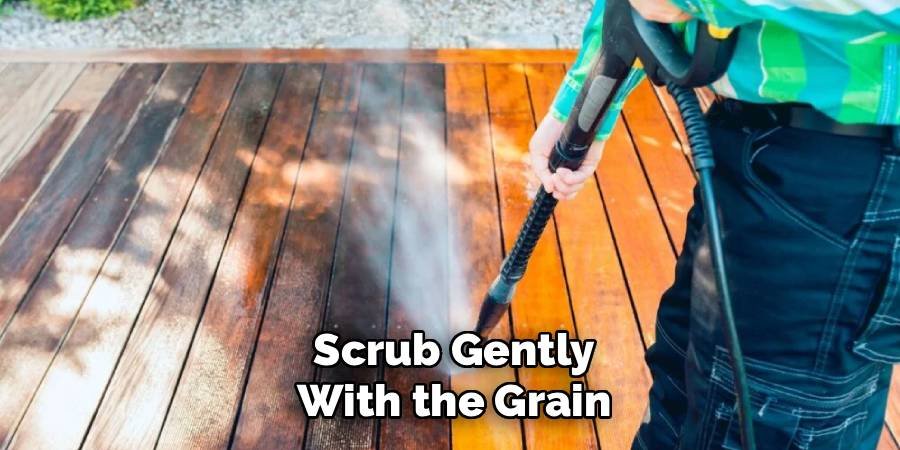
Scrubbing against the grain can drive dirt deeper into the texture and may leave visual cross-hatching marks that ruin the aesthetic. Apply moderate pressure to work the soap into the grooves. This is the stage where you are effectively performing the core task of how to clean a composite deck by physically agitating the debris loose from the surface texture.
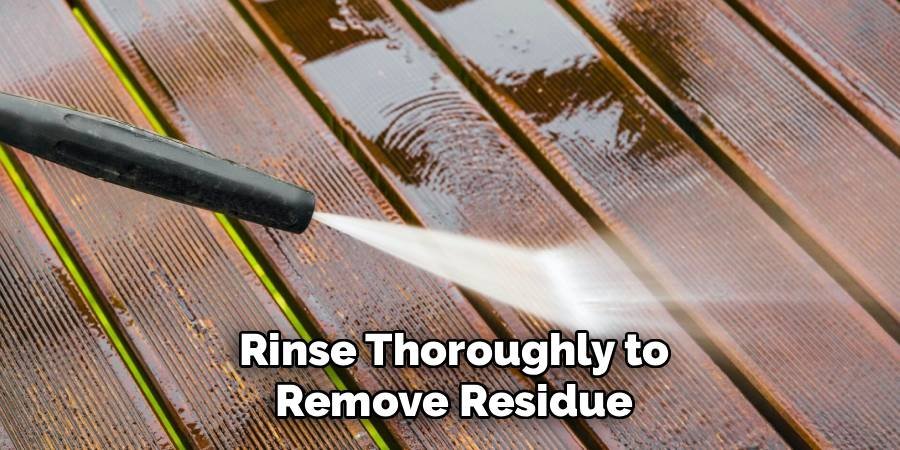
Step 7: Rinse Thoroughly to Remove Residue
Once you have scrubbed a section to your satisfaction, rinse it immediately with your garden hose using a spray nozzle. You want to wash away all the dirty soap mixture before it has a chance to settle back onto the boards. If you leave soap residue behind, it can create a hazy film that actually attracts more dirt in the future, defeating the purpose of your hard work.
Rinse until the water runs completely clear and you see no more suds bubbling up. It is often helpful to rinse an area slightly larger than the one you just scrubbed to ensure a seamless transition between sections. Be thorough and verify that no pools of dirty water are left standing in corners or near the house siding.
Dry the Deck for a Spotless Finish
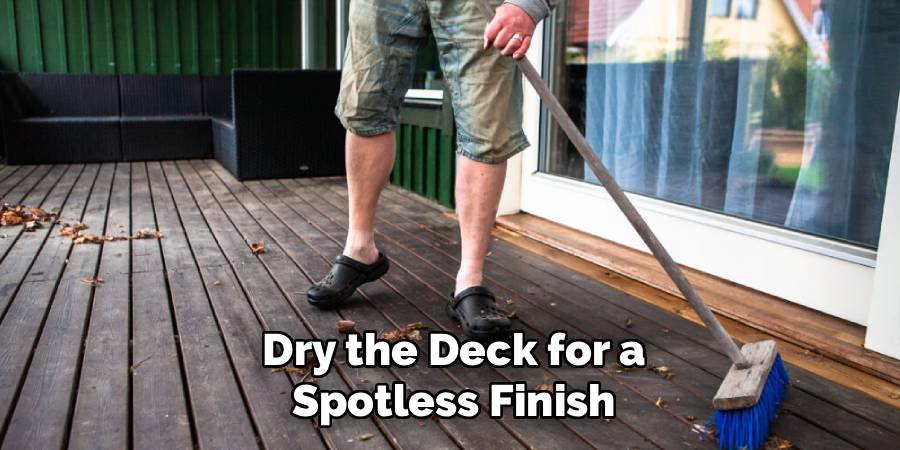
Many homeowners skip this final step, but it is the secret to achieving a professional-looking result. After rinsing the entire deck, use a rubber squeegee or dry towels to remove standing water from the surface. Because composite decking is non-porous, water droplets that are left to air dry in the sun can leave behind mineral deposits, resulting in unsightly hard water spots.
By manually removing the water, you ensure a streak-free finish that highlights the natural beauty of the material. This is also a great time to do a final inspection. If you spot any remaining stains while drying, you can spot-clean those specific areas immediately while your tools are still out.
Frequently Asked Questions
Can I Use A Pressure Washer On Composite Decking?
You can use a pressure washer, but you must proceed with extreme caution. High pressure can etch the surface or even cut into the material, causing permanent damage. If you choose to use one, set it to the lowest psi setting available (usually under 1500 psi) and use a fan tip nozzle. Always keep the nozzle at least 12 inches away from the deck surface to prevent gouging the boards.
What Is The Best Homemade Cleaner For Composite Decks?
The safest and most effective homemade cleaner is a mixture of warm water and liquid dish soap. This combination cuts through grease and dirt without damaging the deck’s protective coating. For stubborn mold or mildew spots, you can add a cup of white vinegar to the bucket. Avoid using chlorine bleach or harsh detergents, as these can strip the color and degrade the composite material over time.
How Often Should I Clean My Composite Deck?
Ideally, you should perform a deep clean of your composite deck at least twice a year. A spring cleaning helps remove the grime from winter, while an autumn cleaning clears away fallen leaves and prepares the deck for the colder months. Additionally, you should sweep the deck weekly to prevent debris from accumulating in the gaps, which helps maintain proper drainage and airflow.
How Do I Remove Grease Or Oil Stains?
Grease and oil stains from BBQ grills or food spills should be addressed as quickly as possible. The best method is to use a household degreaser or a strong concentration of dish soap and warm water. Apply the detergent directly to the spot and scrub gently with a soft-bristle brush. Rinse thoroughly with hot water. The sooner you catch the stain, the easier it will be to remove completely.
Will Snow And Ice Damage My Composite Deck?
Snow and ice themselves usually do not damage composite decking, but how you remove them can. Avoid using metal shovels, which can scratch and gouge the surface. Instead, use a plastic shovel or a broom to clear snow. When using ice melt, choose a product that is safe for composite materials, typically one that is calcium chloride-based, and rinse it off once the weather warms up to prevent residue buildup.
Conclusion
Taking the time to care for your outdoor space pays off in longevity and enjoyment. By following these simple steps, you ensure that your deck remains a beautiful, safe, and inviting extension of your home. Regular maintenance prevents the buildup of harmful mold and protects your investment from premature aging. Remember, you don’t need harsh chemicals or complicated equipment; patience and the right technique are your best tools.
We hope this guide has given you the confidence to tackle your spring cleaning project. Now that you have mastered how to clean a composite deck, you can look forward to many seasons of outdoor relaxation. Grab your bucket, head outside, and give your deck the refresh it deserves

About
Jovie Mathews is a backyard and outdoor expert writer with over 12 years of hands-on experience transforming neglected outdoor spaces into thriving gardens and functional retreats. Raised in a family where weekends meant digging in the soil and building raised beds from scratch, Jovie developed a genuine love for the outdoors long before it became a career.
She writes with a practical, no-fluff approach — always testing ideas in her own backyard before sharing them with readers. From composting systems and native plant selection to patio design and pest control, Jovie covers the full spectrum of backyard life with equal parts expertise and enthusiasm.
Education
B.Sc. in Horticulture Science
University of Florida (UF) · Gainesville, FL · 2014
IFAS College of Agricultural and Life Sciences
Minor in Environmental Studies
University of Florida (UF) · Gainesville, FL · 2014
College of Liberal Arts and Sciences
Areas of expertise
- Lawn & Garden Care
- Soil prep, planting, seasonal care
- Outdoor DIY Projects
- Raised beds, fencing, pathways
- Composting & Soil Health
- Organic methods, amendments
- Native Plants & Wildlife
- Pollinators, habitat gardening
When she is not writing, Jovie can be found testing new composting techniques, growing tomatoes in questionable quantities, or convincing her neighbors that clover lawns are actually a great idea. She currently gardens in the Pacific Northwest.




