

When winter arrives, it can transform your beautiful wood deck into a hazardous, icy surface. That slick layer of frozen water not only makes your outdoor space unusable but also poses a significant safety risk. Many homeowners instinctively reach for the same rock salt they use on their driveways, but this is a critical mistake.
Traditional deicers, especially those containing chlorides, can be corrosive and highly damaging to wood. They can strip away sealants, cause splintering, and lead to premature aging and discoloration. Protecting your investment requires a more thoughtful approach that prioritizes the health of the wood.

This guide will walk you through the safe and effective methods for how to deice wood deck safely, ensuring you can reclaim your space without causing long-term harm to its structure or finish.
When winter weather strikes, maintaining a safe and usable outdoor space becomes a priority. Ice and snow accumulation on your wood deck can create hazardous conditions, increasing the risk of slips and falls.
However, it’s crucial to approach deicing with care to avoid damaging the wood’s natural beauty and integrity. By understanding the best practices and safe alternatives, you can effectively manage winter challenges while preserving the durability and appearance of your deck.
Step-by-Step Guide How to Deice Wood Deck Safely
Step 1: Remove Loose Snow First
Before you can address the ice, you must clear away any loose snow sitting on top of it. However, a metal-edged shovel can easily gouge, scratch, or splinter your deck boards. Instead, opt for a plastic or rubber-bladed shovel designed specifically for more delicate surfaces.
Work in the direction of the wood grain, pushing the snow off the deck rather than scraping aggressively against it. For lighter, fluffier snow, a stiff-bristled push broom is an even better and safer option.

Removing this top layer of snow exposes the ice underneath and reduces the amount of deicing product you will need to apply, making the entire process more efficient and cost-effective.
Step 2: Choose a Wood-Safe Deicing Product
This is the most crucial step in the entire process. Avoid rock salt (sodium chloride) and other chloride-based products like calcium chloride or magnesium chloride. These chemicals are corrosive and will damage your wood’s integrity and finish over time.
Instead, look for deicers specifically labeled as “safe for wood decks,” “pet-safe,” or “concrete-safe.” These products typically use alternative chemicals like calcium magnesium acetate (CMA) or urea.
While they may work a bit more slowly than traditional salt, they will not cause the chemical damage that leads to costly repairs down the road. Reading the label carefully is the most important part of learning how to deice wood deck correctly.
Step 3: Apply the Deicer Sparingly and Evenly
Once you have your wood-safe product, remember that more is not better. Over-applying the deicer is wasteful and can still leave a residue on your deck. Follow the manufacturer’s instructions on the packaging for the recommended application rate.
Use a handheld spreader or sprinkle the product lightly and evenly across the icy surfaces. The goal is to create a thin, consistent layer that will begin to break down the bond between the ice and the wood.

Concentrating the product in one spot is less effective and increases the risk of leaving behind a gritty mess. A light, uniform application is all you need to get the melting process started.
Step 4: Allow Time for the Product to Work
Patience is a key tool in this process. Unlike harsh salts that work almost instantly, wood-safe deicers need time to penetrate the ice and break it down. After applying the product, step back and let it do its job. Depending on the thickness of the ice and the ambient temperature, this could take anywhere from 15 minutes to an hour or more.
You will begin to see the ice turn into a slushy, watery consistency. Rushing this step and trying to scrape the ice off prematurely will be ineffective and could lead to you damaging the wood surface with unnecessary force. Let chemistry work for you.
Step 5: Remove the Slush
After the deicer has successfully melted the ice into a manageable slush, you need to remove it from the deck. Use your plastic shovel or a stiff broom to push the slushy mixture off the deck boards. It is important to remove this slush rather than letting it refreeze.
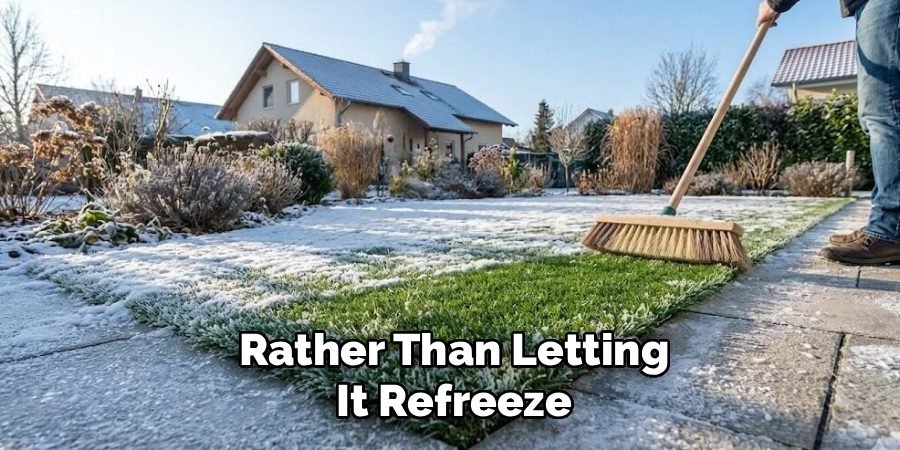
If left on the surface, the water can seep into the wood’s pores and refreeze when temperatures drop again, potentially causing cracks and splits in the boards. Clearing the slush away leaves you with a safer, drier surface and completes the deicing cycle, preventing the problem from immediately recurring.
Step 6: Apply a Traction Agent
Sometimes, you need to use your deck immediately and cannot wait for a deicer to work its magic. In these situations, or for an added layer of safety after deicing, applying a simple traction agent is an excellent solution. You can use materials like sand, non-clumping kitty litter, or even coffee grounds.
Sprinkle a light layer of your chosen agent over the icy patches. These materials will not melt the ice, but they provide a gritty texture that your shoes can grip onto, significantly reducing the risk of a slip and fall. This is a great, non-chemical method for improving safety on the spot without any risk to your deck’s finish.
Step 7: Consider Preventative Measures for Next Time
The easiest way to deal with ice is to prevent it from forming in the first place. After a snowfall, try to shovel your deck promptly before foot traffic compacts the snow into a layer of ice. You can also lay down tarps or specialized snow-melting mats on high-traffic areas before a storm is expected.

While these mats can be an investment, they offer a simple and chemical-free solution. Taking these proactive steps can dramatically reduce the amount of time and effort you spend on deicing throughout the winter, saving you from having to repeatedly ask how to deice wood deck after every storm.
Frequently Asked Questions (FAQ)
Can I Use Regular Rock Salt on My Wood Deck?
No, you should never use regular rock salt (sodium chloride) on a wood deck.
- Corrosion: Salt is highly corrosive. It can eat away at the screws, nails, and metal fasteners holding your deck together.
- Wood Damage: It draws moisture out of the wood, leading to drying, cracking, and splintering.
- Stain Damage: It can strip away the stain and sealant that protects your deck, leaving it vulnerable to the elements.
Is There a Homemade Deicer Safe for Wood?
Some people create solutions with rubbing alcohol and water, but these are often not effective on thick ice and can still affect certain wood finishes. A safer and simpler alternative for immediate traction is using sand or non-clumping kitty litter.
For melting, it is always best to purchase a commercial product specifically labeled as safe for wood decks, like one containing calcium magnesium acetate (CMA).
How Can I Prevent Ice from Forming on My Deck?
Prevention is the best strategy.
- Shovel Promptly: Remove snow with a plastic shovel before it gets walked on and compacted into ice.
- Improve Drainage: Ensure your deck’s gutters and downspouts are clear and directing water away from the surface.
- Use Mats: Place high-quality welcome mats at doorways and consider using snow-melting mats in high-traffic pathways.
Will Deicer Damage the Plants Around My Deck?
Chloride-based salts are extremely harmful to plants and can contaminate the soil. This is another major reason to choose a wood-safe deicer. Products containing CMA or urea are generally considered much safer for surrounding vegetation.
When applying any product, try to be precise and avoid broadcasting it widely into your garden beds.
How Do I Clean Deicer Residue Off My Deck in the Spring?
Even wood-safe deicers can leave behind a white, powdery residue. In the spring, after the threat of ice has passed, give your deck a good cleaning.
Use a deck-safe cleaner and a stiff-bristled brush to gently scrub the surface, paying attention to any areas with visible residue. Rinse it thoroughly with a garden hose to wash away any leftover product and prepare the surface for a new season.
Conclusion
Keeping your wood deck safe and accessible during the winter does not have to come at the cost of its long-term health. The key is to move away from harsh, traditional salts and adopt a gentler approach.
By using plastic shovels, choosing wood-safe deicing compounds, and applying them correctly, you can effectively manage ice while preserving the beauty and integrity of your outdoor living space.
Remember that prevention and prompt action are your best allies in the fight against ice. With this knowledge of how to deice wood deck safely, you can face the winter with confidence, knowing you are protecting both your family and your valuable home investment.

About
Jovie Mathews is a backyard and outdoor expert writer with over 12 years of hands-on experience transforming neglected outdoor spaces into thriving gardens and functional retreats. Raised in a family where weekends meant digging in the soil and building raised beds from scratch, Jovie developed a genuine love for the outdoors long before it became a career.
She writes with a practical, no-fluff approach — always testing ideas in her own backyard before sharing them with readers. From composting systems and native plant selection to patio design and pest control, Jovie covers the full spectrum of backyard life with equal parts expertise and enthusiasm.
Education
B.Sc. in Horticulture Science
University of Florida (UF) · Gainesville, FL · 2014
IFAS College of Agricultural and Life Sciences
Minor in Environmental Studies
University of Florida (UF) · Gainesville, FL · 2014
College of Liberal Arts and Sciences
Areas of expertise
- Lawn & Garden Care
- Soil prep, planting, seasonal care
- Outdoor DIY Projects
- Raised beds, fencing, pathways
- Composting & Soil Health
- Organic methods, amendments
- Native Plants & Wildlife
- Pollinators, habitat gardening
When she is not writing, Jovie can be found testing new composting techniques, growing tomatoes in questionable quantities, or convincing her neighbors that clover lawns are actually a great idea. She currently gardens in the Pacific Northwest.




