As winter settles in and temperatures drop, many backyard chicken keepers start worrying about their flock’s comfort. While chickens are surprisingly hardy creatures with their own natural down jackets, extreme cold can still pose significant risks to their health and egg production. Finding the right balance between necessary warmth and safety is the key to successful winter poultry care.
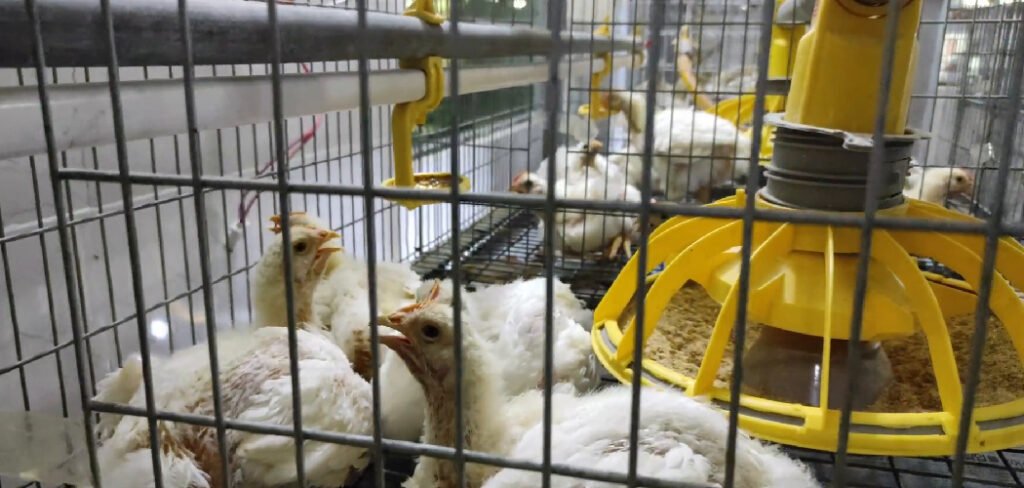
This guide is designed to help you navigate the tricky waters of winter coop management. We will explore safe, practical methods to maintain a comfortable temperature without turning your coop into a fire hazard. Whether you are battling sub-zero arctic blasts or just dealing with a few frosty nights, understanding how to heat a chicken coop correctly ensures your birds stay happy and healthy until spring arrives. Let’s dive into the essential steps for keeping your hens cozy this season.
Why Heating a Chicken Coop is Important
Chickens are remarkably resilient animals that can tolerate cold weather much better than heat. Their feathers provide excellent insulation, allowing them to trap body heat against their skin. However, there are limits to what they can withstand. When temperatures plummet well below freezing, or when dampness and drafts combine with the cold, chickens become susceptible to frostbite on their combs, wattles, and feet. Frostbite is painful and can lead to serious infection or permanent damage.
8 Step-by-Step Guide on How to Heat a Chicken Coop
Step 1: Insulate Your Coop Thoroughly Before Adding Heat
Before you even consider adding an external heat source, you must ensure the coop can retain warmth efficiently. Insulation acts as the first line of defense against the biting cold, working much like a thermos to keep the heat generated by the chickens inside the structure.
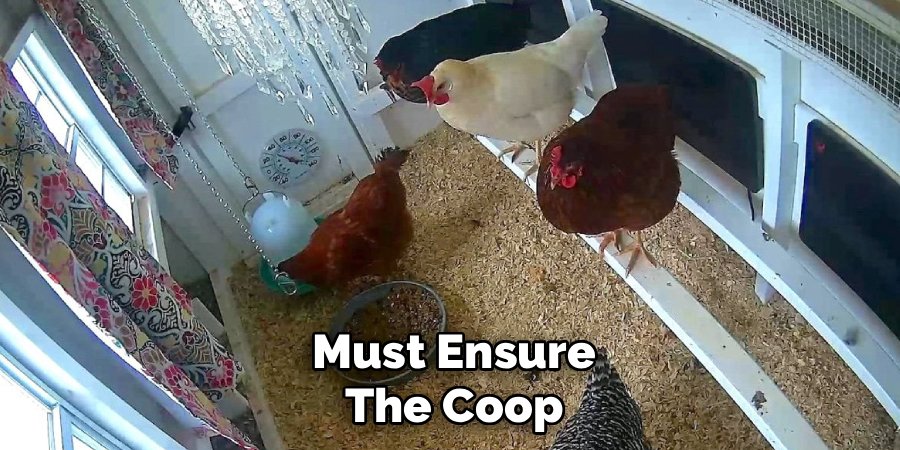
You can use materials like rigid foam boards, cardboard, or even blankets tacked to the walls, but be sure to cover them with plywood so the chickens do not peck at them. Proper insulation minimizes drafts and stabilizes the internal temperature, meaning you might not need as much supplemental heat. This step is foundational because adding a heater to a drafty, uninsulated coop is a waste of energy and money.
Step 2: Seal Drafts While Maintaining Ventilation
It is crucial to understand the difference between a draft and ventilation. A draft is a direct current of cold air that hits your birds, chilling them rapidly, while ventilation allows moist, ammonia-rich air to escape near the roof. Walk around your coop on a windy day and feel for leaks around windows, doors, and corners. Seal these gaps with caulk or weatherstripping to stop cold air from penetrating the living space. However, do not seal the coop completely airtight. Chickens produce a lot of moisture through respiration and droppings. If humidity builds up without escape, it creates damp bedding, which makes frostbite much more likely than dry cold air ever would.
Step 3: Use the Deep Litter Method for Natural Heat
The deep litter method is an old-time technique that generates heat naturally through the decomposition process, much like a compost pile. Instead of cleaning out all the bedding every week, you simply add a fresh layer of pine shavings or straw over the soiled material. As the manure and bedding break down underneath, microbes generate heat that rises up to warm the flock. To make this work effectively, you must turn the bedding occasionally to introduce oxygen and prevent it from becoming a solid, smelly mass. This sustainable approach can raise the floor temperature significantly, providing a warm surface for your chickens’ feet and reducing the need for electric heaters.
Step 4: Choose a Safe Heater Specifically for Coops
If insulation and deep litter aren’t enough for your climate, you must select a heater designed specifically for livestock safety. Traditional heat lamps are notorious for causing coop fires and should generally be avoided in favor of modern alternatives. Flat panel radiant heaters are an excellent choice because they emit gentle heat without getting hot enough to ignite bedding or feathers.
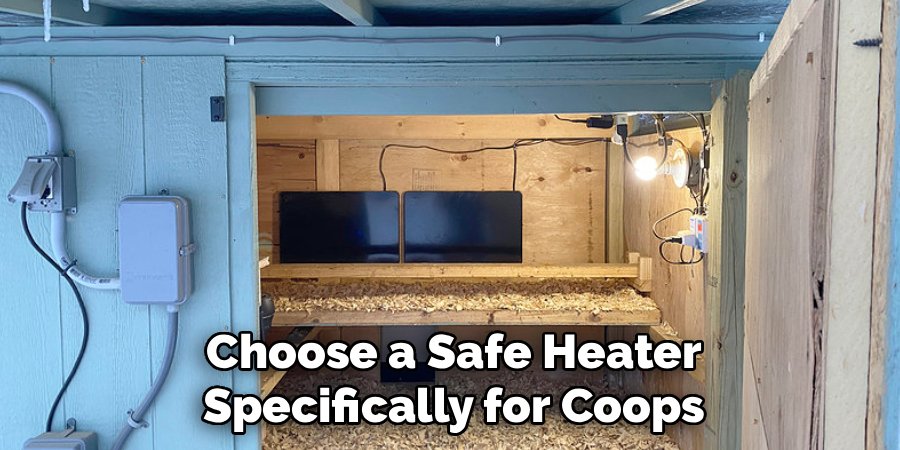
These units often have safety switches that turn them off if they tip over. When researching how to heat a chicken coop, prioritize safety features above raw power. Your goal is to take the chill off the air, not to create a tropical environment.
Step 5: Install the Heater Securely Away from Bedding
Once you have selected a safe heating device, installation placement is critical for fire prevention and effectiveness. Mount the heater on a wall or hang it securely from the ceiling, ensuring it is well out of reach of flying birds who might knock it down. It should never touch the bedding or be placed in a corner where airflow is restricted. The ideal location is usually near the roosting bars where the chickens sleep, but not so close that they can touch it. Double-check all cords to ensure they are encased in protective conduit or piping, as chickens are curious and will readily peck at electrical wires, creating a shock hazard.
Step 6: Use a Thermostatically Controlled Outlet
Efficiency is key when heating a coop, both for your electricity bill and for the chickens’ health. Connect your heater to a thermostatically controlled outlet, famously known as a “Thermo Cube,” which automatically turns the power on when temperatures drop near freezing and off when they rise. This ensures that you are only using heat when it is absolutely necessary. Constant heat can prevent chickens from acclimating to winter temperatures, making them vulnerable if the power goes out suddenly during a storm. By using a thermostat, you smooth out the extreme lows without making the coop artificially hot, maintaining a natural and healthy rhythm for your flock.
Step 7: Focus Heat on the Roosting Area
Since chickens spend the coldest part of the night sleeping on their roosts, this is the area that requires the most attention. Position your radiant heater or heat source so that it warms the zone around the roost bars rather than trying to heat the entire cubic footage of the coop.
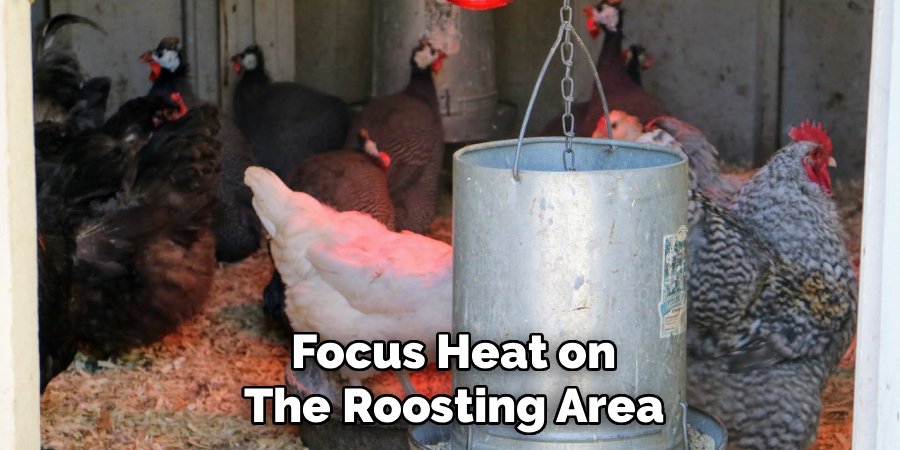
This targeted approach is much more energy-efficient and effective. The heat doesn’t need to be intense; it just needs to create a microclimate that prevents frostbite on combs and wattles. If you have a large coop, you might create a smaller “sleeping zone” by hanging a tarp or curtain (safely away from the heater) to trap warmth near the roosts during the night.
Step 8: Monitor Humidity and Temperature Daily
Installing a thermometer and a hygrometer (humidity gauge) inside the coop is an essential step that many beginners overlook. You cannot manage what you do not measure. Check these gauges daily to ensure the temperature stays just above freezing and the humidity remains low.
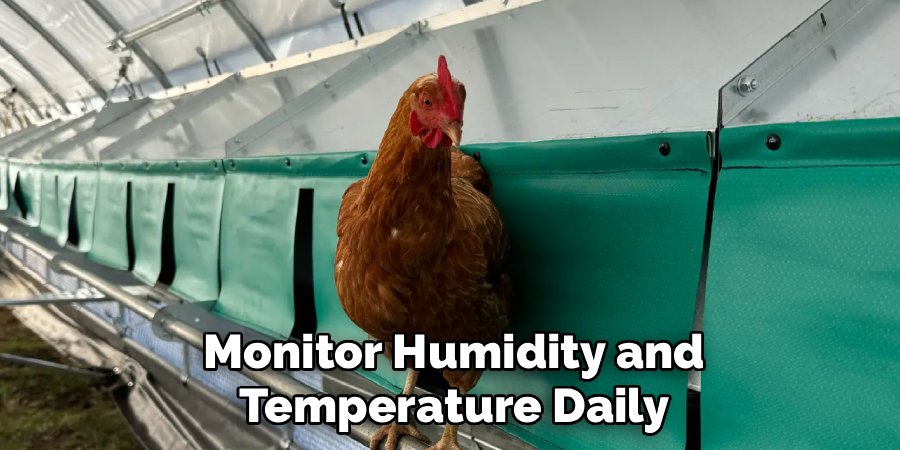
If you see condensation on the windows or the walls feel damp, your ventilation is insufficient, and the added heat might be making things worse by creating a sauna effect. High humidity is the enemy of winter chicken keeping. Adjust your ventilation or reduce the heat if moisture levels climb too high. Regular monitoring ensures you catch problems before they affect your flock’s health.
Frequently Asked Questions
Is It Safe To Use A Heat Lamp In A Chicken Coop?
Using a traditional red bulb heat lamp is generally discouraged due to the high risk of fire. These lamps get extremely hot and can easily ignite dust, feathers, or pine shavings if they fall or break. If you must use one, it requires double-securing with chains (not just the clamp) and a cage guard. Safer alternatives like flat panel radiant heaters or oil-filled radiators are much better options for coop safety.
What Temperature Should My Chicken Coop Be In Winter?
Your chicken coop does not need to be warm like your house. The ideal temperature is just slightly above freezing, around 32°F to 40°F (0°C to 4°C). This prevents water from freezing and protects combs from frostbite. Keeping the coop too warm can disrupt the chickens’ natural ability to acclimate to cold weather, making them vulnerable to sickness if the heat source fails during a power outage.
Will Chickens Freeze To Death Without A Heater?
Most hardy chicken breeds will not freeze to death without a heater if they have a dry, draft-free coop, adequate ventilation, and plenty of food. They have thick feathers that trap body heat efficiently. However, in climates where temperatures drop significantly below zero for extended periods, or for breeds with large combs and wattles, supplemental heat may be necessary to prevent frostbite and unnecessary suffering.
Does The Deep Litter Method Really Generate Heat?
Yes, the deep litter method creates natural heat through composting. By allowing bedding and manure to build up and decompose on the coop floor, beneficial microbes generate warmth. When managed correctly—by turning it regularly and keeping it aerated—the litter can maintain a temperature noticeably higher than the ambient air. It requires a balance of carbon (bedding) and nitrogen (poop) to work effectively without smelling.
How Can I Keep My Chicken Water From Freezing Without Electricity?
If you don’t have electricity in your coop, keeping water liquid is challenging but possible. You can use black rubber tubs that absorb sunlight during the day, insulate the water container with blankets or foam, or bring warm water out to the coop multiple times a day. Another trick is floating ping pong balls in the water; the movement from the chickens drinking and the wind helps prevent the surface from icing over quickly.
Conclusion
Keeping your chickens safe during the winter months requires a thoughtful balance of insulation, ventilation, and, when necessary, supplemental warmth. By prioritizing safety and understanding the specific needs of your flock, you can navigate the coldest months without stress. Remember that your goal isn’t to create a summer paradise, but rather a dry, draft-free shelter that protects your birds from the extremes.
Take the time to assess your coop now before the deepest freeze sets in. Seal those drafts, consider the deep litter method, and choose safe equipment if you decide to add heat. With the right preparation, you will master how to heat a chicken coop effectively, ensuring your feathered friends emerge in the spring healthy, happy, and ready to lay.

About
Jovie Mathews is a backyard and outdoor expert writer with over 12 years of hands-on experience transforming neglected outdoor spaces into thriving gardens and functional retreats. Raised in a family where weekends meant digging in the soil and building raised beds from scratch, Jovie developed a genuine love for the outdoors long before it became a career.
She writes with a practical, no-fluff approach — always testing ideas in her own backyard before sharing them with readers. From composting systems and native plant selection to patio design and pest control, Jovie covers the full spectrum of backyard life with equal parts expertise and enthusiasm.
Education
B.Sc. in Horticulture Science
University of Florida (UF) · Gainesville, FL · 2014
IFAS College of Agricultural and Life Sciences
Minor in Environmental Studies
University of Florida (UF) · Gainesville, FL · 2014
College of Liberal Arts and Sciences
Areas of expertise
- Lawn & Garden Care
- Soil prep, planting, seasonal care
- Outdoor DIY Projects
- Raised beds, fencing, pathways
- Composting & Soil Health
- Organic methods, amendments
- Native Plants & Wildlife
- Pollinators, habitat gardening
When she is not writing, Jovie can be found testing new composting techniques, growing tomatoes in questionable quantities, or convincing her neighbors that clover lawns are actually a great idea. She currently gardens in the Pacific Northwest.