Creating a beautiful, functional outdoor space doesn’t always require heavy concrete or expensive stone. If you are looking for a durable, eco-friendly, and softer alternative for your patio or walkway, rubber pavers are an exceptional choice. They are often made from recycled tires, making them a sustainable option that offers shock absorption and slip resistance.
Whether you are revamping an old concrete slab or building a new walkway from scratch, the process is surprisingly manageable for the average DIY enthusiast. You do not need heavy machinery or years of landscaping experience to get professional results. In this article, we will walk you through exactly how to install rubber pavers to ensure your new surface looks great and lasts for years to come. Get ready to transform your garden with a project that is as rewarding as it is practical.
Why Install Rubber Pavers?
Before diving into the installation process, it is helpful to understand why this material has become such a popular choice for home gardeners and landscapers. Rubber pavers offer a unique set of advantages that traditional materials simply cannot match. Primarily, they provide a safety factor that hard stone does not; the natural shock absorption makes them ideal for play areas, pool decks, or households with active children and seniors who might be prone to falls.
Additionally, rubber pavers are incredibly durable and resistant to weather extremes. Unlike concrete, which can crack during freeze-thaw cycles, rubber has enough flexibility to expand and contract without sustaining damage. They are also resistant to chipping and fading, meaning your investment stays looking fresh with minimal maintenance. From an environmental standpoint, using recycled rubber diverts waste from landfills, allowing you to beautify your home while making an eco-conscious decision. Finally, the variety of colors and textures available allows for creative designs that can mimic brick or stone without the difficult installation.
10 Step-by-Step Guide on How to Install Rubber Pavers
Step 1: Measure and Plan Your Layout
The first and most critical phase of your project involves careful planning and precise measurement of the intended area. You need to determine the square footage of your patio or walkway to order the correct amount of material. It is always wise to purchase roughly five to ten percent extra material to account for cutting mistakes or awkward angles that require trimming.
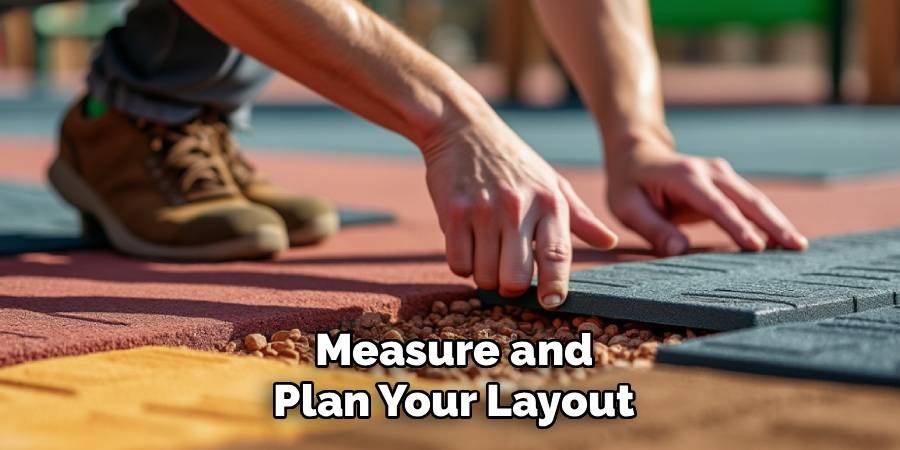
Sketching your design on graph paper can help you visualize the pattern and flow of the pavers. This planning stage is also when you should identify any drainage issues or underground utilities that might interfere with your excavation. Taking time now prevents costly headaches later.
Step 2: Excavate the Site to the Correct Depth
Once your plan is set, you must dig out the area to accommodate the base layers and the thickness of the pavers themselves. You should generally aim to excavate roughly four to six inches deep, depending on the thickness of your specific pavers and the required base. Use a flat shovel to remove the grass and topsoil, keeping the bottom of your trench as level as possible. Consistency here is key because an uneven subgrade will eventually telegraph through to the surface layers. If you are installing directly over concrete, you can skip excavation, but for ground installation, removing organic soil is non-negotiable to prevent shifting.
Step 3: Install a Geotextile Landscape Fabric
After you have cleared the soil, it is essential to lay down a heavy-duty geotextile fabric across the entire excavated area. This fabric serves two vital purposes in the longevity of your project. First, it acts as a barrier that prevents weeds from growing up through your new patio, which saves you maintenance time in the future. Second, it separates the subsoil from your gravel base, preventing the rocks from sinking into the dirt over time. Ensure you overlap the edges of the fabric by at least six inches and extend it slightly up the sides of your excavation area for maximum protection and stability.
Step 4: Prepare the Compacted Gravel Base
With the fabric in place, you need to add a layer of crushed stone or gravel, typically about three to four inches thick. This layer provides the structural integrity for your project and facilitates proper drainage so water does not pool on the surface.
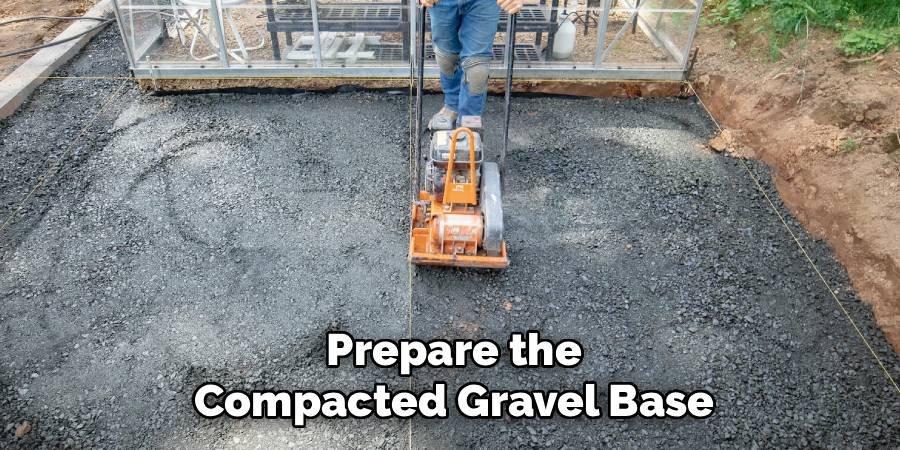
You should spread the gravel evenly using a garden rake, checking periodically to ensure the depth is consistent throughout the entire area. Once the gravel is spread, dampen it slightly with a garden hose to help settle the dust and small particles. This preparation is the foundation of your hardscape, so do not rush through this part of the process.
Step 5: Compact the Base Material Thoroughly
Compacting the gravel is perhaps the most physically demanding but necessary part of the project. You can use a hand tamper for smaller areas, but renting a plate compactor is highly recommended for larger patios to ensure a rock-hard finish. You must run the compactor over the gravel in multiple passes, changing directions each time to ensure there are no soft spots left behind. A well-compacted base prevents the pavers from settling unevenly or shifting when you walk on them. When you learn how to install rubber pavers correctly, you quickly realize that the success of the project relies almost entirely on the quality of this sub-base preparation.
Step 6: Install a Sturdy Border or Edge Restraint
Rubber pavers require a tight perimeter to keep them locked in place, especially since they are lighter than concrete blocks. You should install a rigid edge restraint system along the open sides of your project area before laying any sand.
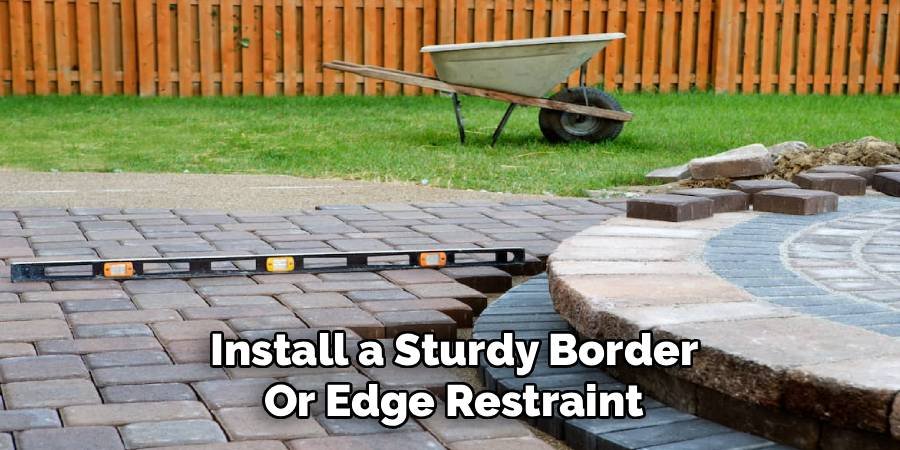
You can use plastic paver edging, treated lumber, or even a concrete curb, depending on your aesthetic preference. Secure the edging into the ground using long metal spikes ensuring it is perfectly level with your desired finished height. This border acts like a frame for a puzzle, preventing the pavers from creeping outward over time and maintaining the structural integrity of your design.
Step 7: Apply the Leveling Sand Layer
On top of your compacted gravel, you need to spread a layer of coarse sand or stone dust, usually about one inch thick. This layer acts as a bedding that allows you to level out any minor imperfections in the gravel base. You can use two lengths of one-inch PVC pipe placed parallel on the gravel as screed rails to guide your leveling board. Drag a straight 2×4 board across the pipes to create a perfectly smooth, flat surface of sand. Once you have screeded the sand, do not walk on it, as you want to preserve that pristine, level surface for the pavers to sit upon.
Step 8: Lay the Rubber Pavers
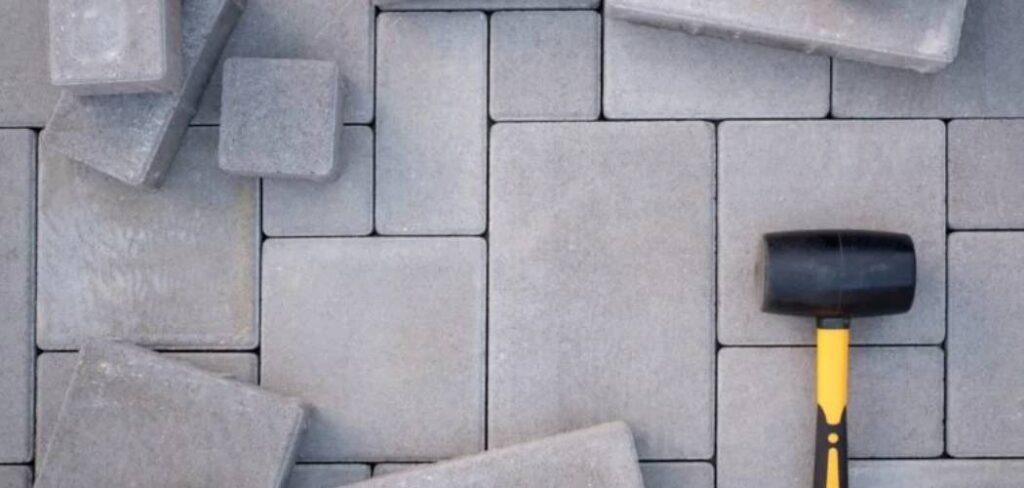
Now you can begin placing the pavers onto the prepared sand bed, starting from a straight corner or edge. Place each paver straight down onto the sand rather than sliding it, which can disturb your level base. Fit them snugly against one another, tapping them gently with a rubber mallet to ensure they are seated firmly. If your pavers have interlocking mechanisms or clips, ensure they are engaged correctly with every piece you lay. Check your alignment frequently using a string line to ensure your rows remain straight and uniform. This is the stage where your vision finally starts to come to life.
Step 9: Cut Pavers to Fit Edges
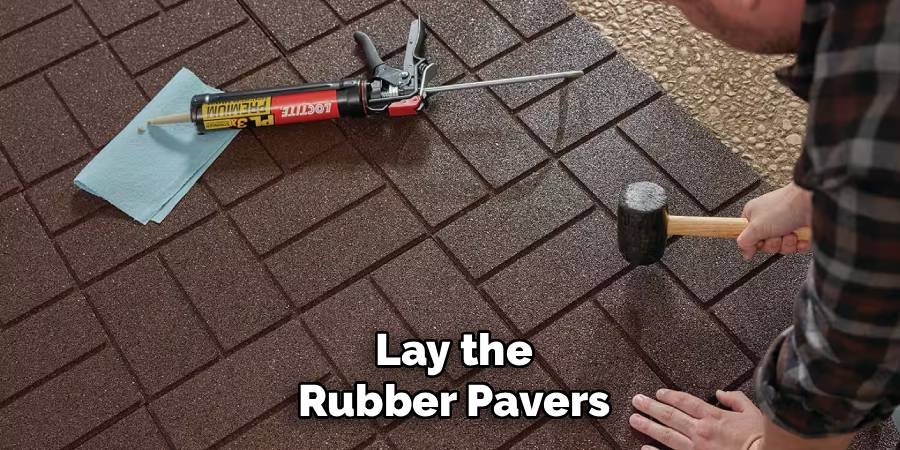
As you reach the edges of your installation area, you will likely need to cut pavers to fit the remaining gaps. Rubber pavers are significantly easier to cut than stone; you can typically use a sharp utility knife with a fresh blade or a jigsaw for intricate cuts. Measure the space carefully and mark your cut line on the paver using a piece of chalk or a marker. When cutting with a utility knife, score the line deeply several times rather than trying to slice through in one go. Safety is paramount here, so always cut away from your body and keep your fingers clear of the blade path.
Step 10: Final Compaction and Joint Filling
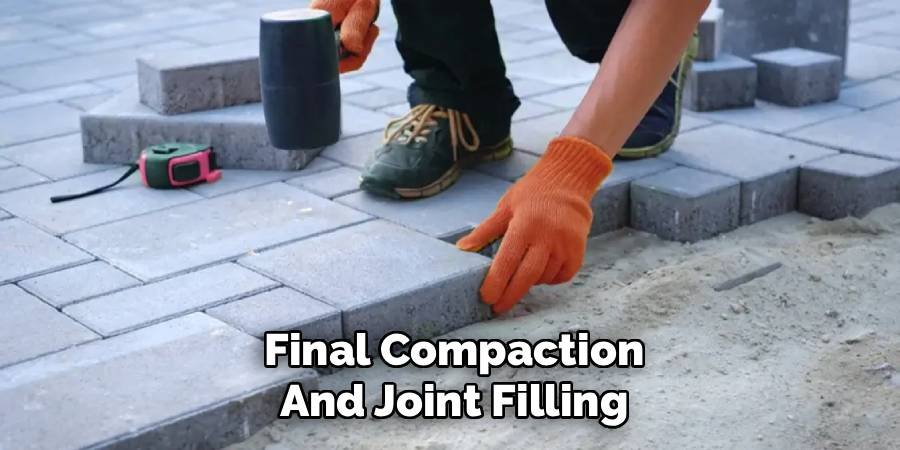
Once all the pavers are cut and placed, the final step is to lock everything together. Spread a fine polymeric sand or a specific rubber paver joint sand over the surface and sweep it into the gaps. Afterward, run the plate compactor over the rubber pavers to vibrate the sand into the joints and settle the pavers into the bedding sand. This final compaction evens out the surface height and ensures the pavers grip the base firmly. Sweep off the excess sand, hose down the patio lightly, and admire your brand-new, resilient, and beautiful outdoor living space.
Frequently Asked Questions
What base is best for rubber pavers?
The ideal base for rubber pavers is a combination of a compacted crushed stone sub-base topped with a layer of leveling sand or limestone screenings. This setup ensures excellent drainage and stability. While you can install them over existing concrete, a gravel and sand base is preferred for new ground installations because it allows for natural ground movement without disturbing the surface.
Do rubber pavers get hot in the summer?
Yes, like many outdoor surfaces, rubber pavers can absorb heat, especially if they are dark in color. However, they generally do not retain heat as intensely as concrete or asphalt. If you live in a very hot climate, consider choosing lighter-colored pavers to reflect more sunlight. You can also easily cool them down by spraying them with a garden hose before walking on them barefoot.
Can I drive my car on rubber pavers?
Most standard rubber pavers are designed for pedestrian traffic, such as patios, walkways, and playgrounds. They are typically not rated for the heavy weight and turning friction of vehicles, which can cause them to shift or degrade. If you need a driveway solution, you must look for specific heavy-duty rubber pavers that are manufactured explicitly for vehicular use and thicker than standard garden pavers.
How do I clean and maintain rubber pavers?
Maintenance is very simple for rubber surfaces. For general cleaning, a broom or a leaf blower works well to remove debris. If they get dirty, you can wash them with a mild soap and water solution using a garden hose or a pressure washer on a low setting. Avoid using harsh chemical solvents or oil-based cleaners, as these can degrade the rubber material over time.
Are rubber pavers waterproof?
Rubber material itself is water-resistant and does not absorb moisture, which prevents rot and mildew. However, the paver system is permeable, meaning water will drain through the joints between the pavers and into the ground below. This permeability is a major benefit, as it prevents puddles from forming on the surface and reduces rainwater runoff, making them an eco-friendly landscaping choice.
Conclusion
Installing rubber pavers is a fantastic way to upgrade your home’s exterior with a surface that is safe, durable, and environmentally responsible. By following the steps outlined above, you can achieve a professional-looking result that enhances your garden’s usability and aesthetic appeal. The process requires some physical effort, particularly during the excavation and base preparation phases, but the long-term benefits of a low-maintenance, crack-resistant patio are well worth the work.
Remember that patience during the preparation stages is the secret to a flat and stable finish. Take your time leveling the ground and compacting the base, and the actual laying of the pavers will be a breeze. We hope this guide on how to install rubber pavers has given you the confidence to tackle this project this weekend. Gather your tools, order your materials, and get ready to enjoy a softer, smarter outdoor living space.

About
Jovie Mathews is a backyard and outdoor expert writer with over 12 years of hands-on experience transforming neglected outdoor spaces into thriving gardens and functional retreats. Raised in a family where weekends meant digging in the soil and building raised beds from scratch, Jovie developed a genuine love for the outdoors long before it became a career.
She writes with a practical, no-fluff approach — always testing ideas in her own backyard before sharing them with readers. From composting systems and native plant selection to patio design and pest control, Jovie covers the full spectrum of backyard life with equal parts expertise and enthusiasm.
Education
B.Sc. in Horticulture Science
University of Florida (UF) · Gainesville, FL · 2014
IFAS College of Agricultural and Life Sciences
Minor in Environmental Studies
University of Florida (UF) · Gainesville, FL · 2014
College of Liberal Arts and Sciences
Areas of expertise
- Lawn & Garden Care
- Soil prep, planting, seasonal care
- Outdoor DIY Projects
- Raised beds, fencing, pathways
- Composting & Soil Health
- Organic methods, amendments
- Native Plants & Wildlife
- Pollinators, habitat gardening
When she is not writing, Jovie can be found testing new composting techniques, growing tomatoes in questionable quantities, or convincing her neighbors that clover lawns are actually a great idea. She currently gardens in the Pacific Northwest.