Keeping your flock hydrated with fresh, uncontaminated water is one of the most critical responsibilities for any poultry keeper. Water is the lifeblood of your chickens, affecting their egg production, digestion, and overall vitality. Unfortunately, chickens are notorious for scratching dirt, bedding, and poop into their water sources, turning a pristine bowl into a bacterial hazard in minutes.
Understanding how to keep chicken water clean is essential for preventing disease and maintaining a happy coop. Dirty water can harbor harmful pathogens like E. coli and Coccidiosis, which can spread rapidly through your flock. By implementing a routine and using the right equipment, you can ensure your birds always have access to the hydration they need without constant scrubbing. This guide will walk you through practical, beginner-friendly methods to maintain sanitary water conditions effortlessly.
Why Knowing How to Keep Chicken Water Clean Matters
Water quality is often the overlooked hero of poultry health. When you master the art of maintaining a pristine water supply, you are directly investing in the longevity of your birds. Chickens consume double the amount of water compared to feed by weight, and this requirement spikes during hot summer months. If their water is slimy, filled with algae, or contaminated with droppings, chickens will drink less. Dehydration leads to a rapid drop in egg production, forced molting, and kidney issues that can be fatal.
Furthermore, a stagnant or dirty waterer is a breeding ground for mosquitoes and other pests that carry diseases. Algae blooms, while not always toxic, can clog nipples and cups, restricting access to water entirely. By prioritizing cleanliness, you reduce the workload of treating sick birds later. A clean water system also means less daily maintenance for you, freeing up time to enjoy your garden or simply watch your chickens scratch around the yard. It is a fundamental skill that transforms poultry keeping from a chore into a joy.
7 Step Methods Guide: How to Keep Chicken Water Clean
Step 1: Elevate Your Water Station
One of the most effective strategies to prevent contamination is simply raising the water source off the ground. When a waterer sits directly on the coop floor or run, it is perfectly positioned to catch every bit of dust, bedding, and manure that your chickens kick up while scratching. This is the primary reason water gets dirty so quickly. By lifting it up, you remove it from the “scratch zone.”
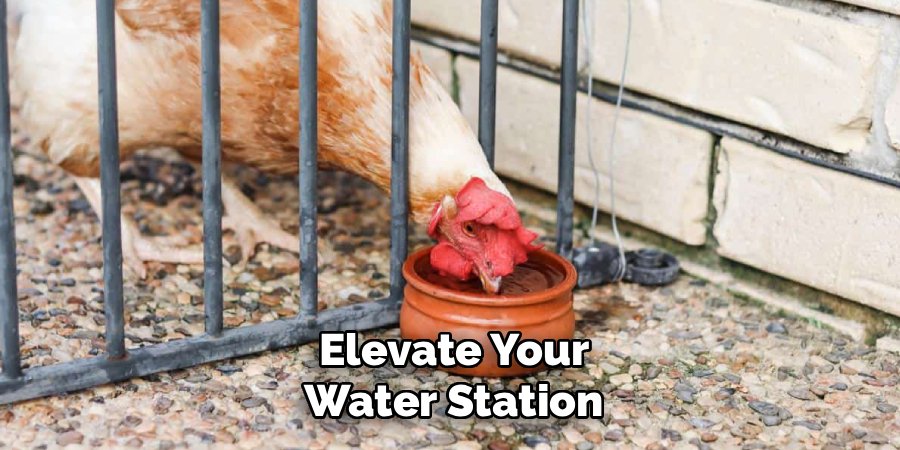
You can use concrete blocks, bricks, or a purpose-built stand to elevate the container. Ideally, the water level should be even with the backs of your chickens. This height is low enough for them to drink comfortably without straining but high enough to prevent them from walking in it or scratching debris into the basin. This simple adjustment drastically reduces the amount of muck that ends up in their drinking supply, keeping it fresher for longer periods.
Step 2: Choose the Right Type of Waterer
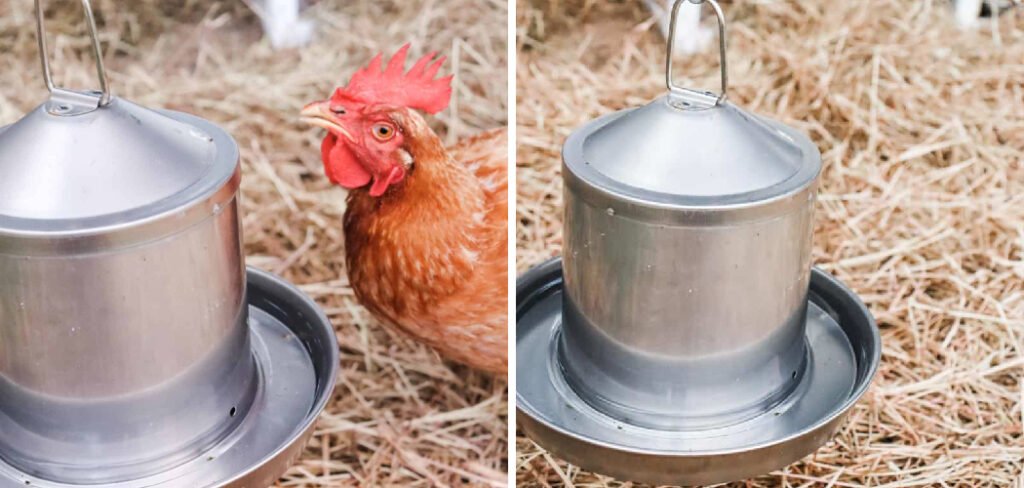
The design of your waterer plays a massive role in hygiene. Traditional open bowls or troughs are the most difficult to maintain because they offer a large surface area for contaminants to land. Every time a chicken leans over an open bowl, dirt falls from their beak and feathers directly into the drink. If you are struggling with dirty water, it might be time to switch to a closed system.
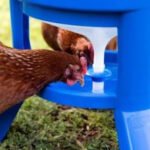
Nipple waterers or cup systems are generally superior for sanitation. These systems keep the bulk of the water enclosed in a bucket or PVC pipe, releasing liquid only when a bird pecks at the mechanism. Because there is no open reservoir, there is virtually no opportunity for poop or bedding to pollute the supply. While it may take a few days to train your flock to use them, the payoff in cleanliness is immense. This is a foundational tactic when learning how to keep chicken water clean effectively.
Step 3: Implement a Daily Rinsing Routine
Even with the best equipment, biofilm and slime will eventually accumulate on the surfaces of your waterer. Biofilm is that slippery, slimy substance that coats the inside of pet bowls, and it is essentially a colony of bacteria protecting itself. To combat this, you need to establish a quick, non-negotiable daily habit of rinsing the container. It does not need to be a deep scrub every single day, but a fresh rinse is vital.
Every morning when you go out to collect eggs or feed the flock, dump out the old water. Give the trough or bowl a strong blast with your garden hose to dislodge any loose sediment or beginning layers of slime. Refill it with cool, fresh water. This process takes less than two minutes but prevents bacteria from establishing a strong foothold. Consistency is key here; waiting until the water looks green means the bacteria have already multiplied significantly.
Step 4: Scrub Weekly with Apple Cider Vinegar
While daily rinsing handles loose debris, you need a deeper cleaning method to tackle invisible bacteria and stubborn algae. Once a week, commit to a thorough scrub using a natural cleaner. Apple cider vinegar (ACV) is a favorite among organic gardeners and poultry keepers because it is non-toxic and helps break down grime without leaving harmful chemical residues that could hurt your birds.
Empty the waterer completely and use a stiff bristle brush to scrub the interior walls and the drinking lip. You can use a mixture of water and a splash of ACV as your cleaning solution. The acidity helps cut through mineral deposits and slime. Pay special attention to corners and crevices where algae loves to hide. After scrubbing, rinse the container thoroughly with plain water until you no longer smell vinegar. This weekly reset ensures that your daily maintenance remains easy and effective.
Step 5: Position Waterers in Shaded Areas
Sunlight is the primary fuel for algae growth. If your waterer sits in direct sunlight for hours a day, you will inevitably battle green slime, regardless of how often you clean it. Algae spores are everywhere, and when they combine with water and light, they bloom rapidly. This not only makes the water unappealing to chickens but can also alter the taste and clog small mechanisms like nipples.
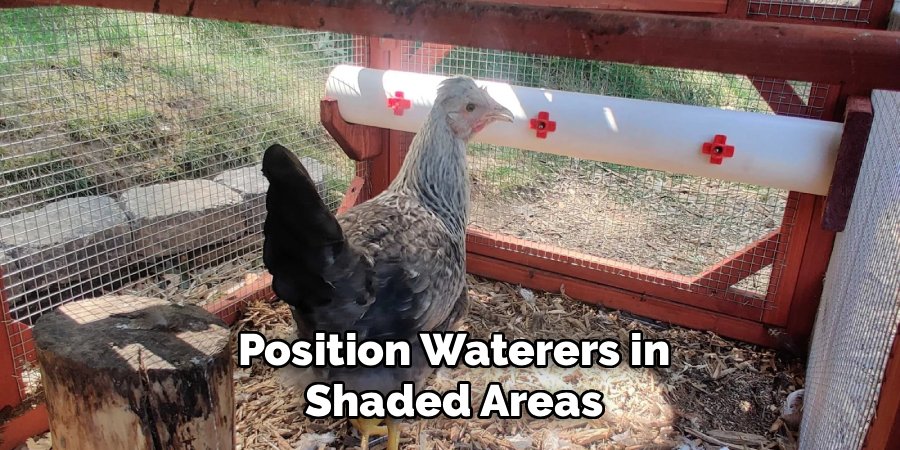
Walk through your run and identify the shadiest spots. Place your water stations under the coop, beneath a tree, or under a shade cloth. If natural shade is unavailable, consider building a simple wooden roof over the water station. Using opaque waterers rather than clear plastic ones also helps block light from reaching the liquid. By denying algae the sunlight it needs to photosynthesize, you solve a major part of the cleanliness puzzle before it even starts.
Step 6: Use Apple Cider Vinegar in the Water
Adding a small amount of Apple Cider Vinegar (ACV) directly to your flock’s drinking water is a popular proactive measure. The acetic acid in the vinegar lowers the pH level of the water slightly. This acidic environment makes it much more difficult for bacteria and algae to thrive. It effectively acts as a mild, natural preservative for the water, keeping it clearer for a longer duration.
The general recommendation is to add about one tablespoon of ACV per gallon of water. It is crucial to use raw, unpasteurized ACV with the “mother” for the best results, though any vinegar will lower pH. However, only do this in plastic waterers; acid causes metal waterers to rust and corrode, which can leach toxic metals into the water supply. This simple additive supports gut health in chickens while simultaneously helping you with the task of how to keep chicken water clean without harsh chemicals.
Step 7: Rotate Between Multiple Waterers
Having a backup waterer is a strategy that saves time and ensures better sanitation. If you only have one container, you are forced to clean it immediately while the chickens wait, which often leads to rushing the job. When you have two identical waterers, you can swap them out instantly. You take the dirty one away to be cleaned thoroughly at your convenience and leave the fresh one for the flock.

This rotation allows you to let the cleaned waterer dry out completely in the sun before using it again. UV rays from the sun are a powerful natural disinfectant that kills many pathogens that might survive a quick scrub. Drying also kills algae spores, which require moisture to survive. By letting the equipment rest and dry, you break the lifecycle of bacteria and algae more effectively than by constantly keeping the same container wet and in use.
Manage Dust and Debris in the Run
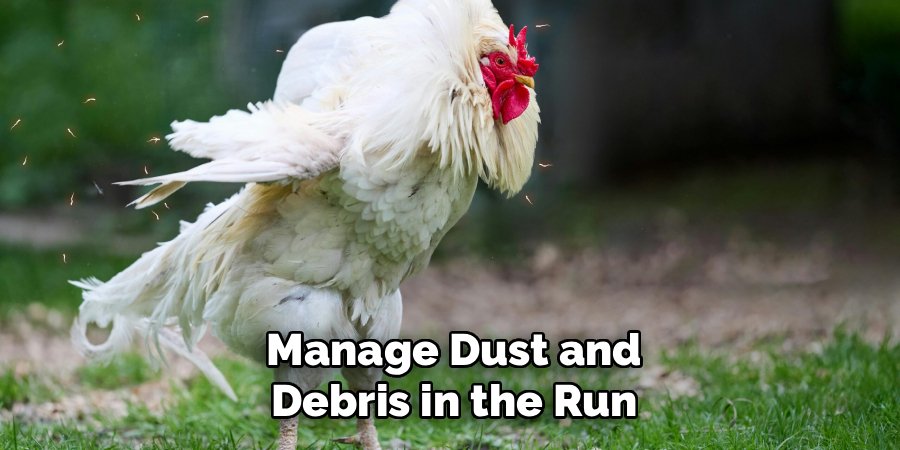
Sometimes the problem isn’t the waterer itself, but the environment surrounding it. If your run is extremely dusty or if the bedding is dry and powdery, particles will constantly drift into the water. Chickens are active creatures; their dust bathing and scratching create airborne debris that eventually settles on the surface of the water, creating a film of muck.
To mitigate this, maintain the area around the water station. If possible, place the waterer on a patio paver or a bed of gravel rather than directly over loose dirt or pine shavings. This creates a “clean zone” where there is less material to kick up. You might also consider wetting down the run slightly during very dry spells to keep dust levels down. Improving the overall hygiene of the coop floor naturally results in cleaner water because there is simply less filth available to contaminate the supply.
Frequently Asked Questions
How Often Should I Clean My Chicken Waterer?
You should rinse and refill your chicken waterer every single day to remove loose debris and ensure freshness. A deeper, more thorough cleaning with a scrub brush and a mild disinfectant (like vinegar or dish soap) should happen at least once a week. If you notice algae growing or if the water becomes slimy to the touch sooner than that, you need to increase your cleaning frequency immediately to prevent health issues.
Can I Use Bleach to Clean Chicken Waterers?
Yes, you can use bleach, but you must be extremely careful. Bleach is a powerful disinfectant that kills bacteria and viruses effectively. To use it safely, mix a weak solution of one part bleach to ten parts water. Scrub the waterer, let it sit for a few minutes, and then rinse it exceptionally well. You must rinse until there is absolutely no smell of bleach remaining before refilling it for your chickens, as residual bleach can be harmful.
Why Is My Chicken Water Turning Green?
Green water is caused by algae growth. Algae thrives when water is exposed to sunlight and warmth. It is not necessarily toxic in small amounts, but it can harbor bacteria and ruin the taste of the water. To stop this, move your waterer to a fully shaded area or switch to an opaque container that blocks light. Scrubbing the container regularly helps remove the invisible spores that cause the bloom to return.
What Is the Best Type of Waterer for Cleanliness?
Poultry nipple waterers are widely considered the best option for maintaining sanitation. Unlike open bowls or troughs, nipple systems are fully enclosed. The water remains inside a bucket or pipe until the chicken pecks the metal pin to release a drop. This design makes it nearly impossible for chickens to poop, kick dirt, or scratch bedding into their water supply, keeping it pristine for days at a time.
Is Apple Cider Vinegar Safe for Metal Waterers?
No, you should never use Apple Cider Vinegar (ACV) in galvanized metal waterers. The acid in the vinegar reacts with the zinc in the galvanization process, causing the metal to corrode and rust rapidly. This reaction can leach toxic levels of zinc into the water, which can poison your flock. Only use ACV if you are using plastic or rubber water containers.
Conclusion
Providing fresh, safe hydration is a cornerstone of successful poultry keeping. By understanding the importance of placement, selecting the right equipment, and establishing a consistent maintenance routine, you can drastically reduce the risk of disease in your flock. It requires a blend of daily attention and smart setup choices, but the reward is a vibrant, healthy group of hens that produce delicious eggs.
Remember, you don’t need expensive gadgets to succeed; often, simple changes like elevation and shade make the biggest difference. Start implementing these steps today, and you will see an immediate improvement in your coop’s hygiene. Mastering how to keep chicken water clean is a win for you and a win for your feathered friends, ensuring they stay hydrated and happy all year round.

About
Jovie Mathews is a backyard and outdoor expert writer with over 12 years of hands-on experience transforming neglected outdoor spaces into thriving gardens and functional retreats. Raised in a family where weekends meant digging in the soil and building raised beds from scratch, Jovie developed a genuine love for the outdoors long before it became a career.
She writes with a practical, no-fluff approach — always testing ideas in her own backyard before sharing them with readers. From composting systems and native plant selection to patio design and pest control, Jovie covers the full spectrum of backyard life with equal parts expertise and enthusiasm.
Education
B.Sc. in Horticulture Science
University of Florida (UF) · Gainesville, FL · 2014
IFAS College of Agricultural and Life Sciences
Minor in Environmental Studies
University of Florida (UF) · Gainesville, FL · 2014
College of Liberal Arts and Sciences
Areas of expertise
- Lawn & Garden Care
- Soil prep, planting, seasonal care
- Outdoor DIY Projects
- Raised beds, fencing, pathways
- Composting & Soil Health
- Organic methods, amendments
- Native Plants & Wildlife
- Pollinators, habitat gardening
When she is not writing, Jovie can be found testing new composting techniques, growing tomatoes in questionable quantities, or convincing her neighbors that clover lawns are actually a great idea. She currently gardens in the Pacific Northwest.