A beautifully laid paver patio is often the crown jewel of a backyard, providing the perfect stage for summer barbecues, morning coffees, and evening relaxation. However, over time, nature can take its toll. Ground settling, water drainage issues, and freezing temperatures can cause pavers to sink, heave, or tilt, turning your pristine surface into a tripping hazard. Walking across an uneven patio isn’t just annoying; it can be dangerous and unsightly.
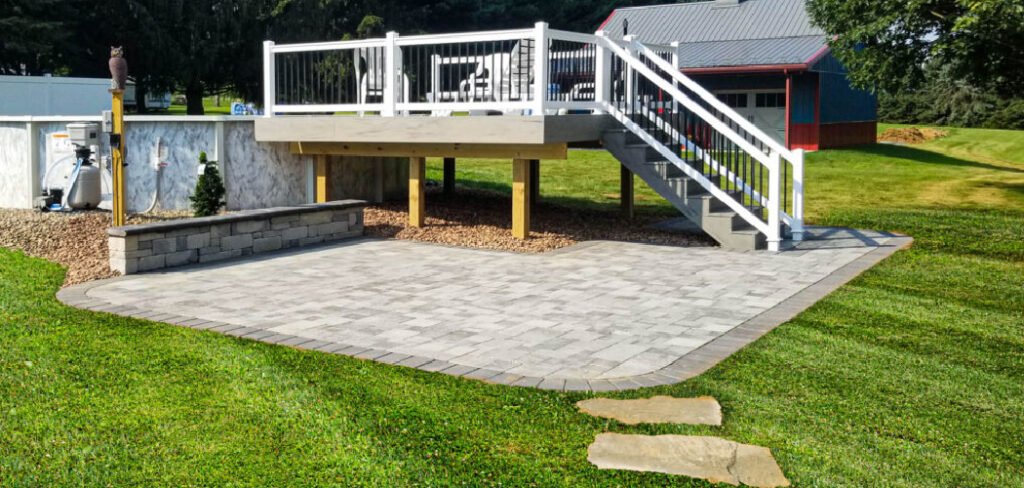
The good news is that you don’t necessarily need to hire an expensive contractor to fix it. With a little elbow grease and the right technique, restoring your patio to its former glory is a manageable weekend project. This guide is designed to empower homeowners with the knowledge needed to tackle this repair confidently. We will walk you through exactly how to level a paver patio, ensuring your outdoor living space is safe, stable, and ready for entertainment once again.
Uneven pavers can create not only a tripping hazard but also an eyesore in your otherwise beautiful outdoor space. Whether it’s due to shifting ground, poor installation, or erosion, addressing the issue sooner rather than later can prevent further damage and restore functionality. By following a few simple steps and using basic tools, you can efficiently level your paver patio and enjoy a smooth, attractive surface once again.
Why Leveling Your Paver Patio is Important
An uneven paver patio is more than just a cosmetic issue—it can lead to several practical problems if left unaddressed. First, uneven surfaces can pose a safety hazard, increasing the risk of trips and falls for you and your guests. Additionally, water can pool in low spots, potentially damaging the pavers over time and creating a slippery surface. Uneven pavers can also cause strain on outdoor furniture, making it unstable and uncomfortable to use. By leveling your patio, you not only enhance its appearance but also ensure a safer, more functional, and longer-lasting outdoor space.
8 Step-by-Step Guide on How to Level a Paver Patio
Step 1: Assess the Damage
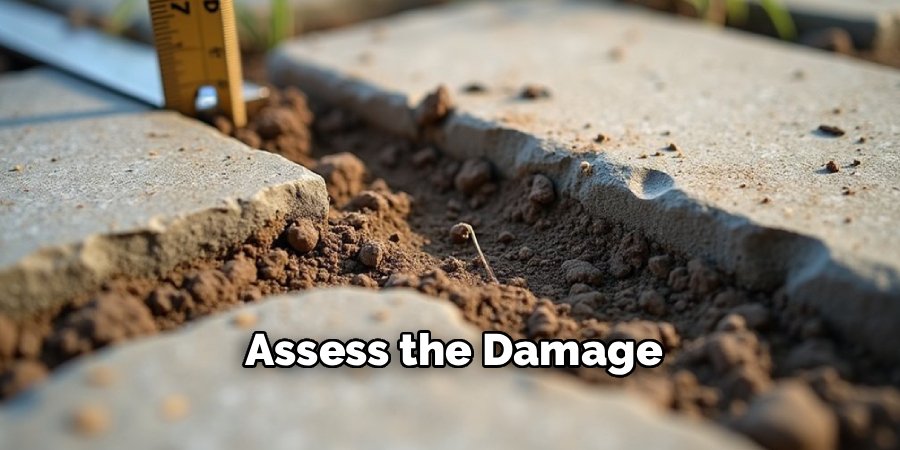
Before you start prying up stones, you need a clear picture of the problem. Walk over the entire surface to identify all the sunken or uneven spots. Mark these areas with chalk so you don’t lose track of them once you start working. Once you have identified the problem zones, thoroughly clean the patio.
Sweep away leaves, dirt, and debris, and use a pressure washer or a stiff broom with soapy water to remove any moss or weeds growing between the joints. Working with a clean surface prevents debris from falling into your base layer later, which could compromise the leveling process. A clean workspace allows you to see the true alignment of the stones and ensures that when you reinstall them, they will sit flush with their neighbors without grit getting in the way.
Step 2: Carefully Remove the Uneven Pavers
The next phase involves lifting the affected stones. You will need a pair of flat-head screwdrivers, a putty knife, or a specialized paver puller tool for this task. Start at the edge of the sunken area if possible, or carefully wiggle a screwdriver into the joint of a central paver to pry it up.
Be gentle to avoid chipping the edges of the concrete or stone. As you remove them, stack the pavers nearby in the exact pattern they were laid. If your patio has a complex design, consider numbering the bottom of the stones with chalk or taking a photo with your phone. This simple preparation saves you from the headache of a jigsaw puzzle later. Lift a few extra pavers around the perimeter of the low spot to ensure you have enough room to grade the base seamlessly.
Step 3: Excavate and Inspect the Base Material
With the pavers removed, you will see the sand or stone dust base underneath. Often, the reason for the sinking is that this base has washed away or settled unevenly. You need to inspect the exposed area for any signs of animal tunnels or rotting organic material like tree roots, which must be removed. Dig out the existing bedding sand to a depth of about two to three inches to expose the compacted gravel sub-base below.
If the gravel sub-base itself looks disturbed or loose, you may need to dig a bit deeper and add fresh gravel. The goal is to reach a solid, stable foundation upon which you can rebuild. Removing the old, compromised sand ensures that your new leveling layer will have a fresh start and perform better over time.
Step 4: Add New Base Material
Once the area is excavated and clean, it is time to rebuild the support structure. Purchase bags of paver sand or stone dust from your local hardware store. Pour a layer of this fresh material into the excavated hole. You want to add enough sand so that when the paver is placed back on top, it sits slightly higher than the surrounding stones to account for compaction.
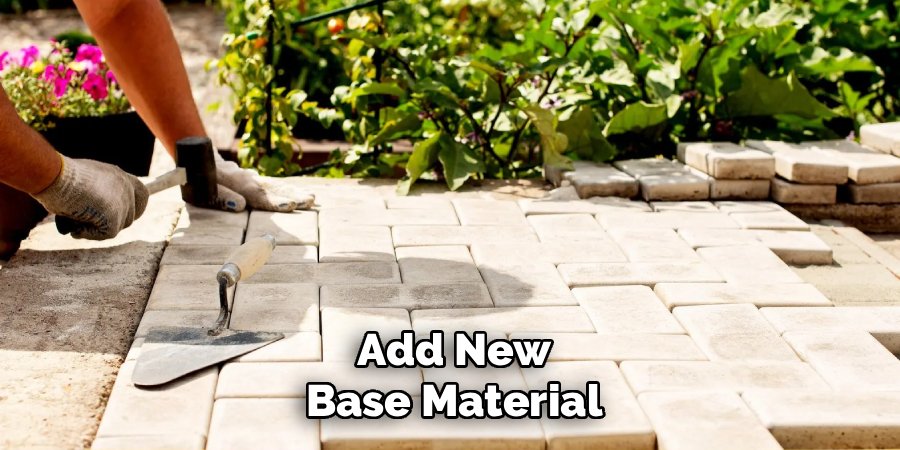
Spread the sand evenly across the hole using a hand trowel or a small piece of wood. It is crucial to use the correct type of angular sand that locks together, rather than round play sand which can shift easily. This step provides the essential cushion and drainage layer that keeps your pavers flat and stable through changing weather conditions.
Step 5: Screed and Level the Sand Layer
Achieving a perfectly flat surface requires a technique called screeding. Take a straight piece of wood, like a 2×4, or a dedicated screeding tool, and drag it across the new sand to create a smooth, level bed. The sand should follow the existing slope of the patio to ensure proper water runoff.
Use a spirit level on top of your screed board to verify that the grade matches the surrounding, undisturbed sections. If you find low spots, add a handful of sand; if there are high spots, scrape them away. This process is critical because any imperfections in the sand layer will translate directly to the finished surface. Take your time here to create a flawless, uniform bed that will support the pavers evenly and prevent future rocking or cracking.
Step 6: Compact the Base for Stability
Simply spreading the sand is not enough; it must be compacted to prevent immediate settling once you step on the pavers. Since you are likely working on a small repair area, a large plate compactor might be overkill and difficult to maneuver. Instead, use a hand tamper or the end of a heavy 4×4 post to firmly pound the sand down. Compacting removes air pockets and locks the sand particles together.
After tamping, check the level again. You will likely find that the sand level has dropped, so you may need to add a thin top layer and screed it once more. This cycle of adding sand, screeding, and compacting ensures a dense, solid base that serves as a permanent fix rather than a temporary bandage.
Step 7: Reinstall the Pavers into the Pattern
Now you are ready to put the puzzle back together. Place the pavers back onto the prepared sand bed, following the pattern of your original design or the numbers you chalked on the back. Drop the pavers straight down into place rather than sliding them, which can disrupt your perfectly leveled sand.
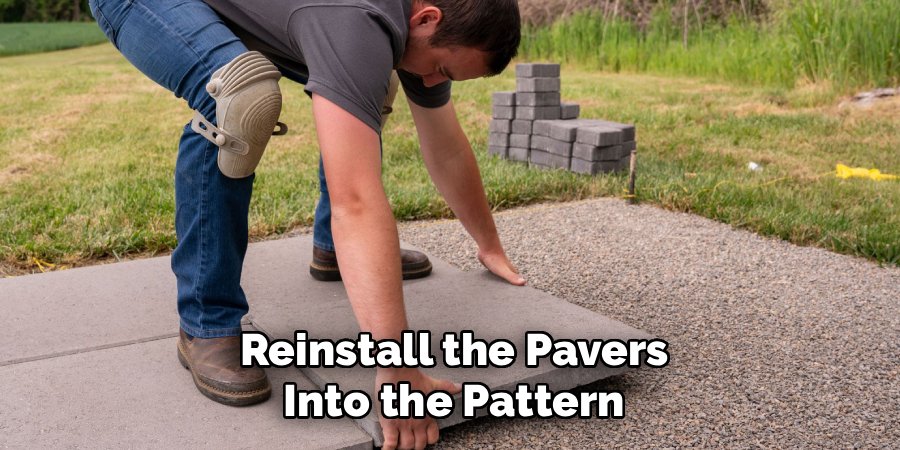
Use a rubber mallet to gently tap each stone until it is level with the surrounding pavers. If a stone sits too low, pull it up and add a pinch of sand; if it is too high, tap it harder or remove a small amount of base. The goal is a flush surface where you cannot trip over the edges. Ensure the gaps between the stones remain consistent with the rest of the patio for a cohesive, professional look.
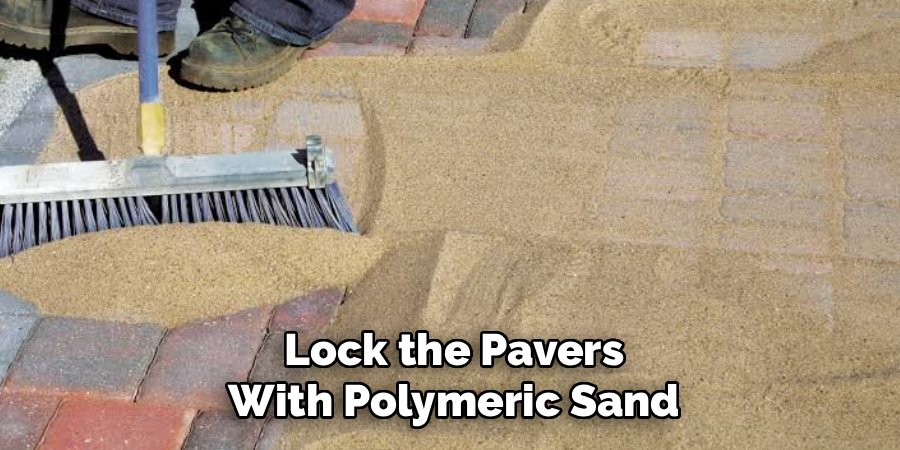
Step 8: Lock the Pavers with Polymeric Sand
The final step secures your work and prevents weeds from returning. Spread polymeric sand over the repaired area and use a broom to sweep it into the joints between the pavers. Polymeric sand contains a binding agent that hardens when wet, acting like flexible grout.
Once the joints are filled, use a leaf blower on a low setting or a soft brush to remove every speck of dust from the surface of the pavers. This is vital because any remaining dust will stain the stones when wet. Finally, gently mist the area with a garden hose to activate the binding agent in the sand. This locks the pavers in place, prevents insects from burrowing, and completes your project on how to level a paver patio.
Frequently Asked Questions (FAQ)
Why Do Pavers Sink Over Time?
There are several common reasons why pavers lose their level. The most frequent culprit is water drainage; if water pools near the patio or gutter downspouts are not directed away, the soil underneath can soften and erode. In colder climates, the freeze-thaw cycle causes the ground to heave and settle repeatedly. Additionally, if the original base was not compacted correctly during installation, the weight of foot traffic will eventually cause the stones to depress into the loose soil.
Can I Use Regular Sand Instead of Polymeric Sand?
While you technically can use regular masonry sand, it is highly recommended to use polymeric sand for a longer-lasting repair. Regular sand easily washes away with rain and provides no resistance to weeds or ants. Polymeric sand contains special additives that harden when activated with water, creating a durable bond that locks the pavers together while still allowing for slight flexibility. This prevents the pavers from shifting and significantly reduces maintenance in the long run.
Do I Need to Remove All the Pavers to Level the Patio?
No, you typically do not need to pull up the entire patio unless the whole installation is failing. Spot leveling is a very effective strategy for fixing specific sunken areas or tracks caused by vehicles. By focusing only on the problematic sections, you save immense amounts of time and labor. However, you should remove a few extra rows of stones around the sunken area to ensure you can blend the grade seamlessly back into the level parts of the patio.
What Tools Do I Need for This Project?
Most leveling projects can be completed with standard tools found in a homeowner’s garage.
- Essential tools: A flat-head screwdriver or putty knife (for lifting), a rubber mallet, a level, a shovel or trowel, a stiff broom, and a hand tamper.
- Materials: Paver base (sand or stone dust) and polymeric sand.
- Optional but helpful: A pressure washer for cleaning and knee pads to protect your joints while working on the hard surface.
How Long Do I Need to Wait Before Walking on the Repaired Area?
If you use polymeric sand to seal the joints, you need to allow time for the binding agents to cure. Generally, you should wait at least 24 hours before walking on the area and 48 to 72 hours before placing heavy furniture or driving vehicles over it. If rain is in the forecast within 24 hours of completing the job, cover the area with a tarp to prevent the sand from washing out before it sets.
Conclusion
Fixing a sunken or uneven patio is one of the most satisfying DIY projects a homeowner can undertake. It immediately improves the curb appeal of your home and eliminates nagging safety hazards. By following the process of excavating, building a solid base, and carefully reinstalling your stones, you are doing more than just a cosmetic touch-up; you are extending the lifespan of your outdoor investment.
Regular maintenance and quick repairs to small sunken spots prevent larger issues from developing down the road. You don’t need to live with puddles on your patio or stubbed toes any longer. Now that you understand the mechanics of how to level a paver patio, you can step outside this weekend and reclaim your space, creating a stable, beautiful foundation for years of outdoor memories.

About
Jovie Mathews is a backyard and outdoor expert writer with over 12 years of hands-on experience transforming neglected outdoor spaces into thriving gardens and functional retreats. Raised in a family where weekends meant digging in the soil and building raised beds from scratch, Jovie developed a genuine love for the outdoors long before it became a career.
She writes with a practical, no-fluff approach — always testing ideas in her own backyard before sharing them with readers. From composting systems and native plant selection to patio design and pest control, Jovie covers the full spectrum of backyard life with equal parts expertise and enthusiasm.
Education
B.Sc. in Horticulture Science
University of Florida (UF) · Gainesville, FL · 2014
IFAS College of Agricultural and Life Sciences
Minor in Environmental Studies
University of Florida (UF) · Gainesville, FL · 2014
College of Liberal Arts and Sciences
Areas of expertise
- Lawn & Garden Care
- Soil prep, planting, seasonal care
- Outdoor DIY Projects
- Raised beds, fencing, pathways
- Composting & Soil Health
- Organic methods, amendments
- Native Plants & Wildlife
- Pollinators, habitat gardening
When she is not writing, Jovie can be found testing new composting techniques, growing tomatoes in questionable quantities, or convincing her neighbors that clover lawns are actually a great idea. She currently gardens in the Pacific Northwest.