

Bringing the excitement of beach volleyball to your own home is a fantastic way to encourage outdoor activity and create lasting memories with family and friends. Imagine hosting summer tournaments, practicing your serve, or simply enjoying a casual game without ever leaving your property.
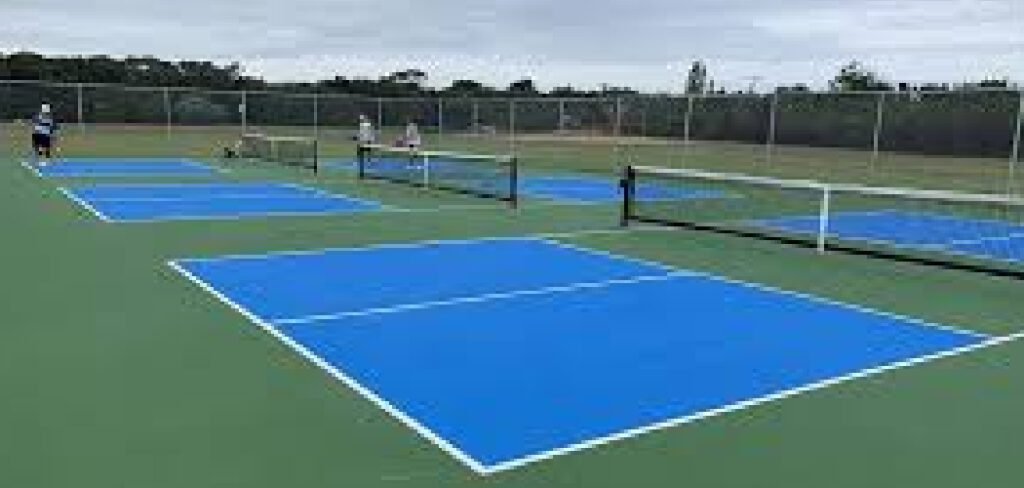
While it might seem like a daunting construction project reserved for professional facilities, building a private court is entirely achievable for the motivated DIY enthusiast. It requires careful planning, some physical labor, and attention to detail, but the payoff is a dedicated recreation space that adds value and enjoyment to your home.
Whether you are aiming for a professional-grade sand pit or a simple grass setup for casual play, the principles of construction remain similar.
This guide is designed to demystify the process and provide you with a clear roadmap on how to make a volleyball court in your backyard, transforming your outdoor space into the ultimate sports destination.
7 Step-by-Step Guide on How to Make a Volleyball Court in Your Backyard
Step 1: Measure the Perfect Location
The first critical phase of your project involves finding the right spot. You need a flat, open area that is free from overhead obstructions like low-hanging branches or power lines. A standard volleyball court measures 60 feet by 30 feet, but you must also account for a safety zone around the perimeter.
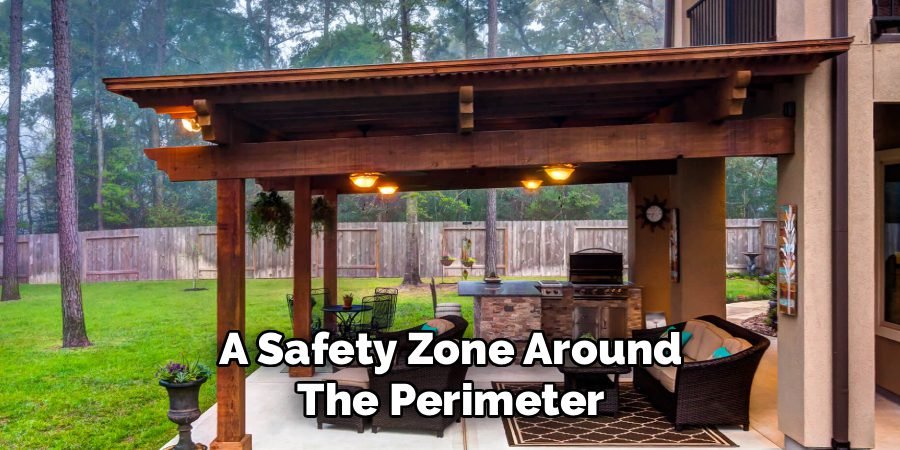
Ideally, you want at least ten feet of free space on all sides to allow players to dive for balls safely without hitting fences or walls. Use long measuring tapes and marking paint or stakes to outline the court’s dimensions directly on the ground.
Visualizing the footprint ensures you aren’t squeezing the court into a space that is too tight, which is a vital safety consideration when learning how to make a volleyball court in your backyard correctly.
Step 2: Excavate the Site for Proper Drainage
Once your layout is marked, the heavy lifting begins. You cannot simply dump sand on top of the grass; you need to dig down to create a stable base. Excavate the entire marked area to a depth of roughly one to two feet, depending on your soil type and desired drainage capabilities.
This depth allows you to install a drainage layer and a deep sand playing surface. Proper excavation removes organic material like grass and roots that would otherwise rot and cause uneven settling later.
If your yard has poor natural drainage, you may need to slope the bottom of your pit slightly to encourage water to flow away from the center, preventing your court from turning into a muddy swamp after a heavy rainstorm.
Step 3: Install a Drainage Pipe System
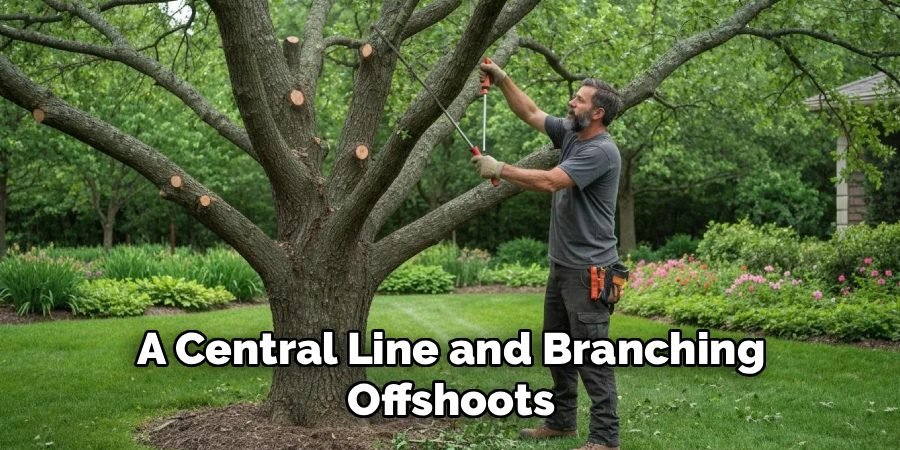
Water accumulation is the enemy of a good sand court. To keep your playing surface dry and playable, installing a perforated drainage pipe is highly recommended. Lay perforated PVC or corrugated agricultural pipe in a pattern across the bottom of your excavated pit, typically with a central line and branching offshoots.
These pipes should lead to a designated drainage outlet or a dry well away from the court. Cover these pipes with a layer of washed gravel or crushed stone.
This stone layer protects the pipes and allows water to filter down quickly through the sand, keeping the surface firm and safe for players. Skipping this step often leads to standing water and compacted sand, ruining the quality of play.
Step 4: Lay Landscape Fabric to Separate Layers
Before you add the massive amount of sand required, you must install a barrier to keep it pure. Cover the gravel drainage layer and the earthen sides of your pit with a high-quality, permeable geotextile landscape fabric. This fabric serves two essential purposes.
First, it prevents the sand from washing down into the gravel and clogging your drainage system. Second, it stops weeds and grass roots from growing up through the court, which is a maintenance nightmare. Overlap the fabric strips significantly and secure them with landscape staples.
This barrier ensures that your investment in high-quality sand isn’t wasted by mixing with the mud and rocks below, which is a key detail in the process of how to make a volleyball court in your backyard.
Step 5: Secure the Poles and Net Systems
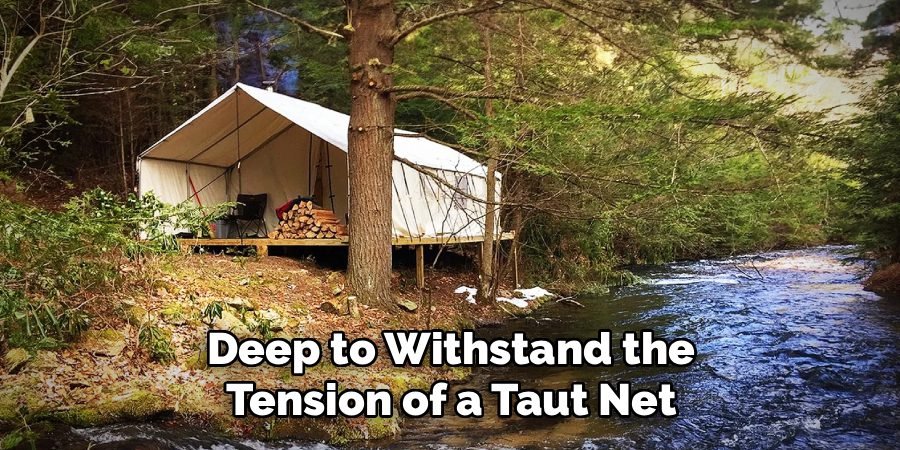
You cannot have a volleyball game without a net, and a sturdy net requires rock-solid poles. Before filling the court with sand, dig deep post holes at the center line on either side of the court, outside the boundary lines. These holes should be at least three feet deep to withstand the tension of a taut net.
Set your poles—typically galvanized steel or treated wood—into these holes and fill them with concrete. Ensure the poles are perfectly vertical using a level and let the concrete cure completely for several days.
Some systems use sleeves set in concrete, allowing you to remove the poles when not in use. Installing them at this stage ensures they are anchored deep in the ground below the sand level for maximum stability.
Step 6: Fill the Court with Quality Sand
Now comes the most visually transformative step: adding the sand. Do not settle for generic fill dirt; you need specific washed masonry sand or silica sand that is free of rocks and dust. “Play sand” or “volleyball sand” is ideal because it is screened for safety and won’t compact into a hard surface that scrapes knees and elbows.
You will likely need several dump trucks worth of material to fill your excavated pit to a depth of 12 to 18 inches. Spread the sand evenly using rakes and shovels until it reaches your desired level. A deep sand layer provides the necessary cushioning for jumps and dives, mimicking the soft, forgiving surface of a professional beach court.
Step 7: Set Boundaries and Install the Net
The final construction phase involves turning your sand pit into a regulation court. Install your net onto the poles, ensuring it is at the correct height—typically 7 feet 11 5/8 inches for men and 7 feet 4 1/8 inches for women. Tighten the winch system until the net is taut and straight. Next, lay out your boundary lines.

The best boundary markers for sand courts are adjustable webbing straps that can be anchored into the sand with bungee cords and plates buried deep at the corners.
These flexible lines are safer than ropes or paint and clearly define the “in” and “out” zones. Once the net is up and lines are down, give the sand a final rake to smooth out footprints, and you are ready for the first serve.
Volleyball Playing Strategies
Effective volleyball playing strategies can make a significant difference in game performance. One essential tactic is strong communication among team members, ensuring that everyone is aware of their responsibilities and positioning. Players should consistently call for the ball to avoid confusion and missed opportunities.
Another key strategy is mastering the art of serving; a strong and well-placed serve can put the opposing team on the defensive immediately. Additionally, teams should focus on defensive formations, such as a good block setup against spikers and quick reactions to digs.
Offensively, mixing up attacks with a combination of spikes, tips, and roll shots keeps the opponents guessing. Lastly, maintaining a positive team attitude and quickly adapting to changing game situations can keep the morale high and lead to a more cohesive and effective performance on the court.
Frequently Asked Questions (FAQ)
What Is the Best Type of Sand for a Volleyball Court?
You should look for washed masonry sand, often referred to as “silica sand” or specific “volleyball sand.”
- Texture: It should be sub-angular (slightly rounded) to prevent it from packing down too hard.
- Cleanliness: It must be “washed” to remove dust, silt, and clay, which cause mud and compaction.
- Avoid: Do not use construction fill dirt or beach sand with high shell content, as these can cause cuts and abrasions.
How Much Will It Cost to Build a Backyard Court?
The cost varies wildly based on DIY versus professional installation and local material prices.
- DIY Estimate: Expect to spend between $3,000 and $10,000. The biggest expenses are sand (including delivery) and equipment rental (excavator).
- Professional Estimate: Hiring a contractor can push the price to $15,000–$25,000 or more.
- Savings: You can save money by doing the excavation yourself and sourcing sand locally.
What Are the Official Dimensions of a Volleyball Court?
A regulation volleyball court measures 18 meters by 9 meters (approximately 59 feet by 29.5 feet).
- Free Zone: You need a safety buffer zone of at least 3 meters (10 feet) on all sides.
- Total Space: This means your total project area should be roughly 80 feet by 50 feet to be safe and playable.
- Recreational Size: For casual backyard play, you can scale this down slightly, but try to maintain the 2:1 length-to-width ratio.
How Deep Should the Sand Be?
For safety and playability, the sand should be at least 12 inches (1 foot) deep throughout the court.
- Professional Standard: Professional courts often go up to 18 or 24 inches deep.
- Safety: This depth prevents players from hitting the harder subsurface when diving or landing from a jump.
- Drainage: Deeper sand also assists with better water drainage, keeping the court dry.
Does the Court Require Maintenance?
Yes, a sand court requires regular upkeep to stay in good condition.
- Raking: You need to rake the sand frequently to keep it level and soft.
- Weeding: Pull any weeds immediately if they breach your barrier fabric.
- Debris Removal: Remove leaves, sticks, and animal waste promptly.
- Redistribution: Sand tends to migrate to the edges during play, so you will need to shovel it back toward the center periodically.
Conclusion
Building a dedicated space for volleyball on your property is a significant project that yields incredible rewards in terms of fitness, fun, and social connection. It transforms a passive patch of grass into an active hub where friends and family can gather to compete and unwind.
\By meticulously following the steps of site selection, drainage installation, and sand filling, you ensure that your court is safe, durable, and playable for years to come. The effort put into the foundation and materials will be evident every time you dive for a ball without worry.
Now that you are equipped with the knowledge of how to make a volleyball court in your backyard, all that remains is to break ground and get ready for the opening serve of your very first home tournament.

About
Jovie Mathews is a backyard and outdoor expert writer with over 12 years of hands-on experience transforming neglected outdoor spaces into thriving gardens and functional retreats. Raised in a family where weekends meant digging in the soil and building raised beds from scratch, Jovie developed a genuine love for the outdoors long before it became a career.
She writes with a practical, no-fluff approach — always testing ideas in her own backyard before sharing them with readers. From composting systems and native plant selection to patio design and pest control, Jovie covers the full spectrum of backyard life with equal parts expertise and enthusiasm.
Education
B.Sc. in Horticulture Science
University of Florida (UF) · Gainesville, FL · 2014
IFAS College of Agricultural and Life Sciences
Minor in Environmental Studies
University of Florida (UF) · Gainesville, FL · 2014
College of Liberal Arts and Sciences
Areas of expertise
- Lawn & Garden Care
- Soil prep, planting, seasonal care
- Outdoor DIY Projects
- Raised beds, fencing, pathways
- Composting & Soil Health
- Organic methods, amendments
- Native Plants & Wildlife
- Pollinators, habitat gardening
When she is not writing, Jovie can be found testing new composting techniques, growing tomatoes in questionable quantities, or convincing her neighbors that clover lawns are actually a great idea. She currently gardens in the Pacific Northwest.




