

A fresh coat of paint can completely transform your backyard, adding curb appeal and protecting your property from the elements. While the task might seem daunting at first, mastering how to paint a wooden fence is actually a manageable weekend project that delivers immediate satisfaction. You don’t need to be a professional contractor to achieve stunning results; you just need the right preparation and a bit of patience.
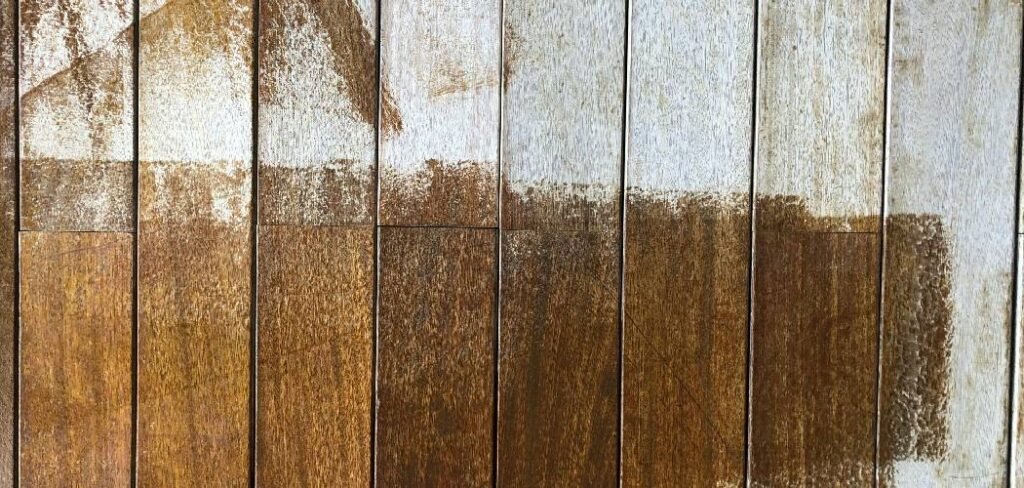
This guide is designed specifically for beginners and home gardeners who want to spruce up their outdoor space. We will walk you through everything you need to know, ensuring your fence looks great and stands strong against rain, sun, and rot for years to come. By the end of this article, you will feel confident enough to pick up a brush and give your yard the makeover it deserves. Let’s get started on revitalizing your home’s exterior boundary.
Why Painting Your Fence Is Essential for Longevity
Maintaining the boundary of your property goes beyond simple aesthetics. While a beautifully painted perimeter certainly elevates the look of your garden and complements your landscaping, the primary reason to undertake this project is protection. Wood is a natural material that is constantly vulnerable to moisture, ultraviolet rays, and insect damage. Without a protective barrier, the fibers can absorb water, leading to swelling, warping, and eventually rot.
7 Step-by-Step Guide on How to Paint a Wooden Fence
Step 1: Check the Weather Forecast
Before you even purchase your supplies, the most critical step is ensuring Mother Nature is on your side. You need a window of at least 24 to 48 hours of clear, dry weather to ensure the paint adheres correctly and dries without issues. Ideally, you want a day with low humidity and temperatures between 50 and 80 degrees Fahrenheit.
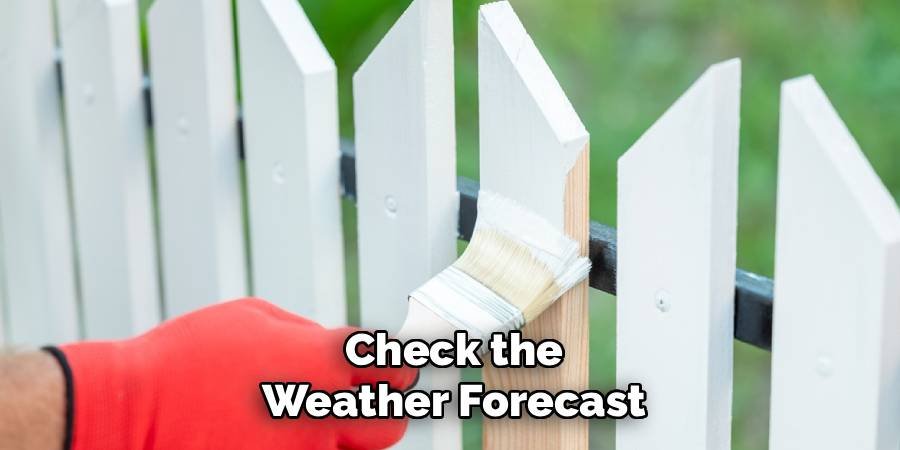
If it is too hot, the paint will dry too quickly and may crack or peel later. If it is too cold or damp, the paint won’t cure properly. Check the forecast religiously in the days leading up to your project. Painting on wet wood traps moisture inside, which guarantees rotting from the inside out. Patience here is key to a long-lasting finish.
Step 2: Clear the Perimeter Area
You need unobstructed access to the entire length of the structure to work efficiently and safely. Start by mowing the grass short along the fence line to prevent green stains on your fresh paint and to keep the brush from picking up dirt. Trim back any bushes, vines, or tree branches that are touching the wood.
If you have valuable plants or flower beds nearby, cover them with drop cloths or plastic sheeting to protect them from splatters and drips. Move any outdoor furniture, potted plants, or garden decorations away from the work zone. This preparation prevents accidental damage to your belongings and ensures you have plenty of room to move your ladder and equipment without tripping. A clear workspace makes the job much faster.
Step 3: Clean and Repair the Wood
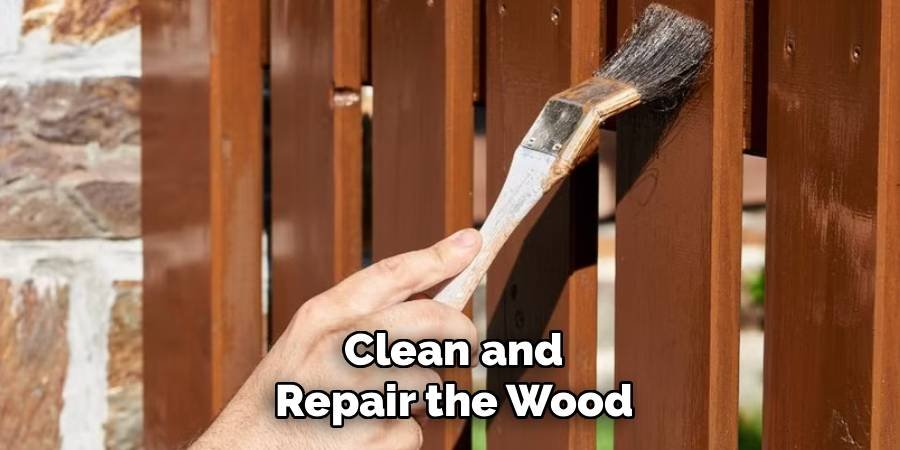
Paint will not stick to dirt, mold, or old, flaking finishes, so thorough cleaning is non-negotiable. Use a stiff wire brush or a scraper to remove loose paint and debris from the surface. For a deeper clean, especially if there is mildew present, wash the wood with a fence cleaner or a mixture of bleach and water. You might consider using a pressure washer on a low setting, but be careful not to gouge the wood.
Once cleaned, inspect the boards for loose nails, rot, or cracks. Hammer in loose nails, replace any rotten boards, and use wood filler for significant cracks. This ensures you have a smooth, solid base. Allow the wood to dry completely—usually 24 hours—before moving to the next step.
Step 4: Protect Surrounding Surfaces
Even the most careful painter can have an accidental spill or wind-blown spray. To avoid a messy cleanup later, take time to mask off areas you do not want painted. Use painter’s tape to cover hinges, latches, and any metal hardware attached to the structure. If the fence meets a brick wall or your house siding, apply tape to those edges to create a clean line.
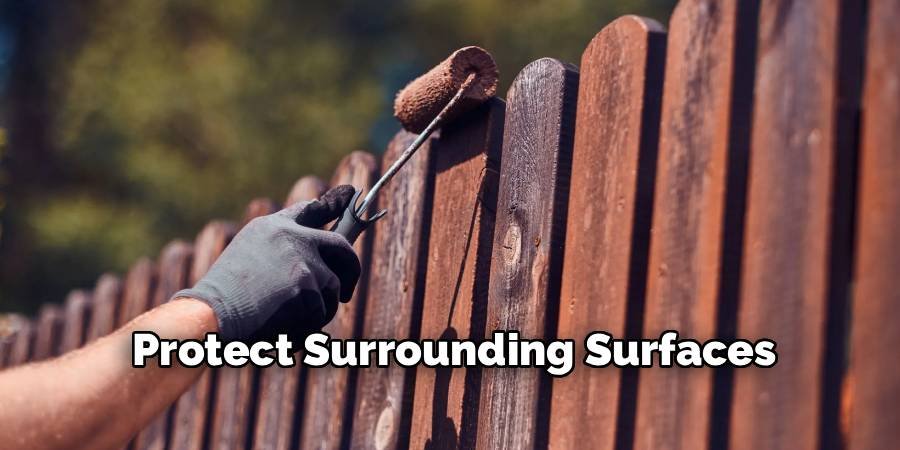
Lay down canvas drop cloths or heavy-duty plastic sheeting on the ground along the base of the fence. This catches drips that would otherwise stain your grass, patio pavers, or driveway. Secure the drop cloths with rocks or weights so they don’t blow away. Proper masking takes time but ensures a professional-looking result without stray paint marks ruining your hard work.
Step 5: Apply a Quality Primer
Many beginners skip this step, but applying a primer is crucial, especially if you are painting raw wood or covering a dark color with a lighter one. Primer acts as a bonding agent, helping the topcoat adhere better and last longer. It also seals porous wood, preventing it from soaking up too much expensive paint.
Choose an oil-based primer for stain-blocking properties or a high-quality acrylic latex primer for durability. Apply the primer using a roller for large, flat areas and a brush for the crevices and edges. If you are learning how to paint a wooden fence, understand that this base layer provides the foundation for a uniform finish. Let the primer dry completely according to the manufacturer’s instructions before applying your paint.
Step 6: Paint the Edges and Difficult Spots
Start your painting process by “cutting in,” which means painting the areas a roller cannot easily reach. Use a 2-inch to 4-inch angled sash brush to apply paint to the corners, edges, and spaces between the slats. Pay special attention to the bottom of the boards where they meet the ground, as this area is most prone to moisture absorption (wicking).
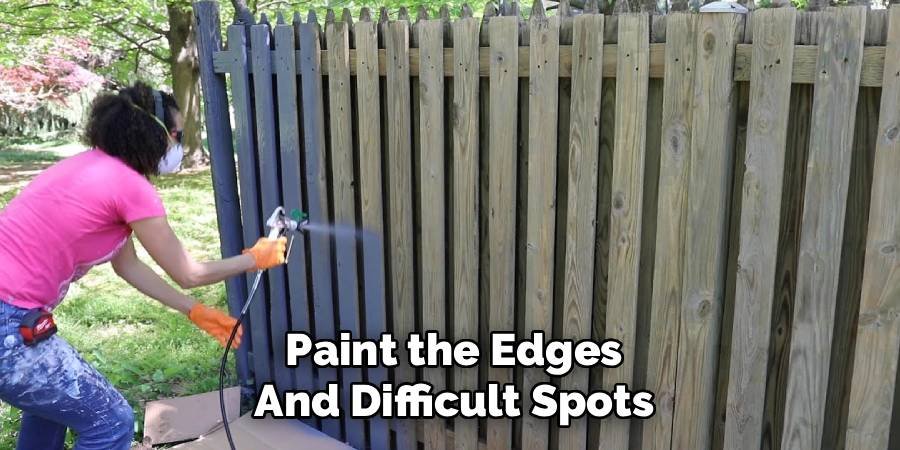
Also, coat the tops of the posts thoroughly to prevent rain from soaking into the end grain. Painting these detailed areas first ensures you don’t miss any spots when you roll the larger sections later. It also helps blend the brush strokes in with the rolled texture for a seamless look. Take your time here, as good coverage in the crevices prevents future rot.
Step 7: Apply the First Coat to Flat Surfaces
Now that the detailed work is done, you can cover the large surface areas more quickly. Use a medium-nap roller to apply the paint to the flat fence boards. A roller covers ground much faster than a brush and provides an even coat. Work in small sections, perhaps three or four boards at a time, moving from top to bottom.
Maintain a “wet edge” by overlapping each stroke slightly with the previous one to avoid lap marks. Do not overload the roller, as this causes drips and runs. If you see drips forming, smooth them out immediately with a brush. The goal is a smooth, even layer, not a thick, gloopy one. Consistency is better than trying to cover everything in one heavy pass.
Apply a Second Coat for Durability
One coat of paint is rarely enough for exterior wood exposed to the elements. Once the first coat is dry to the touch—refer to your paint can for specific drying times—assess the coverage. You will likely see some transparency or uneven spots.
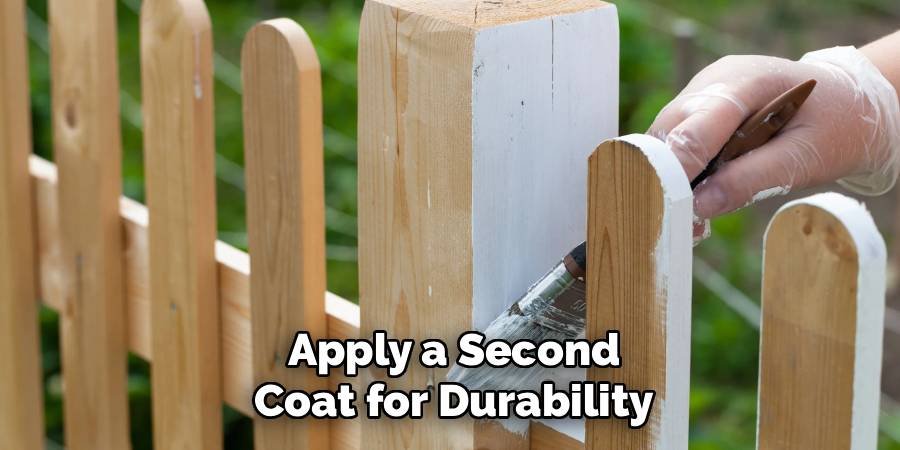
A second coat ensures true color richness and provides the maximum protective barrier against weather. Repeat the process of cutting in the corners if necessary, and then roll the flat surfaces again. This second layer solidifies the seal and ensures your hard work lasts for several years rather than just one season. The difference in finish quality between one coat and two is significant and well worth the extra effort.
Frequently Asked Questions
What Is The Best Type Of Paint For A Wooden Fence?
For wooden fences, high-quality exterior acrylic latex paint is generally the best choice. It creates a flexible barrier that can expand and contract with the wood as temperatures change, which reduces cracking and peeling.
- Acrylic Latex: Resists UV damage and mildew; cleans up with water.
- Oil-Based: Offers a hard, durable finish and excellent stain blocking, but is harder to clean up and may become brittle over time.
Always choose a product specifically labeled for exterior use.
Do I Need To Sand The Fence Before Painting?
Yes, some sanding is usually necessary, although you don’t need to sand it down to bare wood unless the old paint is in terrible condition.
- New Wood: Light sanding opens the pores to accept primer.
- Old Painted Wood: You must scrape off loose paint and sand the edges of the remaining paint to create a smooth surface.
Sanding ensures better adhesion, preventing the new coat from peeling off prematurely.
Can I Use A Sprayer Instead Of A Brush And Roller?
Absolutely. Using a paint sprayer is significantly faster than brushing and rolling, especially for large fences or designs with intricate lattice work.
- Pros: fast application, reaches into cracks easily.
- Cons: requires more paint due to overspray, requires very careful masking of surrounding areas, and you may still need to “back-brush” to work the paint into the wood grain.
If you are comfortable with the equipment, it is a great time-saver.
How Often Should A Wooden Fence Be Repainted?
A wooden fence should typically be repainted every 2 to 5 years, depending on the climate and the quality of the paint used.
- Harsh Climates: Intense sun, heavy rain, or snow will wear down the finish faster, requiring more frequent maintenance.
- Signs it’s time: If you see peeling, cracking, fading color, or if water soaks into the wood rather than beading up, it is time to repaint.
Is It Better To Paint Or Stain A Wooden Fence?
This depends on your aesthetic preference and maintenance goals.
- Paint: Provides a solid color, hides imperfections, and offers a thicker protective layer against UV rays and rot. It generally lasts longer but requires more prep work to recoat.
- Stain: Soaks into the wood, highlighting the natural grain. It fades gradually rather than peeling, making it easier to reapply, but it usually needs to be done more frequently than painting.
Conclusion
Revitalizing your backyard boundary is a rewarding project that combines aesthetic improvement with essential home maintenance. By following the preparation steps carefully and applying your coats with patience, you ensure that your property remains protected and looks inviting. Remember, the key to a professional finish lies as much in the cleaning and priming as it does in the final brushstrokes.
We hope this guide has given you the confidence to tackle the job yourself. Now that you know how to paint a wooden fence, you have the skills to extend the life of your timber and boost your home’s curb appeal. Grab your supplies, wait for a sunny weekend, and enjoy the process of transforming your outdoor space into a beautiful retreat.

About
Jovie Mathews is a backyard and outdoor expert writer with over 12 years of hands-on experience transforming neglected outdoor spaces into thriving gardens and functional retreats. Raised in a family where weekends meant digging in the soil and building raised beds from scratch, Jovie developed a genuine love for the outdoors long before it became a career.
She writes with a practical, no-fluff approach — always testing ideas in her own backyard before sharing them with readers. From composting systems and native plant selection to patio design and pest control, Jovie covers the full spectrum of backyard life with equal parts expertise and enthusiasm.
Education
B.Sc. in Horticulture Science
University of Florida (UF) · Gainesville, FL · 2014
IFAS College of Agricultural and Life Sciences
Minor in Environmental Studies
University of Florida (UF) · Gainesville, FL · 2014
College of Liberal Arts and Sciences
Areas of expertise
- Lawn & Garden Care
- Soil prep, planting, seasonal care
- Outdoor DIY Projects
- Raised beds, fencing, pathways
- Composting & Soil Health
- Organic methods, amendments
- Native Plants & Wildlife
- Pollinators, habitat gardening
When she is not writing, Jovie can be found testing new composting techniques, growing tomatoes in questionable quantities, or convincing her neighbors that clover lawns are actually a great idea. She currently gardens in the Pacific Northwest.




