

Achieving a lush, green lawn can feel like a dream, but with the right approach, it’s entirely within reach. St. Augustine grass is a popular choice for homeowners in warmer climates, known for its dense, carpet-like texture and beautiful blue-green color. It thrives in heat and can tolerate some shade, making it a versatile option for many yards.
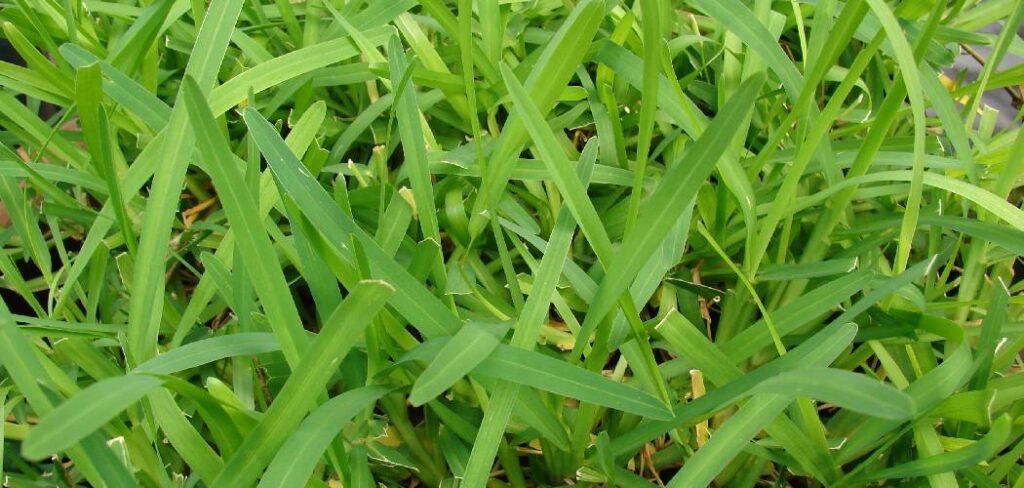
If you’re looking to transform your outdoor space quickly, sod is the way to go. This guide will provide a detailed, step-by-step process on how to plant st augustine sod, ensuring you have all the information needed to lay a foundation for a healthy, vibrant lawn that you can enjoy for years to come. It’s a rewarding project that yields stunning results with proper preparation and care.
Why Plant St. Augustine Sod?
Choosing St. Augustine sod for your lawn comes with a host of benefits, especially for those living in subtropical and coastal regions. One of its most celebrated qualities is its remarkable tolerance for heat and humidity, conditions where other grass types might struggle. It establishes a thick, dense turf that is highly effective at crowding out weeds, which means less time spent on weed control and more time enjoying your yard.
Furthermore, St. Augustine grass has a good tolerance for shade compared to other warm-season grasses like Bermuda. While it loves the sun, it can still perform well in areas with filtered sunlight, such as under large trees. Its aggressive growth via above-ground runners, called stolons, allows it to repair itself from minor damage and fill in bare spots relatively quickly.
This rapid establishment means you get an “instant lawn” that is ready for light use much faster than starting from seed. The result is a beautiful, resilient, and relatively low-maintenance lawn that adds significant curb appeal to your home.
8 Step-by-Step Guide on How to Plant St Augustine Sod
Step 1: Measure Your Lawn and Order the Sod
Before you can begin, you need to know exactly how much sod to order. Use a measuring tape to determine the square footage of the area you plan to cover. Measure the length and width of each section and multiply them to get the area. For irregularly shaped lawns, break them down into smaller, manageable rectangles and circles to estimate the total square footage more accurately.
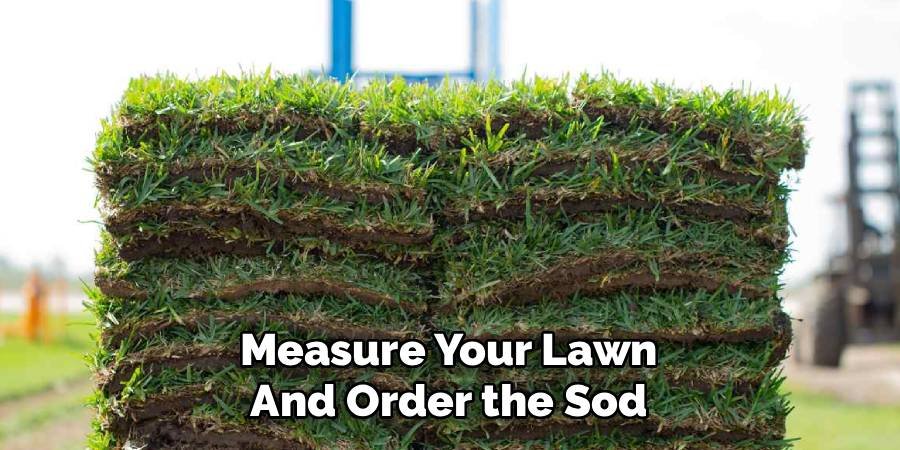
Once you have your total, it’s wise to add an extra 5% to 10% to your order. This surplus will account for any miscalculations, cuts you’ll need to make around curves, and potential replacement pieces. Order your sod for delivery on the day you plan to install it, as fresh sod is perishable and should be laid as soon as possible.
Step 2: Clear the Existing Area
Proper site preparation is crucial for a successful installation. Start by removing all existing grass, weeds, rocks, and other debris from the area. You can do this manually with a spade or rake for smaller areas. For larger lawns, renting a sod cutter can save a significant amount of time and effort. A sod cutter slices under the old turf, allowing you to roll it up and remove it easily.
After clearing the vegetation, rake the entire area to remove any remaining roots or stones. The goal is to create a clean, bare-soil canvas for your new sod to take root. A clear surface ensures direct contact between the sod roots and the soil, which is essential for establishment.
Step 3: Grade and Level the Soil
Once the area is clear, you need to grade the soil to ensure proper drainage. The ground should slope gently away from your home’s foundation, sheds, and driveways to prevent water from pooling. A drop of one to two feet for every 100 feet is generally sufficient. Use a landscape rake to break up large clumps of soil and fill in any low spots. Walk over the entire area to feel for dips or bumps underfoot.
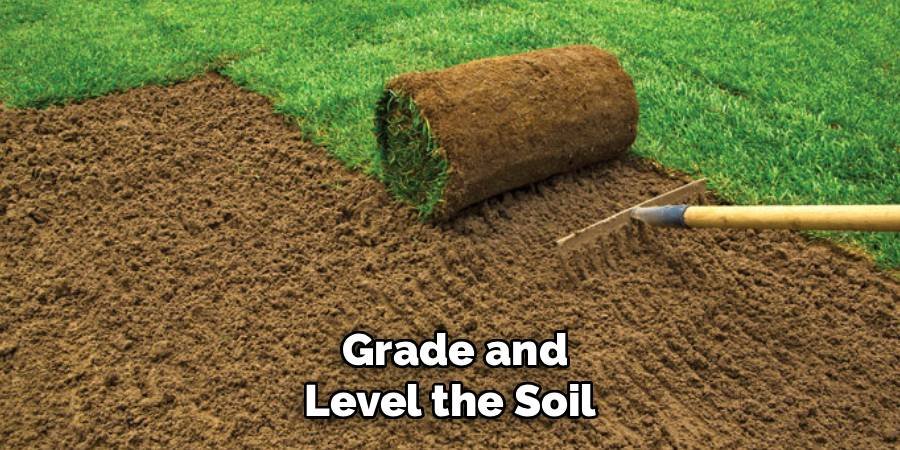
Your goal is to create a smooth, even surface. This step is critical because an uneven lawn will not only look unsightly but can also lead to scalping during mowing and poor water distribution, creating soggy or dry patches.
Step 4: Amend the Soil
Healthy soil is the foundation of a healthy lawn. St. Augustine grass prefers well-draining, nutrient-rich soil. Before laying your sod, it’s a great idea to improve the existing topsoil. Conduct a soil test to check the pH level; St. Augustine thrives in a pH range of 6.0 to 7.5. Based on the test results, you can add amendments like lime to raise the pH or sulfur to lower it.
Spreading a 2- to 3-inch layer of high-quality compost or a balanced topsoil mix over the entire area will dramatically improve soil structure, water retention, and nutrient availability. Use a tiller or a garden rake to work these amendments into the top 4 to 6 inches of your native soil, creating an ideal environment for the new sod roots.
Step 5: Install a Sprinkler System (Optional)
If you’ve been considering an in-ground sprinkler system, now is the perfect time to install it. With the ground already cleared and graded, laying irrigation lines is much easier than digging up an established lawn. An automated irrigation system ensures your new St. Augustine sod receives consistent and uniform watering, which is critical during its initial establishment phase and for long-term health.
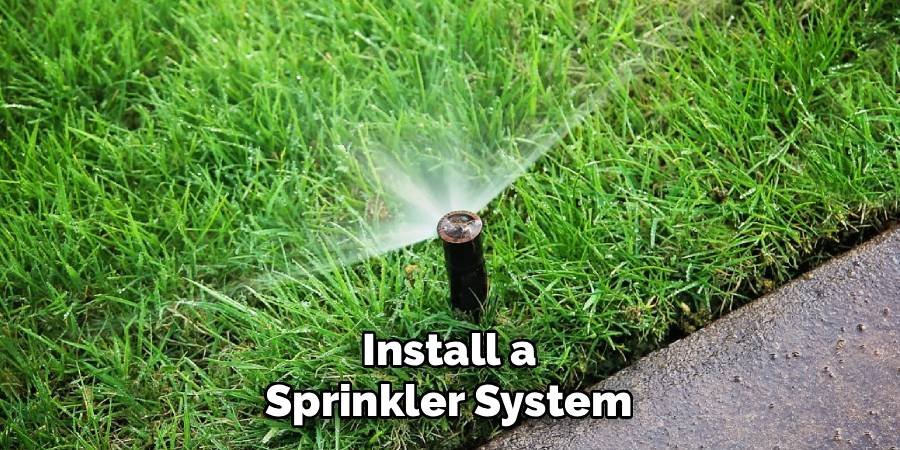
Plan your sprinkler head layout to provide complete coverage without oversaturating any single area. Proper watering is a key component of learning how to plant st augustine sod successfully, and an irrigation system makes this task much more manageable.
Step 6: Lightly Water and Begin Laying the Sod
Just before you start laying the sod, lightly moisten the prepared soil with a garden hose. The soil should be damp, not muddy. This moisture helps the sod roots make better initial contact and prevents them from drying out too quickly. Start laying the sod along a straight edge, such as a driveway, sidewalk, or a string line you’ve stretched across the lawn. Unroll each piece carefully, ensuring the edges are pressed tightly together without overlapping. Avoid leaving gaps between the pieces, as this can cause the edges to dry out and create visible seams in your lawn.
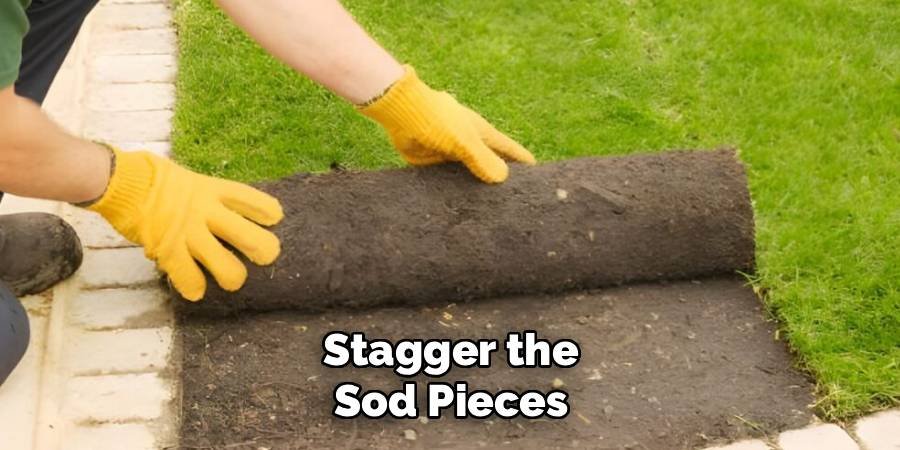
Step 7: Stagger the Sod Pieces
To create a seamless, uniform appearance, you should lay the sod pieces in a staggered, brick-like pattern. After you finish the first row, start the next row with half a piece of sod. This staggering ensures that the short seams are not aligned, which helps them blend together more quickly and strengthens the overall turf. As you lay each piece, gently press it down to ensure good contact between the sod roots and the underlying soil. Be careful not to stretch the sod pieces, as they can shrink as they dry, creating gaps. Use a utility knife to cut sod pieces to fit around sprinkler heads, trees, and curved landscape beds.
Step 8: Water the New Sod Thoroughly
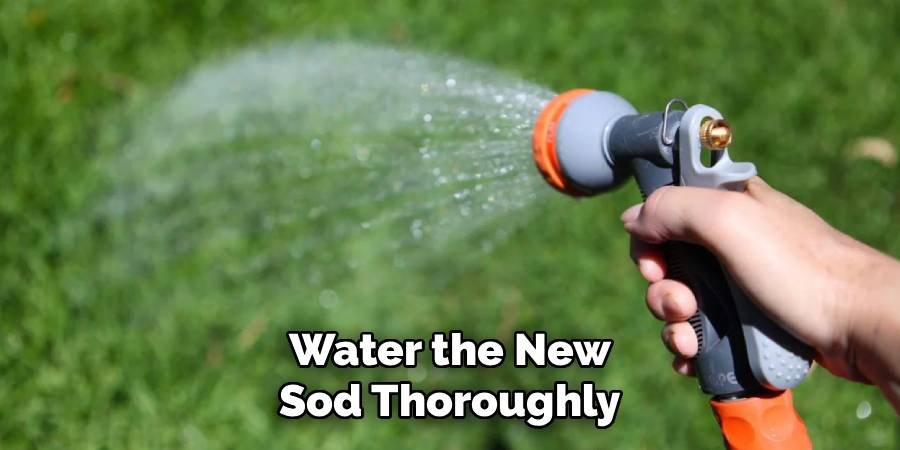
Once all the sod is laid, it’s time for the most critical step: watering. Immediately water the entire lawn thoroughly. You want to apply enough water to saturate the sod and the top few inches of soil beneath it. To check if you’ve watered enough, gently lift a corner of a sod piece; the soil underneath should be wet. For the first two weeks, you will need to water the lawn daily, possibly even twice a day in hot, dry weather, to keep the sod and soil consistently moist. This frequent watering is essential for the roots to establish themselves in the new soil. This final part of how to plant st augustine sod is what ensures the project’s success.
Frequently Asked Questions
What Is the Best Time of Year to Plant St. Augustine Sod?
The ideal time to plant St. Augustine sod is during its active growing season, which is typically in the spring and early summer. This timing allows the grass to take advantage of warmer temperatures and longer daylight hours to establish its root system quickly. Planting in the fall is also possible in warmer climates, but you should lay the sod at least 6 to 8 weeks before the first expected frost to give it enough time to root before going dormant for the winter.
How Soon Can I Walk on My New St. Augustine Sod?
You should keep foot traffic to an absolute minimum for the first two weeks after installation. The sod needs this time to begin rooting into the soil without being disturbed. After about 14 days, the sod should be rooted enough to handle light foot traffic. You can test this by gently tugging on a corner of the sod. If you feel resistance, the roots are taking hold. You can typically resume normal lawn activities, including regular foot traffic, after about three to four weeks.
When Should I Mow My New Sod for the First Time?
You should wait to mow until the sod has firmly rooted and started to show new growth. This usually takes about 14 to 21 days. For the first mow, set your mower to its highest setting to avoid stressing the new grass. You only want to trim the top third of the grass blades. Make sure your mower blade is sharp to ensure a clean cut rather than tearing the grass, which can damage the young turf. After the first mow, you can gradually lower the blade height over the next few mowings to your desired length.
How Do I Care for My St. Augustine Lawn After It Is Established?
Once your St. Augustine lawn is established, proper care will keep it healthy and vibrant.
- Watering: Water deeply but infrequently, about 1 inch per week, to encourage deep root growth.
- Mowing: Mow at a height of 3 to 4 inches to promote a dense, healthy turf.
- Fertilizing: Feed your lawn with a balanced fertilizer during the growing season according to package directions.
- Weed Control: A thick, healthy lawn is the best defense against weeds. Apply pre-emergent herbicides in the spring to prevent weeds from sprouting.
Can I Lay New Sod Over Existing Grass?
No, you should never lay new sod directly over an existing lawn. The new sod roots need to make direct contact with nutrient-rich soil to establish properly. Laying sod over old grass or weeds creates a barrier that prevents rooting, causing the new sod to dry out and die. It can also lead to disease and drainage problems. Always take the time to completely remove the old lawn and prepare the soil before laying your new St. Augustine sod for the best results.
Conclusion
Installing a new lawn is a significant but highly rewarding undertaking. By following these detailed steps, you are well-equipped with the knowledge of how to plant st augustine sod and create a beautiful, durable turf that will enhance your home’s curb appeal. The key to success lies in careful preparation—from clearing and amending the soil to laying the sod pieces correctly. Consistent watering in the initial weeks is the final piece of the puzzle that ensures your new grass will thrive. With a little effort upfront, you’ll be able to enjoy a gorgeous, dense St. Augustine lawn for many seasons to come.

About
Jovie Mathews is a backyard and outdoor expert writer with over 12 years of hands-on experience transforming neglected outdoor spaces into thriving gardens and functional retreats. Raised in a family where weekends meant digging in the soil and building raised beds from scratch, Jovie developed a genuine love for the outdoors long before it became a career.
She writes with a practical, no-fluff approach — always testing ideas in her own backyard before sharing them with readers. From composting systems and native plant selection to patio design and pest control, Jovie covers the full spectrum of backyard life with equal parts expertise and enthusiasm.
Education
B.Sc. in Horticulture Science
University of Florida (UF) · Gainesville, FL · 2014
IFAS College of Agricultural and Life Sciences
Minor in Environmental Studies
University of Florida (UF) · Gainesville, FL · 2014
College of Liberal Arts and Sciences
Areas of expertise
- Lawn & Garden Care
- Soil prep, planting, seasonal care
- Outdoor DIY Projects
- Raised beds, fencing, pathways
- Composting & Soil Health
- Organic methods, amendments
- Native Plants & Wildlife
- Pollinators, habitat gardening
When she is not writing, Jovie can be found testing new composting techniques, growing tomatoes in questionable quantities, or convincing her neighbors that clover lawns are actually a great idea. She currently gardens in the Pacific Northwest.




