

Growing your own elderberry patch is a rewarding experience, offering beautiful flowers and nutrient-rich berries right from your garden. If you’re wondering how to expand your collection without buying new plants, you’re in the right place.
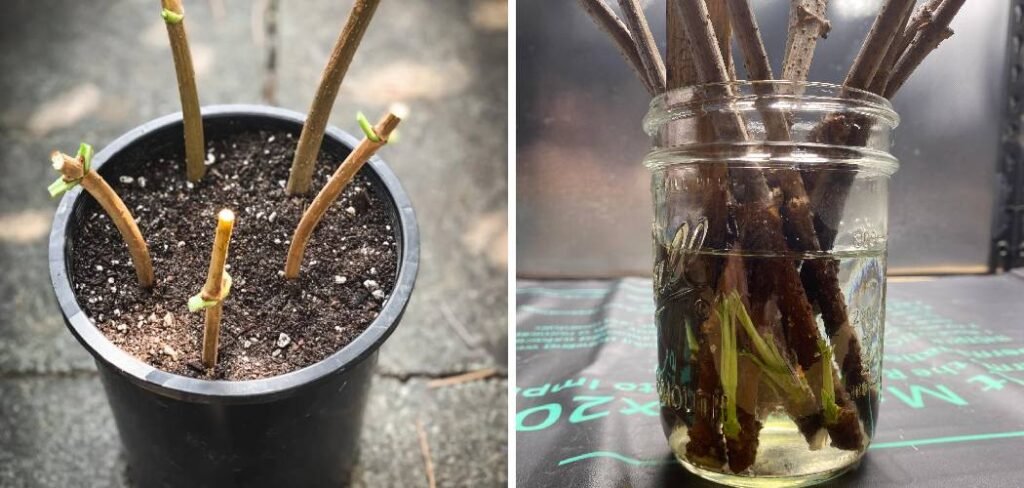
This guide will walk you through the simple process of how to propagate elderberry plants from cuttings. Whether you’re a seasoned gardener or just starting, you’ll find that multiplying your elderberry supply is surprisingly straightforward and effective, allowing you to enjoy a larger harvest for years to come.
Why Propagate Elderberries?
Propagating elderberries is an excellent way for gardeners to multiply their plants for free. Instead of purchasing new bushes, you can create genetically identical clones from a healthy, productive parent plant. This ensures your new plants will have the same desirable traits, such as vigorous growth, disease resistance, and abundant fruit production. It’s also a sustainable practice that allows you to expand your garden, share plants with friends and neighbors, or even create a dense, beautiful hedge that supports local wildlife. For beginners, it’s a fantastic project to build confidence and learn valuable horticultural skills.
8 Step-by-Step Guide on How to Propagate Elderberry Plants
Step 1: Select the Right Time of Year
Timing is crucial for successful elderberry propagation. The ideal time to take cuttings is during the plant’s dormant season, which is typically from late fall after the leaves have dropped until early spring before new buds begin to swell.
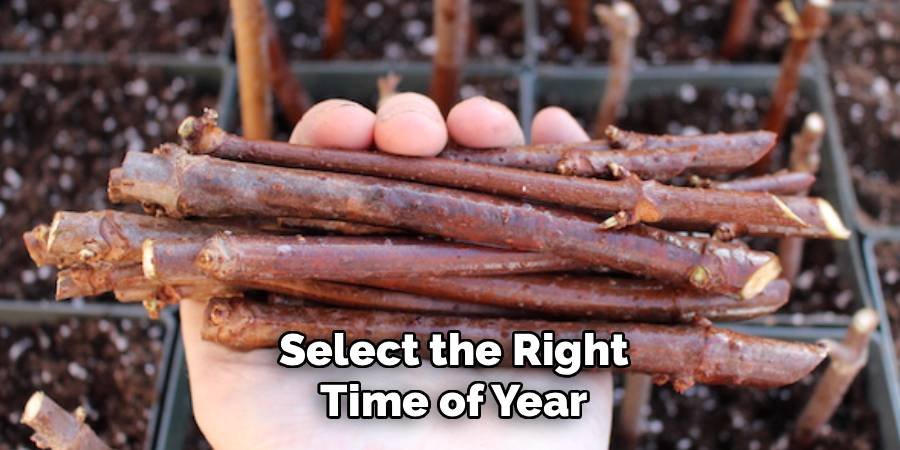
Taking cuttings during this period ensures the plant’s energy is stored in the woody stems rather than being used for leaf or flower production. This stored energy gives the cuttings the best possible chance to develop a strong root system when planted, leading to healthier and more robust new plants.
Step 2: Choose a Healthy Parent Plant
Your new plants will only be as good as the one they came from. Select a mature, healthy, and productive elderberry bush for your cuttings. Look for a plant that has consistently produced a good crop of berries and shows no signs of disease, pests, or stress. Inspect the canes for any discoloration, spots, or damage. Choosing a vigorous parent plant ensures your cuttings will carry strong genetic traits, giving them a head start and increasing the likelihood of them growing into equally robust and fruitful bushes.
Step 3: Take Hardwood Cuttings
Using a clean, sharp pair of pruning shears, select a one-year-old cane to take your cuttings from. This wood will be smooth and firm, not old and gray or new and green. Each cutting should be about 6 to 12 inches long and have at least two to three sets of nodes—the small bumps on the stem where leaves and roots will grow. Make a straight cut at the bottom end of the cutting, just below a node, and an angled cut at the top end. This helps you remember which end is up.
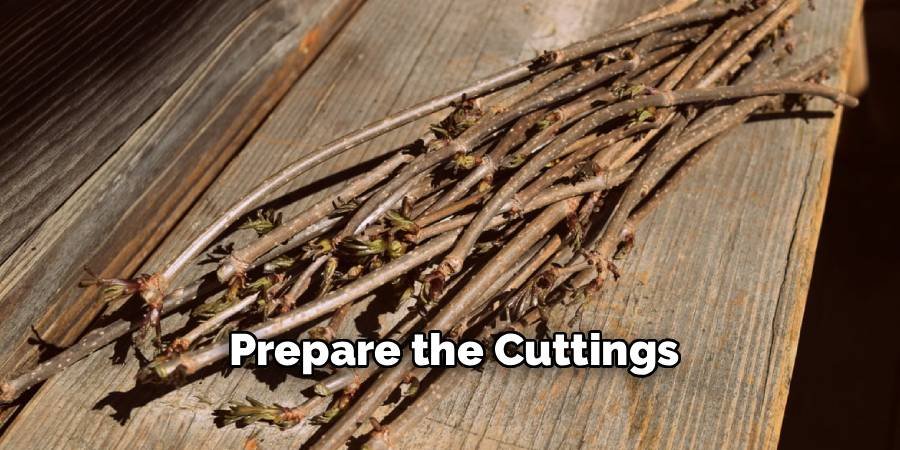
Step 4: Prepare the Cuttings
Once you have your cuttings, you need to prepare them for planting. Remove any remaining leaves or small side shoots, as they can divert energy away from root development. At this stage, some gardeners choose to dip the bottom end of each cutting into a rooting hormone. While this step is optional for elderberries, as they root quite easily, using a rooting hormone can speed up the process and increase your success rate. It encourages faster root growth and helps protect the cutting from potential rot or fungal infections.
Step 5: How to Propagate Elderberry Plants Directly in the Ground
One of the easiest methods is to plant the cuttings directly into your garden. Choose a well-drained, sunny spot and amend the soil with some compost to improve its structure and nutrient content. Use a small spade or a dibber to create a hole that is deep enough to bury at least two-thirds of the cutting. Place the cutting into the hole with the angled top-cut facing up. Gently backfill the soil around the cutting, tamping it down firmly to ensure good contact between the stem and the soil.
Step 6: Planting Cuttings in Pots
If you prefer to start your cuttings in containers, you can give them a more controlled environment. Fill pots with a high-quality potting mix that is well-draining. You can create your own mix by combining equal parts peat moss, perlite, and compost. Insert one cutting per pot, ensuring at least two nodes are buried beneath the soil surface. Firm the soil around the cutting and water it thoroughly. Placing the pots in a cold frame, greenhouse, or a sheltered location outdoors will protect them from harsh weather.
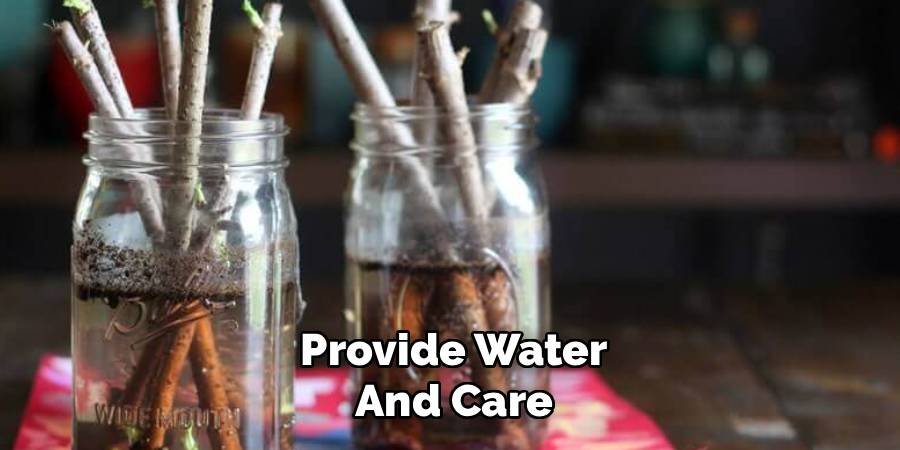
Step 7: Provide Water and Care
Whether your cuttings are in the ground or in pots, they need consistent moisture to develop roots. Water them well after planting and check the soil regularly, ensuring it remains damp but not waterlogged. Overwatering can lead to rot, which will kill the cutting. Throughout the winter and into the spring, monitor the cuttings. Once temperatures start to rise, you should begin to see new buds swell and leaves emerge. This is a clear sign that the cutting has successfully developed a root system and is starting to grow.
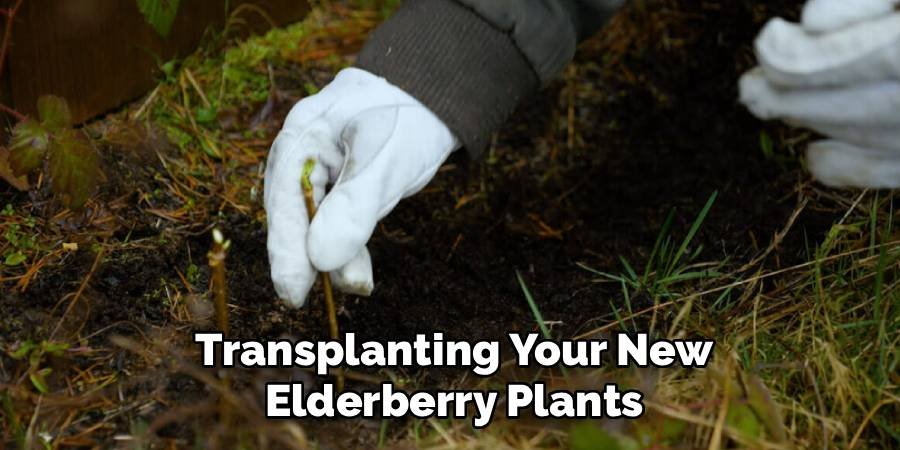
Step 8: Transplanting Your New Elderberry Plants
If you started your cuttings in pots, they will be ready for transplanting into their permanent location in the garden after they have developed a healthy root system and show vigorous new growth. This is typically done in the spring or early fall. Choose a sunny, well-drained spot for your new elderberry bushes. Dig a hole that is twice as wide and just as deep as the pot. Gently remove the young plant from its container, place it in the hole, and backfill with soil. Water it deeply to help it settle in.
Frequently Asked Questions (FAQ)
Can I Propagate Elderberry from Softwood Cuttings?
Yes, you can propagate elderberries from softwood cuttings taken in late spring or early summer. This method involves using the new, green growth from the current season. Softwood cuttings tend to root faster than hardwood cuttings but require more attention, including a highly humid environment to prevent them from wilting and drying out. They are best rooted in a controlled setting, such as a misting chamber or a propagator, which can be more complex for a beginner gardener.
How Long Does It Take for Elderberry Cuttings to Root?
The time it takes for elderberry cuttings to root depends on the method and time of year. Hardwood cuttings taken during the dormant season will typically begin to develop roots over the winter and show new leaf growth in the spring, usually within 8 to 12 weeks. Softwood cuttings taken in the spring or summer can root more quickly, often in as little as 4 to 6 weeks, provided they are kept in ideal conditions with high humidity and consistent warmth.
What Is the Success Rate of Elderberry Propagation?
Elderberries are known for being exceptionally easy to propagate from cuttings, and the success rate is generally very high. For hardwood cuttings planted during the dormant season, it’s not uncommon for gardeners to see an 80-90% success rate, even without the use of rooting hormone. The key factors for success are taking cuttings from a healthy plant, ensuring they are planted correctly, and keeping them consistently moist without becoming waterlogged. With proper care, most of your cuttings should successfully grow into new plants.
When Will My New Elderberry Plant Produce Fruit?
A new elderberry plant grown from a cutting can start producing fruit relatively quickly. You might see a small number of flowers and berries in the second year after planting. However, you can typically expect a more substantial harvest starting in the third or fourth year, once the plant has become well-established and has developed a strong framework of canes. Providing your young plants with plenty of sun, water, and rich soil will encourage faster growth and more abundant fruit production.
Do I Need More Than One Elderberry Plant for Pollination?
While many elderberry varieties are self-fertile and can produce fruit on their own, planting at least two different compatible cultivars near each other will significantly improve cross-pollination. This leads to larger and more numerous berries, resulting in a much bigger harvest. When you propagate a plant, all the new plants are clones. Therefore, to ensure good cross-pollination, you should take cuttings from two different varieties or purchase a different cultivar to plant alongside your propagated elderberries.
Conclusion
Mastering the skill of propagation unlocks a new level of gardening, and the elderberry is the perfect plant to start with. By following these steps, you can easily multiply your favorite bushes, expand your garden, and look forward to even larger harvests of delicious and healthy berries. The process is simple, cost-effective, and incredibly satisfying. Now that you understand the fundamentals of how to propagate elderberry plants, it’s time to grab your pruning shears and give it a try. You’ll be amazed at how simple it is to fill your garden with these wonderful plants.

About
Jovie Mathews is a backyard and outdoor expert writer with over 12 years of hands-on experience transforming neglected outdoor spaces into thriving gardens and functional retreats. Raised in a family where weekends meant digging in the soil and building raised beds from scratch, Jovie developed a genuine love for the outdoors long before it became a career.
She writes with a practical, no-fluff approach — always testing ideas in her own backyard before sharing them with readers. From composting systems and native plant selection to patio design and pest control, Jovie covers the full spectrum of backyard life with equal parts expertise and enthusiasm.
Education
B.Sc. in Horticulture Science
University of Florida (UF) · Gainesville, FL · 2014
IFAS College of Agricultural and Life Sciences
Minor in Environmental Studies
University of Florida (UF) · Gainesville, FL · 2014
College of Liberal Arts and Sciences
Areas of expertise
- Lawn & Garden Care
- Soil prep, planting, seasonal care
- Outdoor DIY Projects
- Raised beds, fencing, pathways
- Composting & Soil Health
- Organic methods, amendments
- Native Plants & Wildlife
- Pollinators, habitat gardening
When she is not writing, Jovie can be found testing new composting techniques, growing tomatoes in questionable quantities, or convincing her neighbors that clover lawns are actually a great idea. She currently gardens in the Pacific Northwest.




