

Getting ready for some fun in the sun? An inflatable pool is a fantastic way to beat the heat, but first, you have to get it set up. If you’re staring at a flat piece of vinyl and feeling a little lost, you’ve come to the right place.
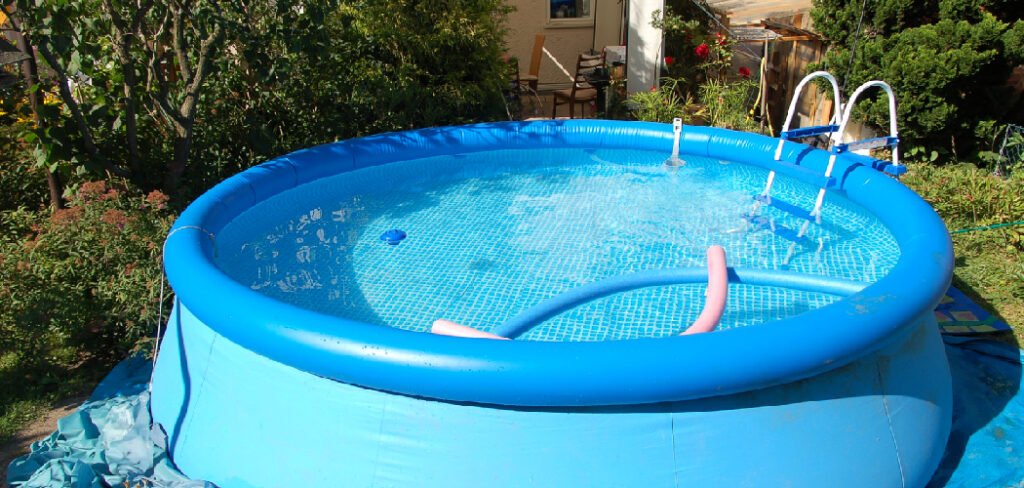
This guide will walk you through the simple process of how to pump inflatable pool, turning that box into a backyard oasis. We’ll cover everything from choosing the right pump to getting the inflation just right, ensuring you can start splashing around in no time.
The first step in setting up your inflatable pool is to find a flat, level surface in your yard. Clear away any sharp objects or debris that could puncture the pool. Once you’ve chosen the perfect spot, unfold the pool and lay it out, making sure it is free of twists and wrinkles. This will help ensure the pool inflates evenly and stays stable once it’s filled with water.
Next, select the right pump for the job. Most inflatable pools are compatible with manual, electric, or battery-operated pumps, so consider what’s most convenient for you. If you’re using an electric pump, be sure to have an outdoor outlet nearby, or use a heavy-duty extension cord rated for outdoor use. Attach the pump’s nozzle to the correct valve on the pool according to the instructions provided with your pool.
Why a Proper Inflation Matters
Properly inflating your pool isn’t just about getting it ready for water; it’s about safety, durability, and maximum enjoyment. An underinflated pool can be unstable, with weak walls that may collapse once water is added. This not only spills water but can also pose a risk to anyone using it. On the other hand, overinflating your pool puts too much stress on the seams.
This can lead to leaks or even a sudden rupture, especially as the air inside expands under the hot sun. Taking a few extra minutes to inflate your pool correctly ensures it will last for many seasons and provide a safe, sturdy structure for endless summer fun.
8 Step-by-Step Guide on How to Pump Inflatable Pool
Step 1: Choose Your Location and Prepare the Area
Before you even think about the pump, find the perfect spot for your pool. Look for a flat, level surface that is free of any sharp objects like rocks, sticks, or thorns. A slight slope can cause the water to pool unevenly, putting stress on one side of the pool. Once you’ve chosen your spot, it’s a good idea to lay down a ground cloth or tarp.
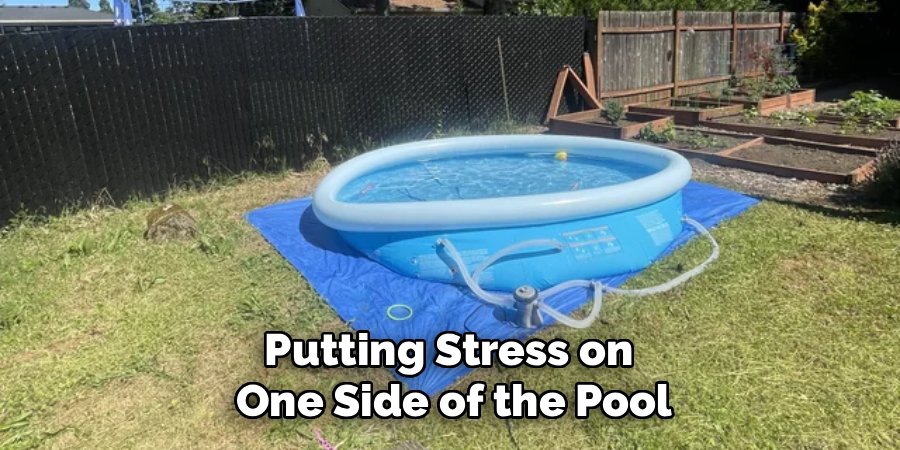
This provides an extra layer of protection against punctures from unseen debris and helps keep the bottom of the pool clean. Make sure the area is large enough for the pool’s full dimensions.
Step 2: Unpack and Inspect the Pool
Carefully unpack your inflatable pool from its box. Lay it out flat in your chosen location and take a few moments to inspect it thoroughly. Check all the seams and surfaces for any pre-existing holes, tears, or manufacturing defects. It’s much easier to address these issues now than after the pool is full of water.
Most new pools come with a small patch kit for minor repairs. Familiarize yourself with the location of all the air valves, as different sections or rings may have their own separate inflation points. This initial check ensures a smooth and leak-free inflation process.
Step 3: Select the Right Pump
The pump you use is crucial. While you might be tempted to use your own lung power, it’s not practical for anything but the smallest of pools. The most common and effective options are electric pumps, battery-operated pumps, or manual foot/hand pumps. An electric pump that plugs into a wall outlet is the fastest and most effortless choice.
A battery-powered pump offers more portability, while a manual pump is a great backup and works well for smaller pools or for topping off the air. Ensure the pump’s nozzle attachments fit the valves on your pool for an airtight seal.
Step 4: Attach the Pump to the Main Air Valve
Once you have your pump, it’s time to connect it. Most inflatable pools have one-way valves that prevent air from escaping when you remove the pump nozzle. These often have two parts: a main opening for inflation and a smaller plug to seal it. Open the main valve cap and select the correct nozzle size from your pump’s attachments. The nozzle should fit snugly inside the valve opening.
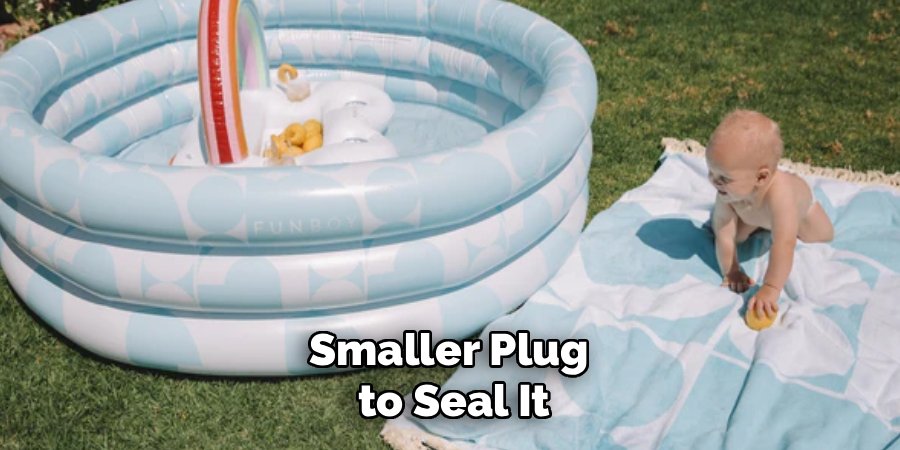
A tight fit is essential to prevent air from leaking out during inflation, which would make the process much longer and less efficient. Securely attach the nozzle before turning the pump on.
Step 5: Begin Inflating the Bottom Ring First
Most multi-ring inflatable pools should be inflated from the bottom up. Start with the lowest ring or the main body of the pool. Turn on your pump and watch as the pool begins to take shape. Keep a close eye on the inflation progress. You want the pool to be firm to the touch but not rock-hard.
A good rule of thumb is to press on the vinyl; it should have a little bit of give. Overinflating can strain the seams, increasing the risk of a leak or burst, so it’s better to err on the side of caution.
Step 6: Inflate the Remaining Rings or Sections
After the bottom ring is properly inflated, move on to the next one up. Repeat the process of attaching the pump nozzle and inflating the section until it is firm but still has some flexibility.
Continue this sequence for all remaining rings and any other inflatable features, such as backrests or slides. Inflating in stages from the bottom to the top helps the pool maintain its proper shape and structural integrity as it fills with air. This methodical approach is a key part of learning how to pump inflatable pool effectively.
Step 7: Perform a Firmness Check and Avoid Overinflation
Once all sections are inflated, do a final check. Gently press on all the walls and rings. They should all feel consistently firm. If you notice any soft spots, you may need to top them off with a bit more air.
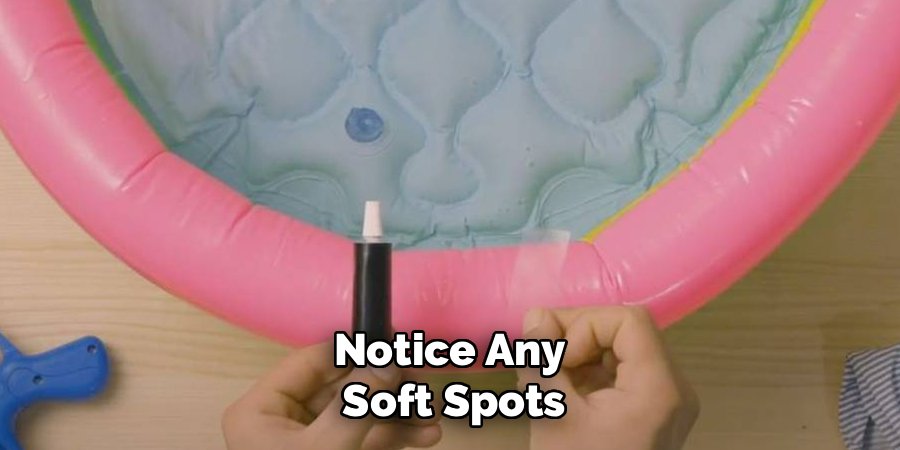
Conversely, if any section feels extremely tight and has no give at all, release a small amount of air. Remember that the air inside will expand when the pool sits in the sun, so leaving a little room for expansion is a smart move. This final adjustment ensures the pool is safe and ready for water.
Step 8: Secure All Air Valves
This final step is simple but critical. Go around the entire pool and double-check that every air valve cap is securely closed. First, push the inner plug firmly into the valve opening to stop the air flow. Then, press the entire valve mechanism down into the pool wall and close the outer cap over it, if your model has this feature.
This prevents accidental air loss from a child playing with the valves or from general use. A properly sealed valve system ensures your pool stays firm and ready for fun all day long.
Frequently Asked Questions
How Long Does It Take to Inflate a Pool?
The time it takes depends entirely on the size of the pool and the type of pump you use. A small kiddie pool might take only 5-10 minutes with a manual pump. A large, family-sized pool could take 15-30 minutes with a high-volume electric pump. Using an electric pump is always the fastest method.
Can You Use an Air Compressor to Inflate a Pool?
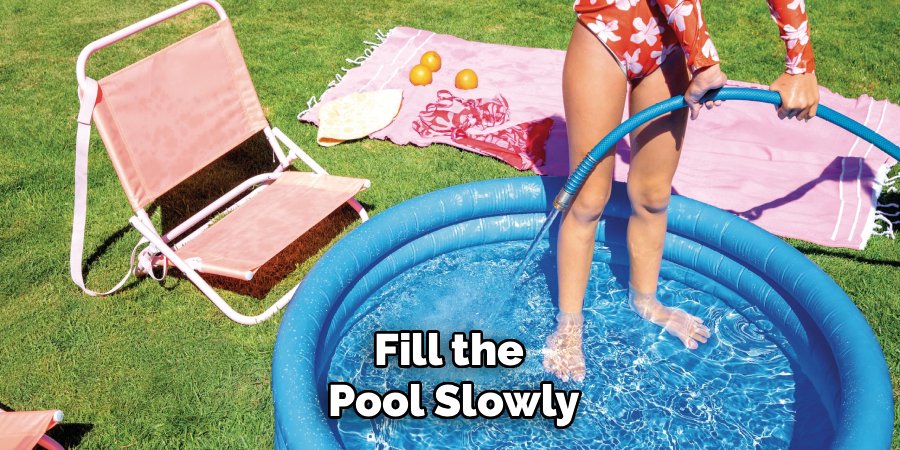
While possible, it’s generally not recommended. Air compressors deliver high-pressure air very quickly and can easily overinflate and rupture the pool’s vinyl seams. If you must use one, use it with extreme caution on a very low pressure setting and fill the pool slowly. An electric pump designed for inflatables is a much safer choice.
What If My Pool Loses Air?
If your pool deflates slightly overnight, it might be due to a drop in temperature causing the air to contract. However, significant air loss likely means there is a leak. You can find it by:
- Listening for a hissing sound.
- Applying soapy water to the surface and looking for bubbles.
Once you find the leak, you can easily fix it with the patch kit included with your pool.
How Firm Should an Inflatable Pool Be?
Your pool should be firm to the touch, but not as hard as a rock. You should be able to press your thumb into the side and feel it give slightly. An overinflated pool is at risk of bursting, especially in direct sunlight as the air inside heats up and expands. A properly inflated pool is sturdy yet flexible.
Do I Need to Put a Tarp Under My Inflatable Pool?
Yes, using a tarp or ground cloth is highly recommended. It provides an essential layer of protection between the pool’s vinyl bottom and the ground. This helps prevent punctures from sharp objects like small rocks, twigs, or acorns. It also helps keep the pool cleaner and can make cleanup easier at the end of the season.
Conclusion
Setting up your inflatable pool doesn’t have to be a chore. By following these steps, you can get it done quickly, safely, and correctly. From preparing the ground to choosing the right pump and inflating each section properly, you now have the knowledge to do the job like a pro.
The key is to work methodically and avoid the temptation to overinflate. Now that you know how to pump inflatable pool, you’re ready to fill it with water and create lasting summer memories with family and friends.

About
Jovie Mathews is a backyard and outdoor expert writer with over 12 years of hands-on experience transforming neglected outdoor spaces into thriving gardens and functional retreats. Raised in a family where weekends meant digging in the soil and building raised beds from scratch, Jovie developed a genuine love for the outdoors long before it became a career.
She writes with a practical, no-fluff approach — always testing ideas in her own backyard before sharing them with readers. From composting systems and native plant selection to patio design and pest control, Jovie covers the full spectrum of backyard life with equal parts expertise and enthusiasm.
Education
B.Sc. in Horticulture Science
University of Florida (UF) · Gainesville, FL · 2014
IFAS College of Agricultural and Life Sciences
Minor in Environmental Studies
University of Florida (UF) · Gainesville, FL · 2014
College of Liberal Arts and Sciences
Areas of expertise
- Lawn & Garden Care
- Soil prep, planting, seasonal care
- Outdoor DIY Projects
- Raised beds, fencing, pathways
- Composting & Soil Health
- Organic methods, amendments
- Native Plants & Wildlife
- Pollinators, habitat gardening
When she is not writing, Jovie can be found testing new composting techniques, growing tomatoes in questionable quantities, or convincing her neighbors that clover lawns are actually a great idea. She currently gardens in the Pacific Northwest.




