

A wood fence can transform your property, adding privacy, security, and a classic aesthetic charm. Many homeowners are surprised to learn that with the right tools and a clear plan, this is a project you can tackle yourself. This guide is designed to walk you through every step of the process, from planning your layout to attaching the final picket. We will provide detailed instructions to help you build a sturdy, beautiful fence that will stand for years. Learning how to put a wood fence up is a rewarding DIY project that enhances your home’s value and curb appeal. Get ready to gather your materials and build something you can be proud of.
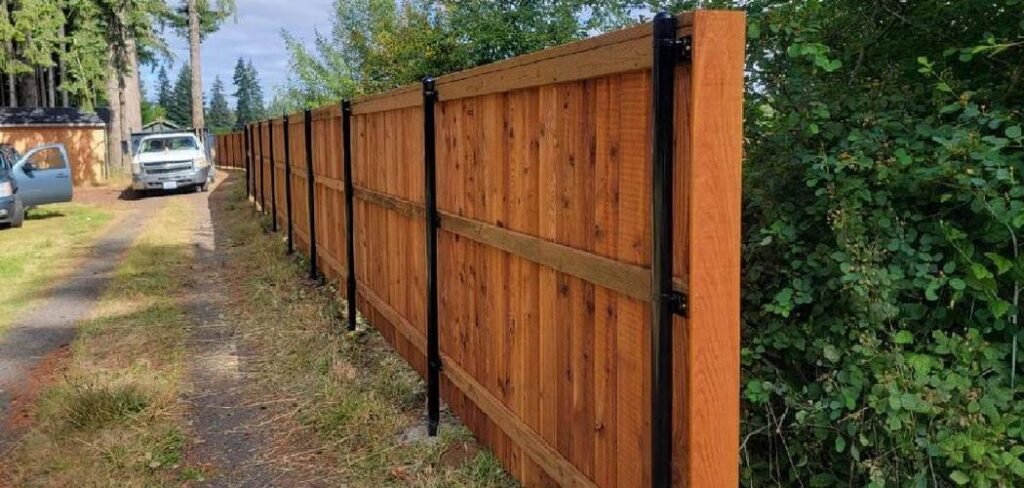
Wood Fence is a Great DIY Project
Building a wood fence is more than just a home improvement task; it’s an investment in your property’s privacy, security, and overall look. A well-built fence clearly defines your property lines, keeps children and pets safely contained, and can even increase your home’s resale value. Unlike other materials, wood offers a natural, warm appearance that blends seamlessly with outdoor landscapes.
The project itself is a fantastic opportunity to develop valuable DIY skills. From setting posts in concrete to ensuring every picket is level, the process is straightforward enough for a determined beginner but satisfying for any skill level. Taking on this project saves you significant labor costs and gives you complete control over the design and quality of your new fence.
8 Step-by-Step Guide on How to Put a Wood Fence Up
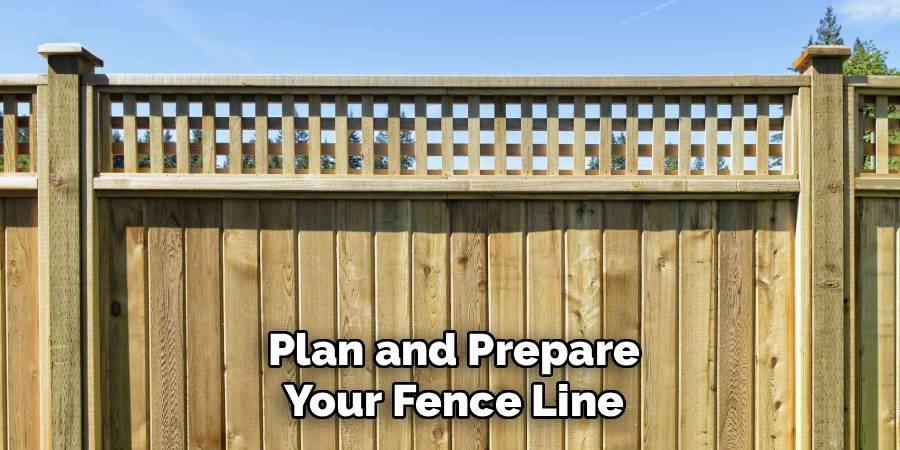
Step 1: Plan and Prepare Your Fence Line
Before you dig a single hole, you need a solid plan. Start by checking with your local municipality and homeowners’ association (HOA) for any regulations regarding fence height, style, or setback from property lines. You may need a permit. Next, call 811 to have underground utility lines marked to prevent a dangerous and costly accident. Once you have clearance, use stakes and string to create a precise layout of your fence line. This visual guide will help you determine the exact placement for corner posts, end posts, and gate posts, which are the foundational elements of your fence structure.
Step 2: Gather Your Tools and Materials
With your plan in hand, it’s time to shop for supplies. You will need pressure-treated wood posts (typically 4x4s), fence rails (2x4s), and pickets or panels. Don’t forget fasteners like galvanized screws or nails, which resist rust. For tools, you will need a post-hole digger, a level, a tape measure, a drill or hammer, and a circular saw. You’ll also need gravel for drainage and fast-setting concrete mix to secure the posts. It’s a good idea to calculate your material needs based on your layout, adding about 10% extra to account for mistakes or miscalculations.
Step 3: Dig Post Holes and Set Your Corner Posts
The stability of your fence depends entirely on how well the posts are set. Begin by digging holes for your corner and end posts first. A good rule of thumb is to make the hole’s depth one-third the length of the post. For a standard 6-foot fence, an 8-foot post set 2 feet deep is ideal. The hole’s diameter should be about three times the width of the post. After digging, add about 6 inches of gravel to the bottom of each hole for proper water drainage, which helps prevent wood rot over time.
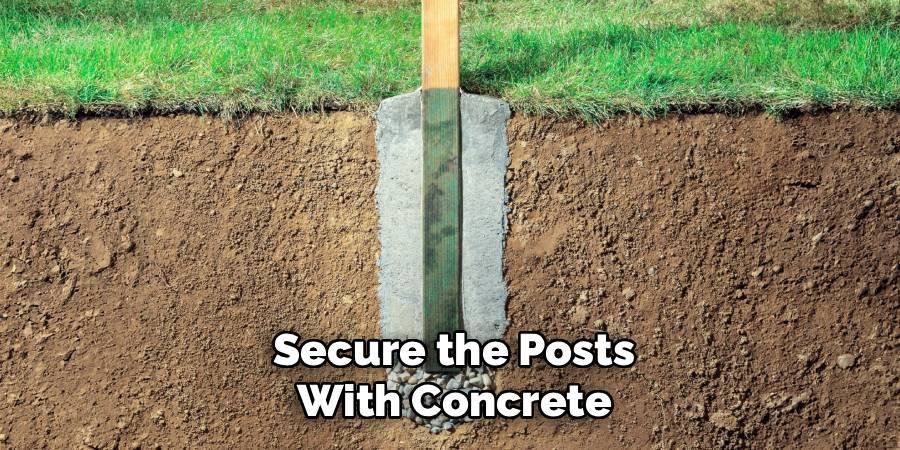
Step 4: Secure the Posts with Concrete
Place your first corner or end post into the prepared hole. Use a level on two adjacent sides to ensure it is perfectly plumb, or vertically straight. You can use temporary braces made from scrap wood to hold the post in place. Once you are certain it is straight, mix your fast-setting concrete according to the package directions. Pour the concrete into the hole, filling it to just below ground level. Continually check that the post remains plumb as you work. Repeat this process for all corner, end, and gate posts. Allow the concrete to cure completely, usually for 24-48 hours.
Step 5: Mark and Install the Line Posts
Once the main posts are firmly set, run a new string line between them, stretching it tautly along the top and bottom where your rails will go. This string serves as a guide for setting the remaining line posts. Most fence panels or sections are 8 feet wide, so your posts should be spaced slightly less than 8 feet apart on center. Measure and mark the locations for your line posts. Dig holes, add gravel, and set these posts just as you did with the corner posts, using the string line to ensure they are aligned and at the correct height.
Step 6: Attach the Horizontal Rails
With all the posts set and cured, you can begin building the fence framework by installing the horizontal rails. Typically, a 6-foot privacy fence has three rails: top, middle, and bottom. Measure and mark the desired rail positions on each post, ensuring they are consistent. Use your level to keep them straight.
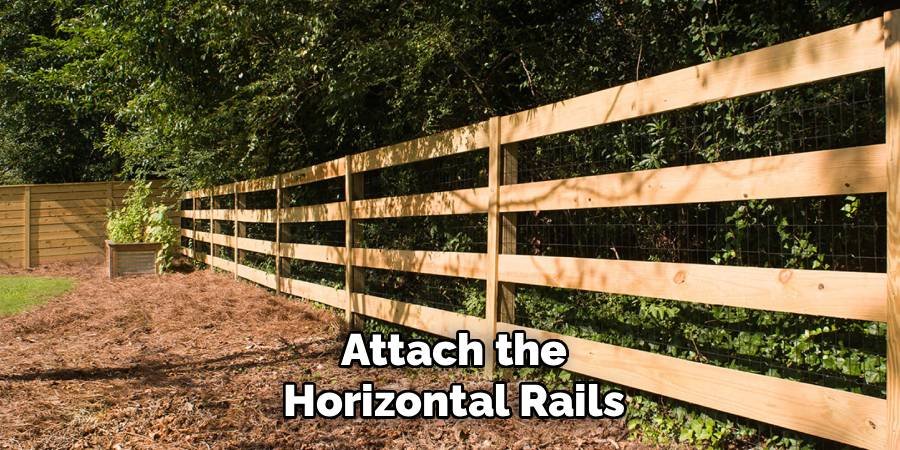
Attach the rails to the posts using galvanized deck screws or nails. Screws offer a stronger hold and are easier to remove if you need to make adjustments. Attach the top and bottom rails first, then install the middle rail centered between them for maximum support.
Step 7: How to Put a Wood Fence Up by Installing Pickets
Now comes the most visible part of learning how to put a wood fence up: attaching the pickets. Start at one end and place your first picket, making sure it is perfectly plumb with your level. Attach it to the rails with screws or nails. To ensure consistent spacing between pickets, you can use a spacer block (a small piece of wood of the desired width) or a nail as a guide. For a full privacy fence, the pickets will be flush against each other. Work your way down the fence line, checking for level every few pickets to keep everything straight.
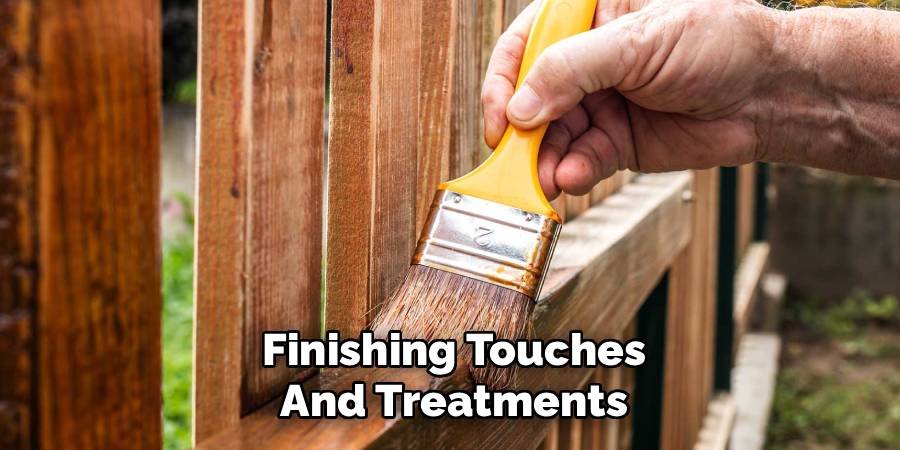
Step 8: Finishing Touches and Treatments
After all the pickets are installed, you can add finishing touches. This might include trimming the tops of the pickets for a uniform height or adding decorative post caps for a polished look. If you built a gate, now is the time to install the hinges and latch. Finally, to protect your investment from the elements, you should apply a stain or sealant. Even if you used pressure-treated wood, a quality sealant will prevent moisture damage, UV fading, and rot, extending the life and beauty of your new fence for many years.
Frequently Asked Questions
What Is the Best Wood to Use for a Fence?
The best wood depends on your budget and climate. Pressure-treated pine is a popular, affordable choice because it resists rot and insects. Cedar is a more premium option, prized for its natural resistance to decay and its beautiful reddish hue. Redwood is another high-end choice known for its durability and rich color. For a long-lasting fence, always choose wood rated for “ground contact” for your posts.
How Far Apart Should Fence Posts Be?
For most wood fences, the standard spacing for posts is 8 feet on center. This measurement works well with standard 8-foot-long rails and fence panels. However, in areas with high winds or on uneven terrain, spacing the posts closer together, such as 6 or 7 feet apart, can provide extra strength and stability. Always measure from the center of one post to the center of the next for accurate spacing.
Do I Need to Put Gravel at the Bottom of a Fence Post Hole?
Yes, it is highly recommended. Placing a 4- to 6-inch layer of gravel at the bottom of each post hole provides crucial drainage. When water seeps into the soil, the gravel allows it to drain away from the base of the wood post. This simple step is one of the most effective ways to prevent moisture from sitting against the wood, which is a primary cause of rot and premature failure of the post.
How Long Should I Wait for Concrete to Dry Before Building the Rest of the Fence?
Most fast-setting concrete mixes will be hard to the touch within an hour, but it’s best to wait at least 24 to 48 hours before attaching heavy rails and pickets. This gives the concrete enough time to cure and reach a sufficient strength to withstand the weight and stress of the rest of the fence structure. Waiting is essential for ensuring your posts are rigidly set and won’t shift.
Should I Stain or Paint My Wood Fence?
Both staining and painting protect your fence, but they offer different benefits. Stains penetrate the wood, highlighting its natural grain and texture, and are typically easier to reapply. Paint forms a protective layer on the surface, offering a wider range of color options but can chip or peel over time, requiring more prep work for reapplication. Either way, finishing your fence is crucial for protecting it from sun and moisture damage.
Conclusion
Building your own wood fence is an ambitious but entirely achievable project that adds significant value and function to your home. By following these steps—from careful planning and layout to setting posts and attaching pickets—you can create a durable and attractive boundary for your property. The key is to work methodically, measure carefully, and never rush the foundational steps like setting the posts. Now that you have a comprehensive understanding of how to put a wood fence up, you have the knowledge to take on this project with confidence and enjoy the results for years to come.

About
Jovie Mathews is a backyard and outdoor expert writer with over 12 years of hands-on experience transforming neglected outdoor spaces into thriving gardens and functional retreats. Raised in a family where weekends meant digging in the soil and building raised beds from scratch, Jovie developed a genuine love for the outdoors long before it became a career.
She writes with a practical, no-fluff approach — always testing ideas in her own backyard before sharing them with readers. From composting systems and native plant selection to patio design and pest control, Jovie covers the full spectrum of backyard life with equal parts expertise and enthusiasm.
Education
B.Sc. in Horticulture Science
University of Florida (UF) · Gainesville, FL · 2014
IFAS College of Agricultural and Life Sciences
Minor in Environmental Studies
University of Florida (UF) · Gainesville, FL · 2014
College of Liberal Arts and Sciences
Areas of expertise
- Lawn & Garden Care
- Soil prep, planting, seasonal care
- Outdoor DIY Projects
- Raised beds, fencing, pathways
- Composting & Soil Health
- Organic methods, amendments
- Native Plants & Wildlife
- Pollinators, habitat gardening
When she is not writing, Jovie can be found testing new composting techniques, growing tomatoes in questionable quantities, or convincing her neighbors that clover lawns are actually a great idea. She currently gardens in the Pacific Northwest.




