
Discovering a tear or hole in your hot tub cover can be disheartening. Not only does it spoil the look of your spa, but it also compromises its primary function: to keep heat in and debris out. Fortunately, you don’t always need to rush out and buy an expensive replacement.
Many small to medium-sized holes can be fixed with a simple DIY approach. This guide provides an easy-to-follow process on how to repair a hole in hot tub cover using readily available materials like vinyl repair kits. Following these steps can save you money and extend the life of your cover.
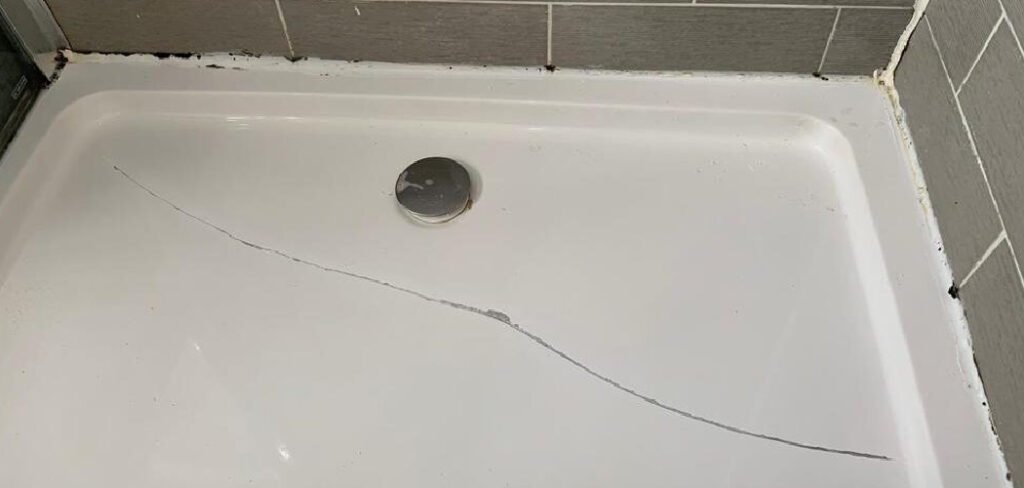
A damaged hot tub cover can be a frustrating issue, but it doesn’t have to be a costly problem to solve. With a little time and effort, you can restore your cover’s functionality and protect your spa from the elements. Before you begin, it’s important to assess the size and location of the hole to determine the best repair method. Small and manageable tears can usually be fixed at home, saving you both money and the hassle of replacing the entire cover.
Why It Matters
Repairing a hole in your hot tub cover is about more than just appearances; it’s crucial for efficiency, safety, and longevity. The cover’s main job is to insulate your hot tub, trapping heat and reducing your energy bills. A tear or hole allows heat to escape, forcing your heater to work harder and consume more electricity.
Moreover, a compromised cover can no longer effectively keep out rain, leaves, dirt, and other contaminants. This means more work for your filtration system and more chemicals needed to keep the water clean and balanced. Most importantly, a damaged outer vinyl layer can allow water to seep into the foam core.
A waterlogged core becomes incredibly heavy, loses all its insulating properties, and can develop mold and mildew, eventually leading to the need for a full replacement. Prompt repairs protect your investment.
7 Step-by-Step Guide: How to Repair a Hole in Hot Tub Cover
This comprehensive guide will walk you through the entire process of fixing a tear in your vinyl hot tub cover. Following these steps methodically will ensure a durable, long-lasting, and waterproof seal. The process is designed to be beginner-friendly, requiring just a few common tools and a vinyl patch kit. Taking the time to do it right will restore your cover’s integrity and protect it from further damage. This is the most effective way to learn how to repair a hole in hot tub cover and save yourself from a costly replacement.
Step 1: Assess the Damage and Gather Your Materials
Before you start, take a close look at the hole or tear. Is it a small puncture, a long rip, or an abraded area? The size and type of damage will determine the best repair method. For most common tears and holes in the vinyl exterior, a vinyl patch kit is the ideal solution.
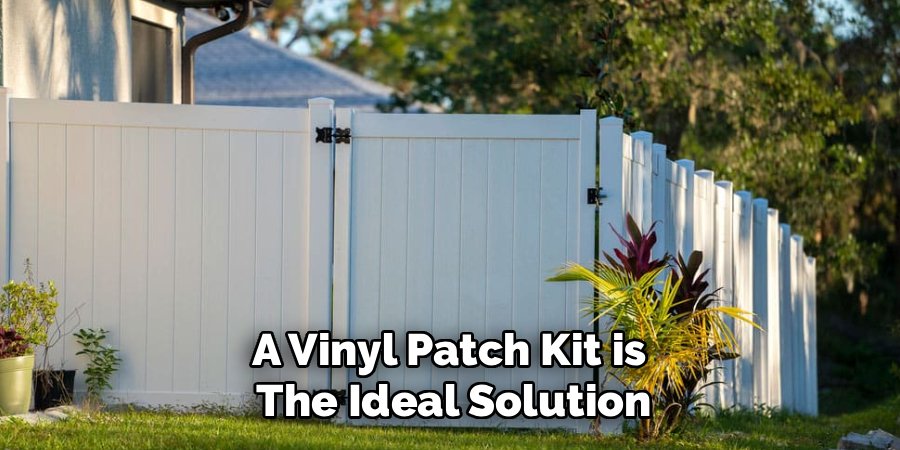
These kits typically include a vinyl patch, a strong adhesive, and sometimes a cleaning agent. You will also need a few other items: a mild cleaning solution (like diluted soap and water), a clean cloth, rubbing alcohol, scissors, and something heavy like a book or a small weight.
Step 2: Clean the Area Around the Hole
A clean surface is essential for a strong, lasting bond. Any dirt, oil, or mildew on the vinyl will prevent the adhesive from sticking properly. Start by mixing a gentle cleaning solution of soap and water. Use a soft cloth to thoroughly clean the area around the hole, extending several inches beyond the damaged spot.
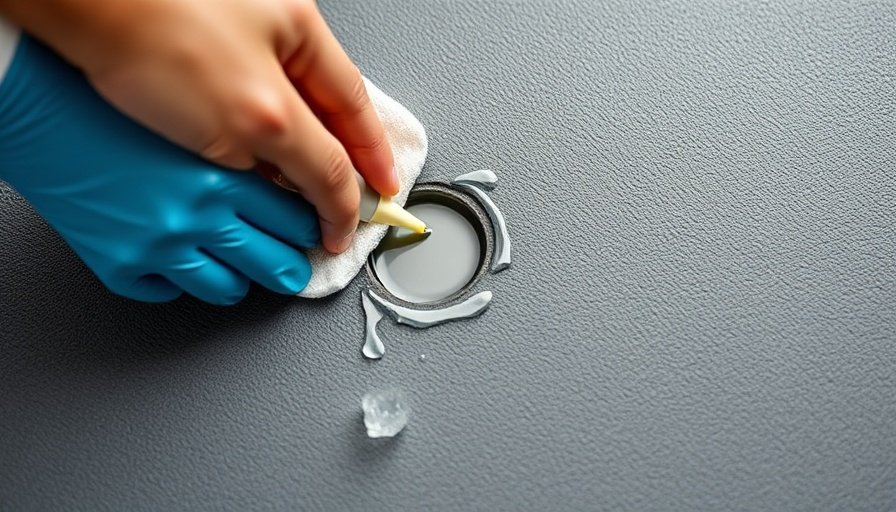
After cleaning with soap, rinse the area with a clean, damp cloth to remove any soap residue. It’s crucial that the surface is completely free of any film or grime that could compromise the repair.
Step 3: Dry and Prepare the Surface for Adhesion
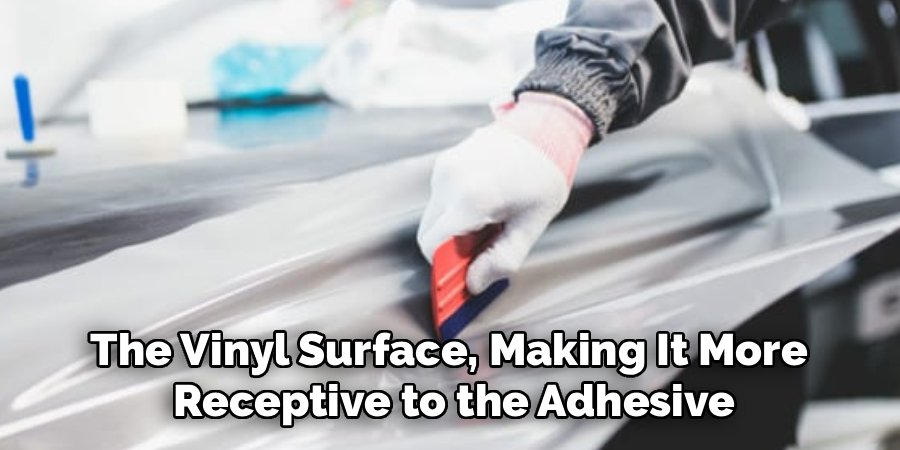
Once the area is clean, it must be completely dry before you can apply the patch. Use a dry, lint-free cloth to wipe away all moisture. For best results, allow the cover to air dry for at least an hour to ensure no hidden moisture remains in the vinyl’s texture. Next, to guarantee optimal adhesion, wipe the cleaned and dried area with rubbing alcohol on a clean cloth. The alcohol will remove any final traces of oil or residue and helps to slightly prime the vinyl surface, making it more receptive to the adhesive.
Step 4: Cut the Vinyl Patch to Size
Now, prepare your patch. Most vinyl repair kits come with a sheet of vinyl that you can cut to size. Using a pair of sharp scissors, cut a patch that is large enough to extend at least one inch beyond the edges of the hole or tear in every direction. For example, if you have a one-inch tear, your patch should be at least three inches long. Rounding the corners of the patch is a pro tip; patches with rounded corners are less likely to catch on things and peel up over time compared to those with sharp, square corners.
Step 5: Apply the Adhesive to the Patch
With your patch cut and ready, it’s time to apply the adhesive. Work in a well-ventilated area, as the fumes from vinyl cement can be strong. Squeeze a thin, even layer of the adhesive directly onto the back of the vinyl patch. Be sure to spread it all the way to the edges. Some repair kits may instruct you to apply adhesive to both the patch and the cover itself—always follow the specific instructions that come with your kit. Avoid using too much glue, as excess can squeeze out and create a messy-looking repair.
Step 6: Position and Press the Patch Firmly
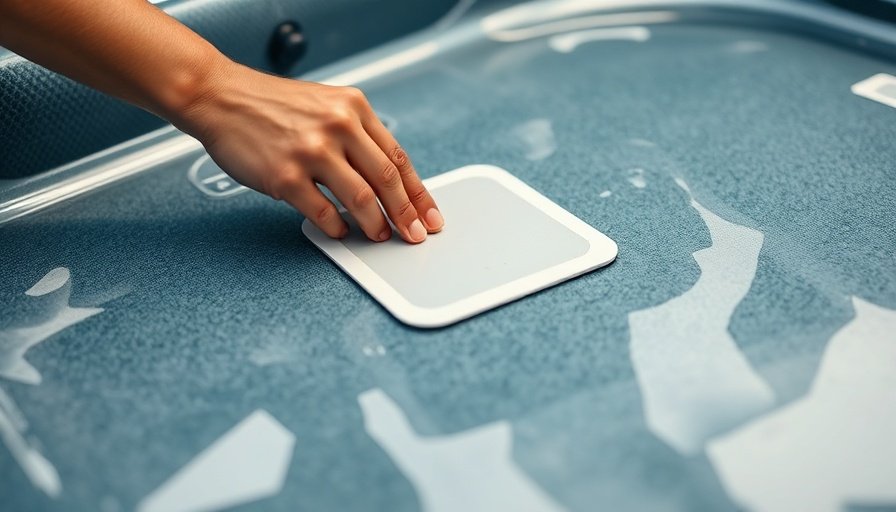
Carefully position the adhesive-coated patch over the hole, ensuring it is centered and completely covers the damaged area. Once it is in place, press down firmly from the center and work your way out to the edges. This helps push out any trapped air bubbles and ensures full contact between the patch and the cover. Use a smooth, hard object like the back of a spoon or a credit card to smooth the patch down and create a tight seal, paying special attention to the edges.
Step 7: Allow the Adhesive to Cure
Patience is key for the final step. The adhesive needs time to cure and form a permanent, waterproof bond. Refer to your repair kit’s instructions for the recommended curing time, which is typically between 12 and 24 hours. To ensure the patch remains firmly pressed against the cover while it cures, place a flat, heavy object (like a book or a small piece of wood) over the repair area. Avoid using the hot tub or exposing the cover to rain or extreme temperatures during this curing period for the best results.
Common Mistakes to Avoid
One of the most common mistakes is failing to properly clean the surface before applying the patch. Any dirt, grime, or old chemical residue will prevent the adhesive from creating a strong bond, causing the patch to fail prematurely. Always take the extra few minutes to clean and dry the area thoroughly.
Another error is cutting the patch too small. A patch that barely covers the hole will likely peel at the edges under stress from weather and handling. Ensure your patch overlaps the damage by at least one inch on all sides. Using the wrong type of glue is also a frequent issue. Standard superglue is too brittle and will crack; you must use a flexible, waterproof vinyl adhesive designed for this purpose. Finally, not allowing the adhesive to fully cure before exposing the cover to the elements will result in a weak bond.
Frequently Asked Questions (FAQ)
Can I Use Duct Tape To Repair My Hot Tub Cover?
While duct tape might seem like a quick fix, it is not a permanent solution. The adhesive on standard duct tape is not waterproof and will quickly break down from the heat, moisture, and chemicals from your spa. It will peel off in a short time, leaving behind a sticky residue that is difficult to remove.
What Kind Of Repair Kit Should I Buy?
Look for a “vinyl repair kit” or “vinyl pool patch kit.” These are specifically designed for repairing vinyl materials exposed to water and outdoor conditions. They contain a flexible, waterproof adhesive and durable vinyl patching material that will provide a long-lasting repair. These can be found at pool supply stores, hardware stores, or online.
How Do I Fix A Hole On The Underside Of The Cover?
The underside is often made of a different material, like a breathable mesh, to allow moisture to escape. For this, a vinyl patch may not be suitable. A better option is to use a high-quality, waterproof fabric tape or a specialized vapor barrier tape. The application process of cleaning, drying, and applying is similar.
My Cover’s Foam Core Is Wet. Can It Be Saved?
If the foam core is waterlogged, it is very difficult to save. The foam will be extremely heavy, have no insulating value, and is a breeding ground for mold. While you can try to unzip the vinyl and dry the foam core out in the sun for several days, it rarely returns to its original state. In most cases, a waterlogged cover needs to be replaced.
How Can I Prevent Future Damage To My Cover?
To protect your cover, use a cover lifter to avoid dragging it on rough surfaces. Keep it clean and apply a UV protectant spray for vinyl every few months to prevent the material from becoming brittle. Keep sharp objects away from the spa area and try to prevent snow and ice from accumulating on top of it.
Conclusion
Taking on the task of fixing a hole in your hot tub cover is a practical and cost-effective way to maintain your spa. With a bit of patience and the right materials, you can create a durable, waterproof seal that restores your cover’s integrity and efficiency.
This process not only saves you from the immediate expense of a replacement but also protects your hot tub from contaminants and heat loss. By following this guide, you now have the confidence and knowledge for how to repair a hole in hot tub cover, ensuring you can continue enjoying your spa for years to come.

About
Jovie Mathews is a backyard and outdoor expert writer with over 12 years of hands-on experience transforming neglected outdoor spaces into thriving gardens and functional retreats. Raised in a family where weekends meant digging in the soil and building raised beds from scratch, Jovie developed a genuine love for the outdoors long before it became a career.
She writes with a practical, no-fluff approach — always testing ideas in her own backyard before sharing them with readers. From composting systems and native plant selection to patio design and pest control, Jovie covers the full spectrum of backyard life with equal parts expertise and enthusiasm.
Education
B.Sc. in Horticulture Science
University of Florida (UF) · Gainesville, FL · 2014
IFAS College of Agricultural and Life Sciences
Minor in Environmental Studies
University of Florida (UF) · Gainesville, FL · 2014
College of Liberal Arts and Sciences
Areas of expertise
- Lawn & Garden Care
- Soil prep, planting, seasonal care
- Outdoor DIY Projects
- Raised beds, fencing, pathways
- Composting & Soil Health
- Organic methods, amendments
- Native Plants & Wildlife
- Pollinators, habitat gardening
When she is not writing, Jovie can be found testing new composting techniques, growing tomatoes in questionable quantities, or convincing her neighbors that clover lawns are actually a great idea. She currently gardens in the Pacific Northwest.