A backyard pond is a serene oasis, reflecting the sky and hosting vibrant life like koi or water lilies. However, nothing completes the aesthetic of a garden water feature quite like a charming wooden bridge. It transforms a simple hole in the ground into an interactive landscape, inviting guests to cross over and view the water from a new perspective. While premade structures can be prohibitively expensive, building one yourself is a manageable and rewarding weekend project.
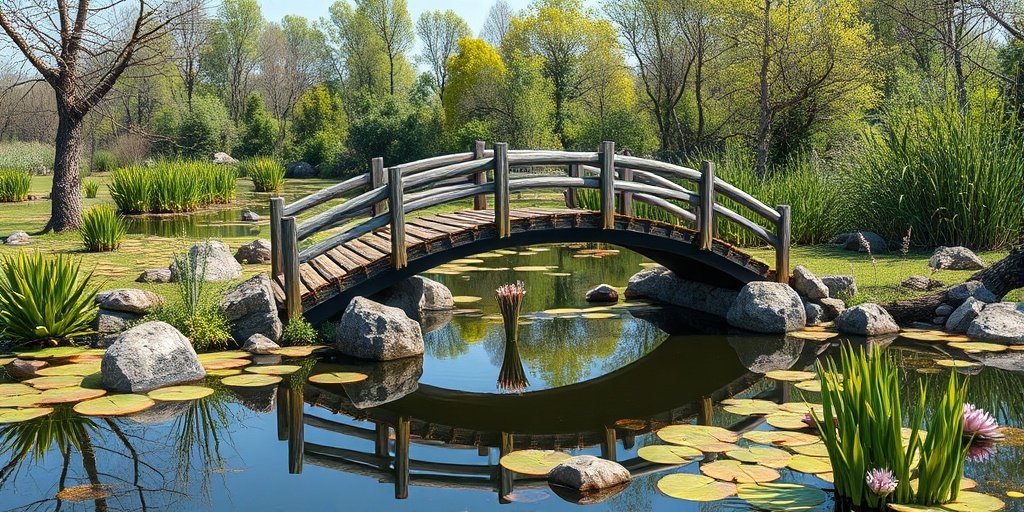
You do not need to be a master carpenter to create a sturdy, beautiful crossing that connects your garden paths. This guide is designed to strip away the complexity and provide you with a clear, actionable plan. We will walk you through exactly how to make a pond bridge, covering everything from selecting durable materials to the final finishing touches. By the end of this project, you will have a functional piece of garden architecture that adds value and beauty to your outdoor sanctuary.
Why Build a Pond Bridge?
A pond bridge serves as more than just a practical crossing over your water feature—it transforms your garden into a serene and picturesque retreat. It creates a focal point, drawing attention to the tranquil beauty of your pond while enhancing the overall landscape design.
Additionally, a well-built pond bridge adds depth and dimension to your outdoor space, creating visual interest and a sense of harmony. Beyond aesthetics, it provides easy access for maintenance or simply enjoying the view up close. Whether for practical use or a charming touch, a pond bridge is a timeless addition that blends functionality with artistry.
7 Step-by-Step Guide on How to Make a Pond Bridge
Step 1: Design and Measure Your Span
Before you buy a single piece of lumber, careful planning is essential to ensure safety and functionality. Start by measuring the exact gap you need to span across your water feature. It is crucial to add at least two feet of extra length to this measurement—one foot for stable footing on either bank. This overlap prevents the bridge from slipping or collapsing into the water.
Sketch a simple design on paper to visualize the curve or “camber” of the bridge. A gentle arch adds elegance and strength, while a flat design is simpler to construct. Decide on the width as well; a comfortable walkway is typically between 30 and 36 inches wide. This planning phase prevents costly mistakes and wasted materials later.
Step 2: Select the Right Lumber for the Job
Water features create a high-moisture environment that is harsh on wood, so material selection is paramount for longevity. You must choose rot-resistant lumber that can withstand constant exposure to dampness and weather elements. Pressure-treated pine is the most affordable and widely available option, offering decent protection against decay.
For a more natural look that ages beautifully, cedar or redwood are superior choices, as they contain natural oils that repel water and insects. If you prefer a composite material, ensure it is rated for structural use. Avoid untreated softwoods like standard pine or spruce, as they will warp and rot quickly in a pond environment. Purchasing quality materials upfront saves you from having to rebuild the structure in just a few years.
Step 3: Cut the Arch Beams
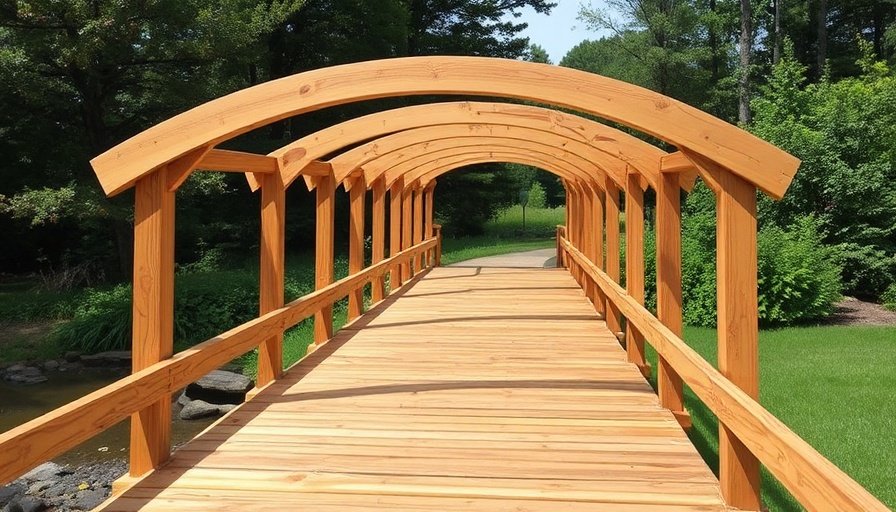
The structural integrity of your bridge relies on two main arched beams, also known as stringers, running parallel to each other. To create the arch, lay a 2×10 or 2×12 plank on a flat surface. Use a flexible pipe or a thin strip of wood bent by a helper to mark a smooth curve along the top edge of the board, leaving about four to six inches of wood at the thinnest center point for strength.
Use a jigsaw to carefully cut along this line. Once the first beam is cut, use it as a template to trace the exact same curve onto your second plank. This ensures both sides of your bridge are identical, providing a level surface for the decking.
Step 4: Install the Cross Bracing for Stability
With your two arched stringers cut, you need to connect them to form the frame of the bridge. Stand the beams on their flat bottom edges, spaced apart to your desired bridge width—usually around three feet. Cut three to four pieces of lumber to fit exactly between the beams as cross braces. Position one at each end and one or two in the middle for added rigidity.
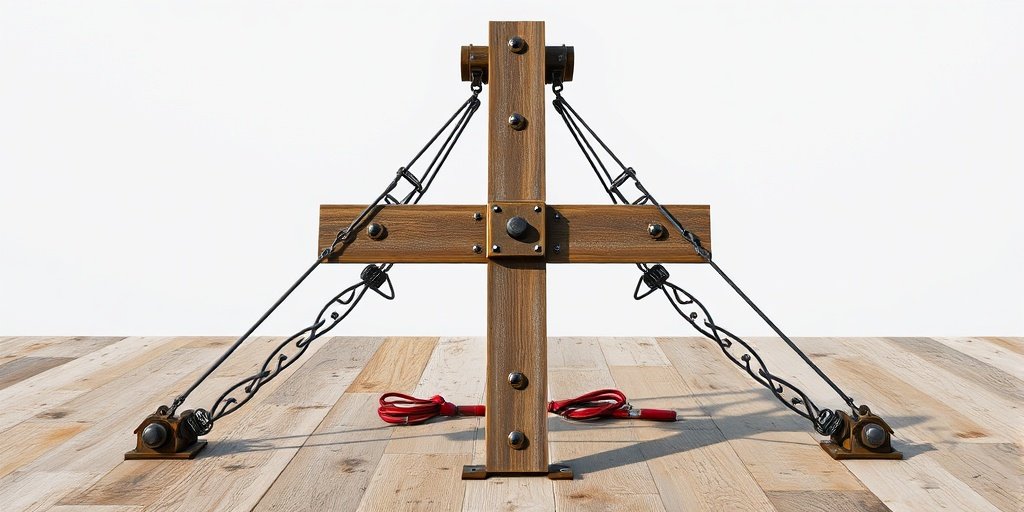
Secure these braces using heavy-duty galvanized lag screws or structural wood screws driven through the outside of the stringers. Square up the frame as you work to ensure it is not twisted. This internal skeleton prevents the beams from wobbling or spreading apart once weight is applied to the top.
Step 5: Anchor the Foundation Pads
Never place your wooden bridge directly onto bare soil, as this accelerates rot and invites termites. You need a solid, dry foundation on either side of the pond. Create level pads using concrete patio pavers or poured concrete footings set slightly back from the water’s edge. The foundation must be perfectly level from side to side to prevent the bridge from rocking.
Place the wooden frame onto these pads, checking that the overlap is sufficient on both banks. The wood should rest entirely on the stone or concrete, not the dirt. This simple separation creates a moisture barrier that significantly extends the lifespan of your garden structure.
Step 6: Attach the Decking Planks
Now comes the rewarding part where your project starts to look like a real bridge. Cut your decking planks from 1×6 or 2×6 lumber. These should be cut slightly wider than the frame to allow for a one-inch overhang on both sides, which helps shed rainwater away from the structural beams.
Starting at one end, attach the planks to the arched stringers using galvanized deck screws. Leave a small gap—about a quarter of an inch—between each plank. This spacing is critical; it allows rainwater to drain through rather than pooling on the surface, and it gives the wood room to expand and contract with humidity changes without buckling.
Step 7: Install Posts and Railings for Safety
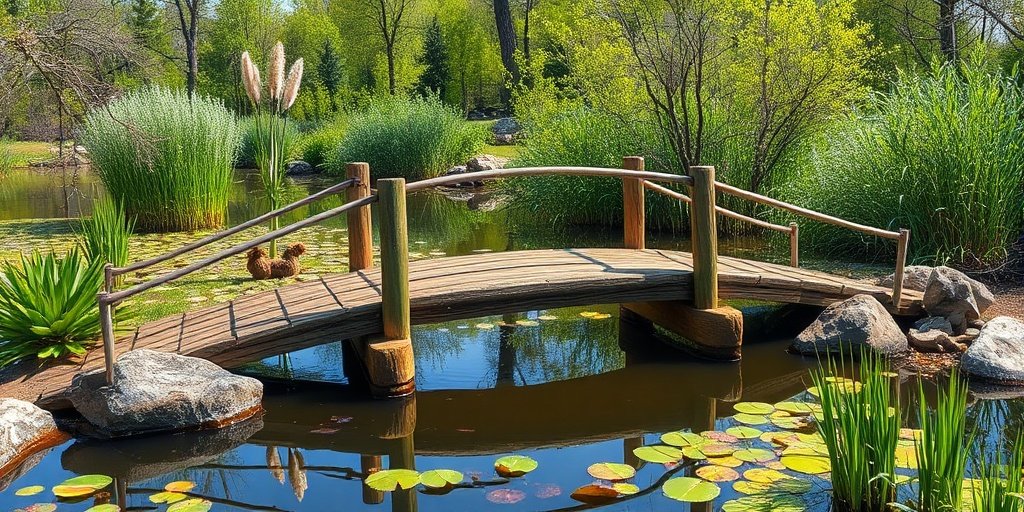
While a low bridge might not strictly require railings, adding them increases safety and aesthetic appeal. Cut four vertical posts from 4×4 lumber and attach them to the outside of the stringers using carriage bolts. Ensure these posts are plumb (vertically straight) before tightening the bolts. You can then run a top rail and a lower rail between these posts, following the curve of the bridge if possible, or keeping them straight for a simpler look. Rope railings are another popular, nautical-themed option; simply drill holes through the posts and thread a thick manila rope through, knotting it at the ends. This step transforms a simple walkway into a secure and finished feature.
Frequently Asked Questions (FAQ)
What is the Best Wood for a Pond Bridge?
The best wood choices are those naturally resistant to rot and insects.
- Redwood and Cedar: These are top-tier choices because they are naturally durable, resist decay, and weather to a beautiful gray if left untreated.
- Pressure-Treated Pine: This is the most budget-friendly option and is chemically treated to resist rot, making it very durable for ground contact.
- Composite Lumber: While not real wood, composite is virtually maintenance-free and will never rot, though it can be more expensive and flexible than solid timber.
How Much Overlap Should the Bridge Have on Land?
Stability is key for safety. Your bridge should extend at least 12 to 18 inches onto solid ground on both sides of the pond. This prevents the bank from crumbling under the weight of the bridge and ensures the structure doesn’t slip into the water. Never rest the bridge right on the edge of the excavation.
Do I Need Concrete Footings?
For small garden bridges, deep poured concrete footings are usually not necessary. However, you should never place wood directly on the dirt. Using concrete patio pavers or solid concrete blocks as a “floating foundation” works well. These pads distribute the weight and keep the wood off the damp soil, preventing rot.
How High Should the Arch Be?
The height of the arch, or camber, is mostly an aesthetic choice, but it shouldn’t be too steep. A rise of about 1 to 2 inches for every foot of length is standard. If the arch is too high, the bridge becomes difficult to walk on, especially when wet. A gentle curve sheds water effectively without creating a slipping hazard.
How Do I Maintain My Wooden Bridge?
Maintenance is essential for longevity in a wet environment.
- Clean regularly: Sweep off leaves and debris that trap moisture against the wood.
- Reseal annually: Apply a fresh coat of water sealant or stain every 1-2 years to protect against UV rays and moisture.
- Inspect hardware: Check screws and bolts annually to ensure they haven’t loosened or rusted.
Conclusion
Building a custom bridge for your pond is a project that pays dividends in both satisfaction and scenery. It bridges the gap between wild nature and curated design, giving you a functional platform to feed your fish or simply admire the reflection of the clouds. By following these steps—choosing the right rot-resistant lumber, creating a sturdy arched frame, and sealing the wood against the elements—you ensure your creation will stand the test of time. It transforms a simple garden into a landscape destination. Now that you have mastered the knowledge of how to make a pond bridge, you are ready to pick up your tools and build a lasting pathway over your personal backyard waters.

About
Jovie Mathews is a backyard and outdoor expert writer with over 12 years of hands-on experience transforming neglected outdoor spaces into thriving gardens and functional retreats. Raised in a family where weekends meant digging in the soil and building raised beds from scratch, Jovie developed a genuine love for the outdoors long before it became a career.
She writes with a practical, no-fluff approach — always testing ideas in her own backyard before sharing them with readers. From composting systems and native plant selection to patio design and pest control, Jovie covers the full spectrum of backyard life with equal parts expertise and enthusiasm.
Education
B.Sc. in Horticulture Science
University of Florida (UF) · Gainesville, FL · 2014
IFAS College of Agricultural and Life Sciences
Minor in Environmental Studies
University of Florida (UF) · Gainesville, FL · 2014
College of Liberal Arts and Sciences
Areas of expertise
- Lawn & Garden Care
- Soil prep, planting, seasonal care
- Outdoor DIY Projects
- Raised beds, fencing, pathways
- Composting & Soil Health
- Organic methods, amendments
- Native Plants & Wildlife
- Pollinators, habitat gardening
When she is not writing, Jovie can be found testing new composting techniques, growing tomatoes in questionable quantities, or convincing her neighbors that clover lawns are actually a great idea. She currently gardens in the Pacific Northwest.