

Owning a swimming pool is a wonderful luxury, but it comes with significant maintenance responsibilities that every homeowner must eventually face. While regular skimming and chemical balancing are part of the weekly routine, there are rare occasions when you need to remove all the water from the shell. This is a major undertaking that requires careful planning, the right equipment, and a healthy respect for the structural integrity of your property. It is not a task to rush into without understanding the risks involved.
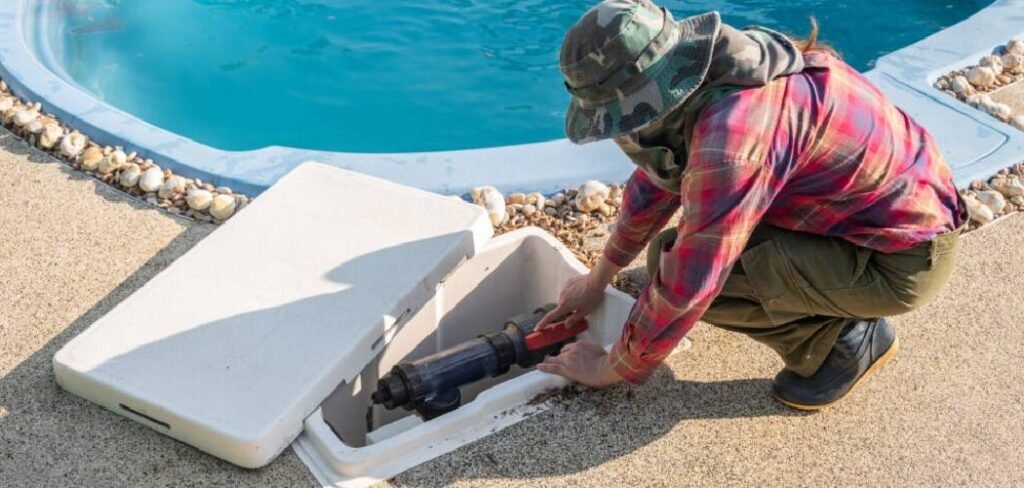
Many beginners assume that emptying a pool is as simple as pulling a plug, but doing so incorrectly can lead to catastrophic damage, such as the pool shell popping out of the ground due to hydrostatic pressure. Whether you are dealing with severe algae blooms, high total dissolved solids, or need to perform structural repairs, learning how to drain inground pool systems correctly is essential for protecting your investment.
You Must Be Careful When Draining Your Pool
Draining a pool is not a standard maintenance task and should only be done when absolutely necessary. Understanding the “why” behind the process is just as critical as the “how.” The primary reason most homeowners look into this procedure is to reset the water chemistry after years of evaporation have caused total dissolved solids and stabilizer levels to skyrocket. When chemicals no longer dissolve or react effectively, fresh water is often the only solution. Additionally, major repairs like resurfacing the plaster, fixing deep cracks, or acid washing severe stains require a completely dry environment to ensure the new materials bond correctly.
8 Step-by-Step Guide on How to Drain Inground Pool
Step 1: Assess Local Ground Water and Regulations
Before you even touch a hose or a pump, you must investigate the environmental and legal conditions of your specific location. Start by contacting your local municipality or water authority to check the regulations regarding water disposal. Many cities prohibit draining pool water into storm drains because the chemicals can harm local waterways and wildlife.
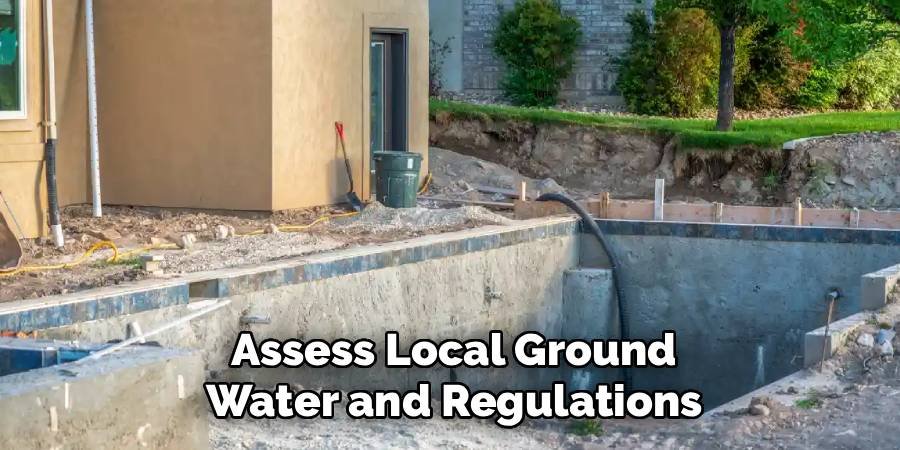
You will likely be required to drain the water into your home’s sanitary sewer cleanout. Furthermore, you must determine the current groundwater levels in your yard. If it has rained heavily recently or if you live in a high water table area, do not proceed. The risk of hydrostatic pressure popping your pool out of the ground is highest when the ground is saturated. Waiting for a dry season is the safest choice for structural integrity.
Step 2: Rent or Purchase a Submersible Pump
You might be tempted to use your pool’s existing filtration pump to remove the water, but this is generally a bad idea for a complete drain. Pool pumps are designed to push water through a filter system, not to lift water vertically out of a deep basin once the water level drops below the skimmers.
Running your main pump dry can burn out the motor and ruin the seals. Instead, you should rent or buy a heavy-duty submersible sump pump. These pumps are specifically engineered to sit at the bottom of the pool and push water out through a discharge hose. Ensure you also acquire a discharge hose that is long enough to reach your designated drainage point, whether that is a sewer cleanout or a designated area in your yard.
Step 3: Turn Off All Pool Equipment
Safety is paramount when working with water and electricity, so you must completely shut down your pool’s automated systems before beginning the draining process. Go to your pool equipment pad and locate the breaker panel. You need to flip the breakers for the main filter pump, any booster pumps, the heater, and especially the pool lights.
If your pool lights are accidentally turned on while they are not submerged in water, the heat they generate can cause the lenses to explode or the fixtures to melt within minutes. Additionally, disabling the timers ensures that your pumps do not try to kick on automatically in the middle of the night when the pool is empty, which would cause severe mechanical damage to your expensive filtration system.
Step 4: Set Up the Discharge Hose Properly
Once you have your submersible pump ready, you need to configure the discharge hose to ensure the water goes exactly where it is supposed to. Connect the hose securely to the pump using a hose clamp to prevent it from blowing off under pressure. Run the hose to your approved drainage site, such as the sanitary sewer cleanout usually found on the side of your house.
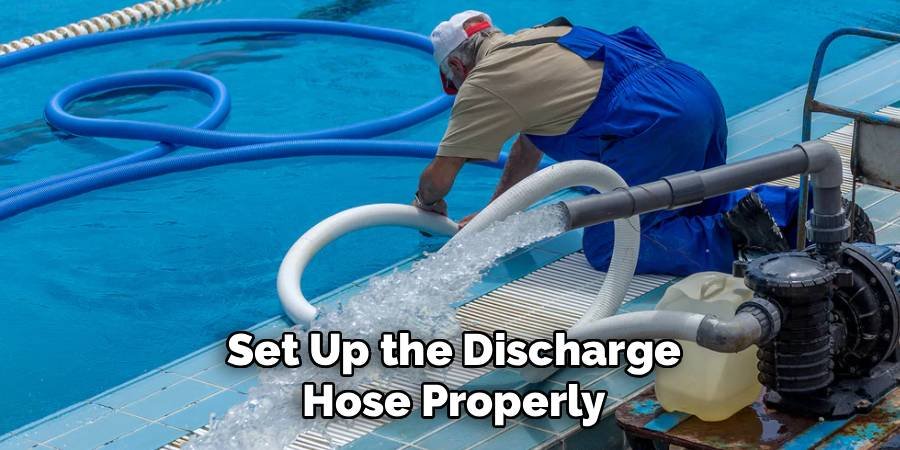
It is vital to secure the end of the hose so it does not flail around and spray water everywhere once the flow starts. If you are permitted to drain into your yard, ensure the water flows away from the pool structure and your home’s foundation to prevent the soil from becoming saturated, which could increase hydrostatic pressure against the pool walls.
Step 5: Place the Pump and Monitor Flow
Carefully lower the submersible pump into the deep end of the pool. Do not lower it by the power cord, as this can damage the internal wiring and create an electrical hazard. Use a rope attached to the pump handle to lower it gently until it rests on the main drain or the deepest part of the floor. Plug the pump into a Ground Fault Circuit Interrupter (GFCI) outlet to ensure electrical safety.
Once the pump starts running, check the end of the discharge hose to confirm that water is flowing at a steady rate. It is important to stay close by for the first few minutes to ensure the setup is stable and that no leaks are occurring at the connection points or along the hose length.
Step 6: Monitor the Draining Process Continuously
Draining a pool takes time, ranging from 12 to 24 hours depending on the size of the pool and the strength of your pump, but you should never leave the process entirely unattended. You need to check the progress frequently to ensure the pump is still submerged and operating correctly.
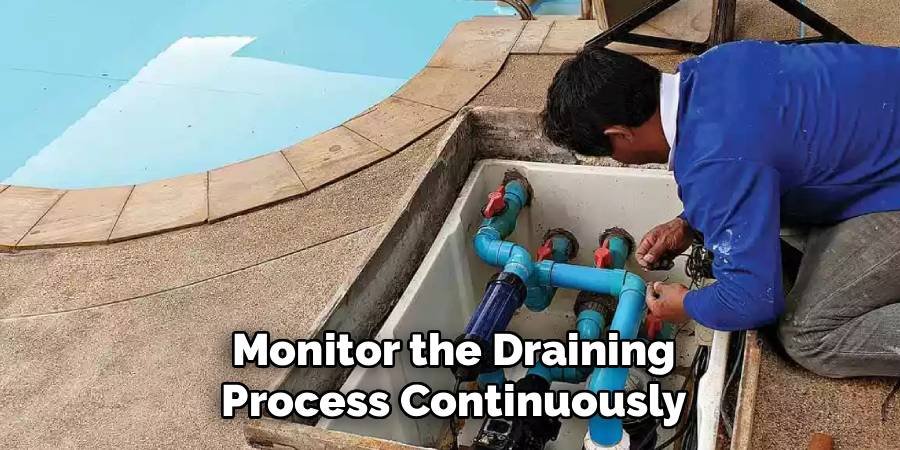
As the water level drops, the pump may vibrate or move, potentially tipping over or getting stuck on debris. Furthermore, checking continuously allows you to spot any structural issues early. If you see tiles cracking or the liner shifting oddly as the water weight is removed, stop the pump immediately. This vigilance is the key to learning how to drain inground pool systems without incurring expensive damage to the shell or finish.
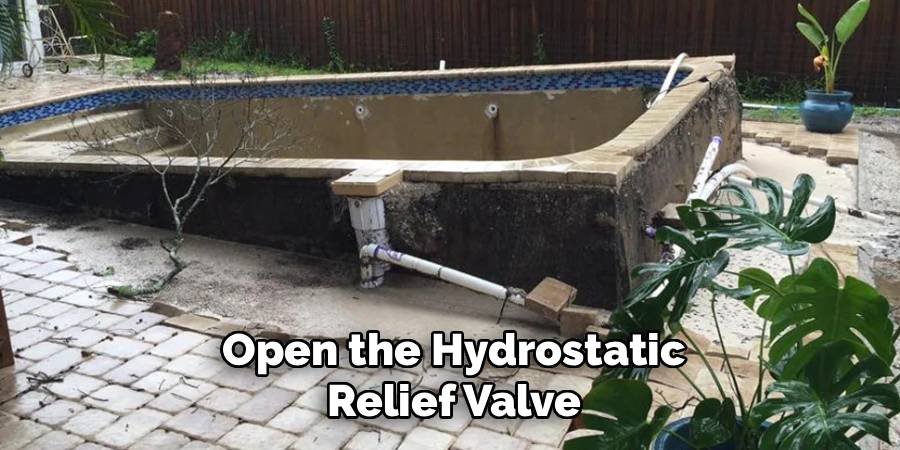
Step 7: Open the Hydrostatic Relief Valve
This is arguably the most critical step in the entire operation for preventing structural failure. As the water level gets very low and approaches the deep end floor, you must locate the hydrostatic relief valve. This valve is usually found inside the main drain pot at the very bottom of the pool.
Its purpose is to allow groundwater to flow into the pool if the pressure beneath the shell becomes too high, thereby equalizing the pressure and preventing the pool from floating. Once the water is low enough to wade in, remove the main drain cover and unscrew or open this safety valve. If you skip this step, you are gambling with the structural integrity of your entire pool shell against the weight of the earth around it.
Step 8: Remove Remaining Water and Debris
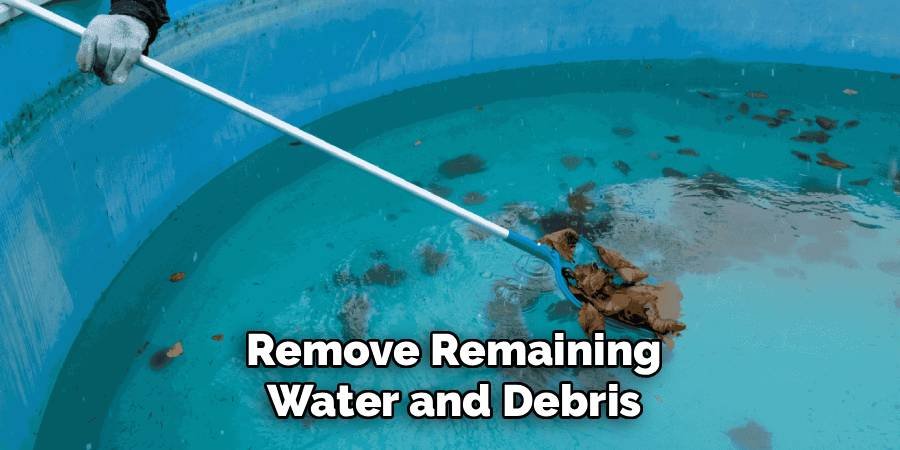
The submersible pump will remove the vast majority of the water, but it will eventually begin to suck air and lose its prime when only a few inches of water remain. At this stage, you will need to unplug the pump and remove it from the pool. To get the remaining puddles out, use a wet-dry shop vacuum.
This is also the time to manually shovel out any sludge, wet leaves, or debris that has accumulated at the bottom. Dealing with this debris while it is still wet is much easier than letting it dry into a hard, cement-like crust. Be thorough in this cleanup phase, as organic matter left on the plaster can cause staining very quickly once it is exposed to the air.
Frequently Asked Questions
Can I Use My Pool Pump to Drain the Pool?
It is generally not recommended to use your main pool pump for a complete drain. Most pool pumps are designed to work with water flowing into them from the skimmers. Once the water level drops below the skimmer intake, the pump will suck air, lose its prime, and potentially burn out the motor. It is much safer and more effective to rent a submersible sump pump designed specifically for removing water from the bottom of a basin.
How Long Does It Take to Drain a Pool?
The time required depends on the size of your pool and the gallons-per-hour (GPH) rating of your submersible pump. For an average inground pool holding 20,000 gallons, a standard rental pump might take anywhere from 12 to 24 hours to completely remove the water. You should plan for this process to take a full day and ensure you are available to monitor the progress periodically so the pump does not run dry.
Is It Safe to Drain a Pool When It Rains?
No, you should never drain a pool during or immediately after heavy rain. Rain saturates the ground, raising the water table and increasing the hydrostatic pressure against the bottom of your pool shell. If you empty the pool when the ground is wet, the upward pressure can force the pool to float or pop out of the ground, causing catastrophic structural damage. Always wait for a dry spell before attempting to drain.
Where Should I Pump the Pool Water?
You must direct the water to a location that complies with your local city regulations. In many areas, it is illegal to pump chemically treated pool water into the street or storm drains. The most common legal requirement is to pump the water into your home’s sanitary sewer cleanout, which is usually a pipe with a screw cap located on the exterior of your house. Always check with your local water authority first.
Will Draining My Pool Damage the Liner?
If you have a vinyl liner pool, draining it completely is very risky. Vinyl liners rely on the weight of the the water to hold them in place against the pool walls. When you remove the water, the liner can shrink, wrinkle, or pull away from the track. As the liner ages, it becomes brittle and may tear when you try to refill the pool. Consult a professional before draining a vinyl liner pool.
Conclusion
Draining an inground pool is a significant maintenance task that goes beyond simple cleaning. It requires the right timing, the proper equipment, and a strict adherence to safety protocols to prevent damage to your property.
By understanding the risks of hydrostatic pressure and following the correct procedures for water disposal, you can successfully refresh your pool water or complete necessary repairs. Always remember that the goal is to get the water back in as quickly as possible to protect the pool’s surface. Now that you know how to drain inground pool systems correctly, you can approach this project with confidence and care.

About
Jovie Mathews is a backyard and outdoor expert writer with over 12 years of hands-on experience transforming neglected outdoor spaces into thriving gardens and functional retreats. Raised in a family where weekends meant digging in the soil and building raised beds from scratch, Jovie developed a genuine love for the outdoors long before it became a career.
She writes with a practical, no-fluff approach — always testing ideas in her own backyard before sharing them with readers. From composting systems and native plant selection to patio design and pest control, Jovie covers the full spectrum of backyard life with equal parts expertise and enthusiasm.
Education
B.Sc. in Horticulture Science
University of Florida (UF) · Gainesville, FL · 2014
IFAS College of Agricultural and Life Sciences
Minor in Environmental Studies
University of Florida (UF) · Gainesville, FL · 2014
College of Liberal Arts and Sciences
Areas of expertise
- Lawn & Garden Care
- Soil prep, planting, seasonal care
- Outdoor DIY Projects
- Raised beds, fencing, pathways
- Composting & Soil Health
- Organic methods, amendments
- Native Plants & Wildlife
- Pollinators, habitat gardening
When she is not writing, Jovie can be found testing new composting techniques, growing tomatoes in questionable quantities, or convincing her neighbors that clover lawns are actually a great idea. She currently gardens in the Pacific Northwest.




