

Taking on electrical work around your swimming pool can feel intimidating, but with the right preparation, it is a manageable DIY project. Whether you are installing a brand new unit or replacing an old motor, understanding the electrical requirements is essential for safety and longevity. This guide breaks down the complex process into manageable chunks so you can get your filtration system running smoothly. We will walk you through verifying voltage, preparing conduits, and securing connections without confusing jargon.
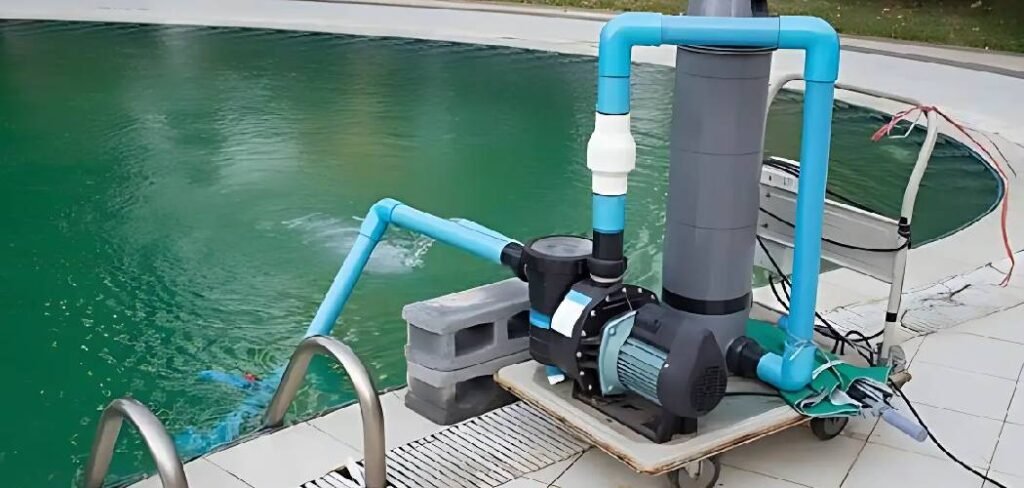
By following these instructions, you will save money on professional installation fees and gain valuable knowledge about your home’s aquatic system. Safety is our top priority, so we emphasize precautions at every stage. In this article, you will learn exactly how to wire pool pump connections safely and efficiently, ensuring your water stays crystal clear all season long.
Why Learning How To Wire Pool Pump Correctly Matters
Understanding the intricacies of how to wire pool pump motors is about much more than just getting the water moving; it is a critical matter of safety and equipment longevity. When a pump is wired incorrectly, you risk creating dangerous electrical hazards near water, which is a potentially fatal combination. Proper wiring ensures that the grounding and bonding are effective, preventing stray voltage from entering the pool water. Additionally, correctly identifying whether your motor requires 115 volts or 230 volts prevents immediate damage to the internal windings of the motor.
Beyond safety, correct installation optimizes energy efficiency. A pump that is struggling due to poor connections or incorrect voltage settings will draw more amperage, overheat, and fail prematurely. By taking the time to learn the proper techniques, you protect your financial investment in the equipment and ensure the safety of everyone who swims in your pool. This knowledge empowers homeowners to troubleshoot future issues and maintain their pool systems with confidence rather than relying entirely on outside help for every minor adjustment.
9 Step-by-Step Guide on How To Wire Pool Pump
Step 1: Turn Off All Power Sources
Before you even touch a screwdriver or open the pump housing, the absolute first step is to completely cut power to the pool equipment pad. Go to your home’s main electrical breaker panel and flip the breaker that controls the pool pump to the “Off” position. It is not enough to simply turn off the timer or the switch at the pad, as these can easily be bumped back on or bypassed. You must ensure the line is dead at the source.
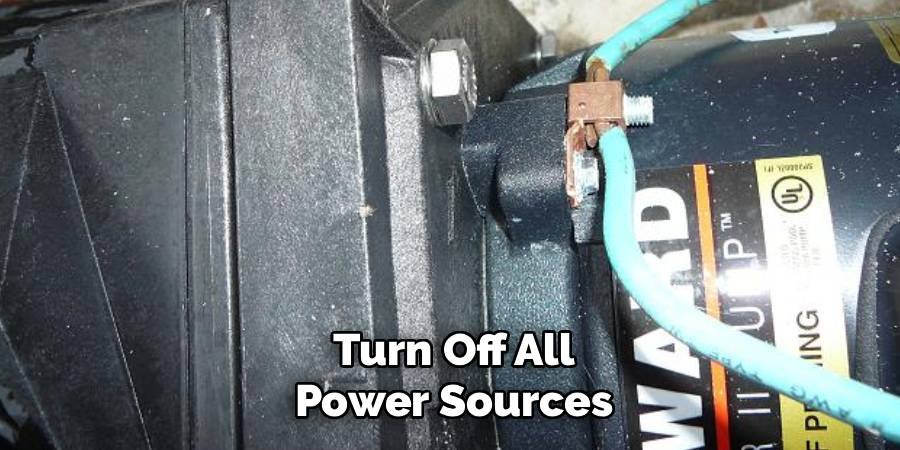
Once the breaker is off, use a non-contact voltage tester or a multimeter to double-check the wires at the pump location. Place the probe near the conduit or existing wires to confirm there is zero electrical current flowing. This verification process might seem redundant, but it is the most critical safety habit you can form. Never assume a wire is safe just because a switch is off; always verify to prevent severe shock.
Step 2: Determine the Correct Voltage
Most modern pool pumps are dual voltage, meaning they can operate on either 115 volts or 230 volts, but you must configure them correctly before connecting power. Check the manufacturer’s label on the side of the motor to see how it is currently set and what your power supply provides. If your breaker is a single pole, you likely have 115 volts; a double pole breaker indicates 230 volts.
If the motor comes set for 230 volts but you only have a 115-volt supply, you will need to adjust the internal wiring settings on the motor’s terminal board. This usually involves moving a small plug or switch to match your incoming voltage. Failing to match the voltage is a common mistake that can instantly burn out a new motor or cause it to run at half speed. Take your time to read the diagram on the motor decal to ensure the internal setup matches your home’s power supply perfectly.
Step 3: Prepare the Electrical Conduit
The electrical wires running to your pump must be protected from the elements, physical damage, and moisture by a rigid or flexible conduit. Measure the distance from your timer box or power source to the back of the pool pump motor. Cut a piece of liquid-tight flexible conduit to the appropriate length, ensuring you leave a little slack so the motor can be moved slightly for maintenance without stressing the wires.
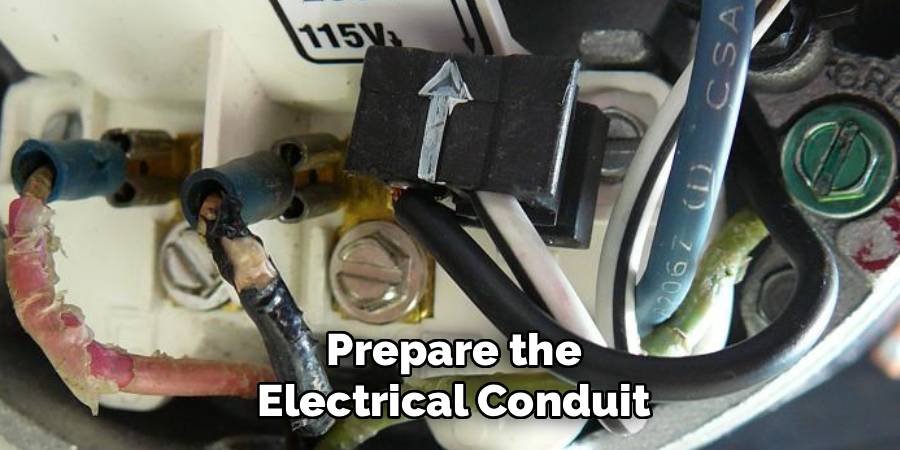
Feed your three wires—usually black (hot), white (neutral for 115v) or red (hot for 230v), and green (ground)—through this conduit. Secure the conduit fittings tightly to both the power source box and the pump’s rear access port. A watertight seal here is vital because water intrusion can cause short circuits and corrosion. Ensuring the conduit is properly seated and the locking nuts are tight prevents moisture from creeping into the electrical compartment during heavy rain.
Step 4: Strip and Prepare the Wires
Once your wires are pulled through the conduit and into the rear of the motor housing, you need to prepare the ends for connection. Using a pair of wire strippers, carefully remove about half an inch of insulation from the ends of the black, red (or white), and green wires. Be careful not to nick the copper strands, as damaged wires can create resistance and heat (hot spots) which may lead to failure.
If you are using stranded wire, twist the copper strands tightly together to keep them from fraying when you tighten the screws. If the wire is solid copper, use needle-nose pliers to form a small hook at the end of each wire. This hook should be oriented so that it wraps around the screw in a clockwise direction. This technique ensures that as you tighten the terminal screw, the wire is pulled tighter under the head rather than being squeezed out, guaranteeing a secure and conductive fit.
Step 5: Connect the Ground Wire
Safety codes strictly require that all pool equipment be properly grounded to prevent electrical shock. Locate the green ground screw inside the motor’s wiring compartment; it is usually painted green or marked with the universal ground symbol. Connect your green insulated wire coming from the conduit to this specific terminal. Tighten the screw firmly so the wire cannot vibrate loose over time.
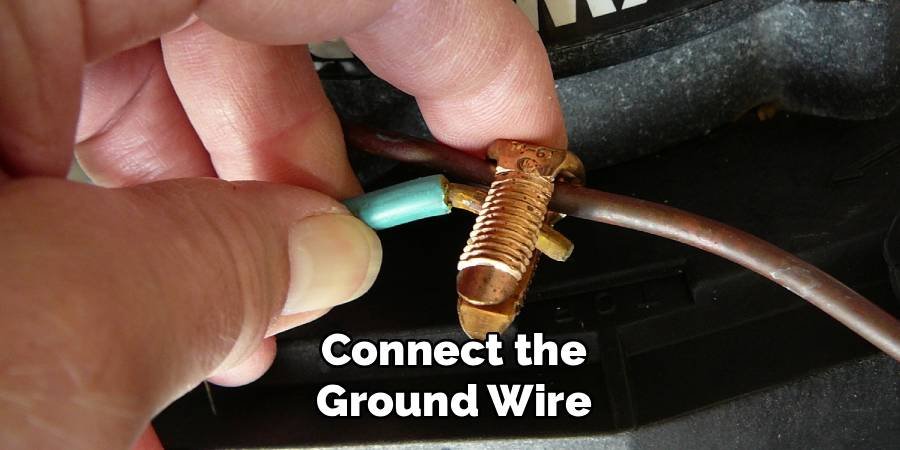
Grounding provides a safe path for electricity to travel if there is a short circuit within the metal casing of the motor. Without this connection, the motor housing could become energized, posing a lethal threat to anyone touching it. This step is non-negotiable and distinct from bonding, which is an external connection. When learning how to wire pool pump systems, you must distinguish between grounding (internal green wire) and bonding (external bare copper wire) to ensure the system is fully code-compliant and safe for use.
Step 6: Connect the Power Lines
Now you will connect the main power lines that drive the motor. Identify the two main load terminals on the motor’s connection board, often labeled L1 and L2. If you are wiring for 230 volts, connect the black wire to L1 and the red wire to L2. If you are wiring for 115 volts, connect the black wire to L1 and the white neutral wire to L2 (or as the manual specifies).
It generally does not matter which hot wire goes to which load terminal for 230-volt AC current, but consistency helps with future troubleshooting. Ensure the connections are tight. Loose connections are a leading cause of electrical arcing, which can melt the terminal board and destroy the motor. After tightening, give each wire a gentle tug to verify it is securely clamped down. Double-check that no stray copper strands are touching other metal parts or terminals, which could cause an immediate short circuit when power is restored.
Step 7: Connect the External Bonding Wire
Look for a brass bonding lug located on the external casing of the pool pump motor, usually near the back or bottom. You must connect a bare, solid copper wire (usually #8 AWG) from the pool’s bonding grid to this lug. This bonding wire connects all metal parts of the pool structure—ladders, slides, and the pump—into a single potential grid to prevent voltage gradients.
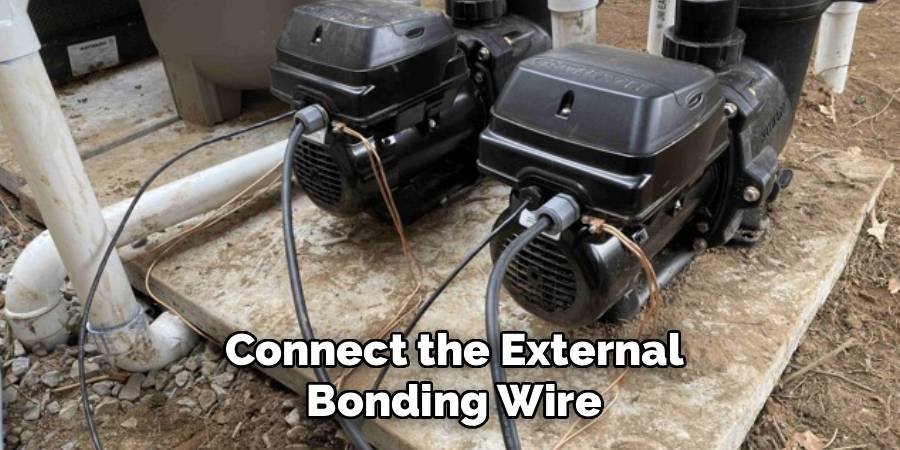
This step is frequently overlooked by beginners, but it is just as important as the internal wiring. Loosen the screw on the bonding lug, insert the bare copper wire, and tighten it down securely. If the bonding wire is not connected, you may feel a slight tingle when touching the water or metal equipment, which indicates a dangerous voltage difference. Properly bonding the pump ensures that the voltage potential is equalized across all metal components around your swimming pool area.
Step 8: Close and Seal the Housing
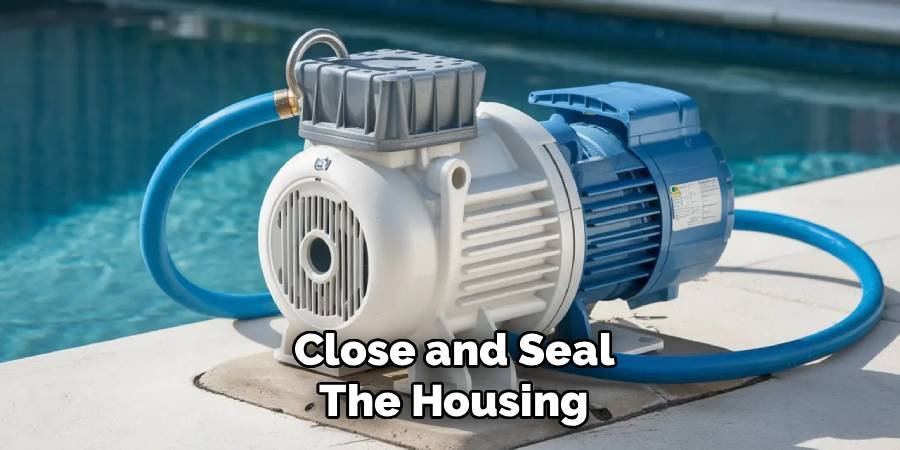
With all connections made and double-checked, it is time to close up the motor’s electrical compartment. neatly fold the wires into the housing, ensuring they are not pinched between the cover and the motor body. Reattach the access cover plate and tighten the screws evenly. Most covers have a rubber gasket or seal; ensure this gasket is clean and properly seated to keep rain, bugs, and pool water out.
If the gasket looks cracked or dried out, replace it immediately, as moisture inside the motor is a recipe for disaster. Once the cover is on, inspect the conduit entry point one last time. Tighten the compression nut on the conduit connector to ensure it is watertight. A proper seal protects your electrical work from the harsh outdoor environment and ensures the internal components remain dry and corrosion-free for years to come.
Step 9: Restore Power and Test
The final step in understanding how to wire pool pump setups is the testing phase. Return to your main breaker panel and flip the switch back to the “On” position. Walk back to the pump and turn on the timer or switch. Listen for the motor to hum to life. It should sound smooth and steady. If you hear a loud buzzing but no movement, turn the power off immediately—this usually indicates incorrect voltage settings or a seized impeller.
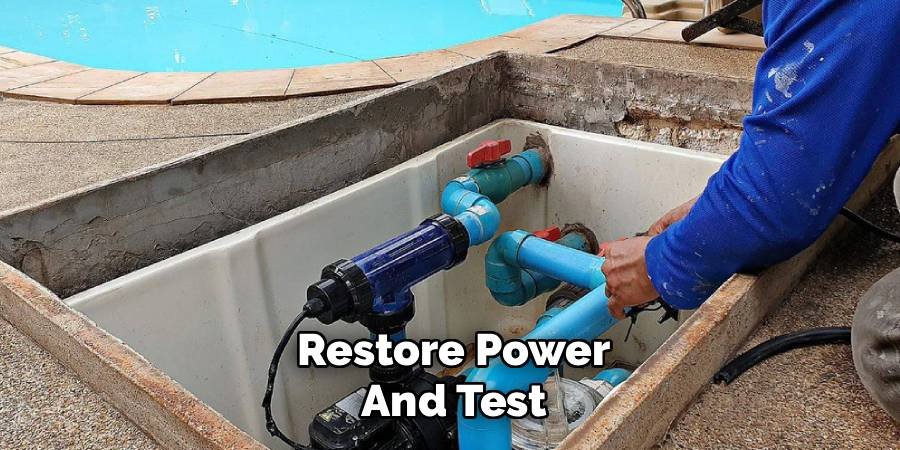
Observe the pump for a few minutes to ensure it primes with water and runs without overheating. Check for any smoke or burning smells, which would indicate a wiring fault. If the water flows strongly and the motor runs quietly, you have successfully completed the installation. Monitor the pump periodically over the next 24 hours to ensure everything remains secure and operational.
Frequently Asked Questions (FAQ)
What Wire Gauge Should I Use?
For most residential pool pumps running up to 1.5 horsepower, 12-gauge wire is sufficient and standard. However, if your pump is 2 horsepower or larger, or if the equipment pad is located a long distance from the breaker panel, you may need to upgrade to 10-gauge wire to prevent voltage drop. Always consult your pump’s manual and local electrical codes to determine the precise gauge required for your specific amperage and distance requirements.
Can I Use an Extension Cord?
You should never use an extension cord to run a permanent pool pump. Extension cords are not designed for the continuous high amperage load of a pool motor and can easily overheat, melt, or cause a fire. Furthermore, they lack the proper hardwired grounding and bonding connections required for safety near water. Always hardwire the pump directly to the power source using approved conduit and waterproof fittings to ensure safety and code compliance.
Why Does My Pump Hum But Not Start?
A humming motor that refuses to start often indicates a capacitor failure or an incorrect voltage setting. If you recently wired the pump, check that you did not set the motor to 230 volts while supplying only 115 volts. If the voltage is correct, the start capacitor may be bad, or the impeller could be jammed with debris. Turn off the power immediately to prevent the internal windings from burning out while you investigate the cause.
Is Bonding the Same as Grounding?
Bonding and grounding serve different safety functions and are not interchangeable. Grounding connects the motor’s electrical system to the earth to trip the breaker in case of a short circuit. Bonding connects all metal parts around the pool (pump, heater, ladders) together to equalize electrical potential and prevent shocks. You must have both: the green ground wire inside the motor and the bare copper bonding wire on the outside lug.
Do I Need a GFCI Breaker?
Current National Electrical Code (NEC) standards generally require GFCI (Ground Fault Circuit Interrupter) protection for pool pumps to prevent electrocution. A GFCI breaker detects even tiny imbalances in electrical current and cuts power instantly if electricity leaks into the water or through a person. While older installations might not have them, installing a GFCI breaker is highly recommended for safety when replacing or upgrading your pool equipment.
Conclusion
Wiring your own pool pump is a rewarding project that ensures your swimming environment remains safe and clean. By following the proper safety protocols, verifying your voltage, and securing your connections, you can tackle this task with confidence. Remember that preparation is key; rushing through electrical work often leads to mistakes. We hope this guide has helped you understand the process and given you the motivation to maintain your own equipment. Now that you know how to wire pool pump connections effectively, you can enjoy a worry-free swimming season.

About
Jovie Mathews is a backyard and outdoor expert writer with over 12 years of hands-on experience transforming neglected outdoor spaces into thriving gardens and functional retreats. Raised in a family where weekends meant digging in the soil and building raised beds from scratch, Jovie developed a genuine love for the outdoors long before it became a career.
She writes with a practical, no-fluff approach — always testing ideas in her own backyard before sharing them with readers. From composting systems and native plant selection to patio design and pest control, Jovie covers the full spectrum of backyard life with equal parts expertise and enthusiasm.
Education
B.Sc. in Horticulture Science
University of Florida (UF) · Gainesville, FL · 2014
IFAS College of Agricultural and Life Sciences
Minor in Environmental Studies
University of Florida (UF) · Gainesville, FL · 2014
College of Liberal Arts and Sciences
Areas of expertise
- Lawn & Garden Care
- Soil prep, planting, seasonal care
- Outdoor DIY Projects
- Raised beds, fencing, pathways
- Composting & Soil Health
- Organic methods, amendments
- Native Plants & Wildlife
- Pollinators, habitat gardening
When she is not writing, Jovie can be found testing new composting techniques, growing tomatoes in questionable quantities, or convincing her neighbors that clover lawns are actually a great idea. She currently gardens in the Pacific Northwest.




