

There is nothing quite as magical as an evening swim beneath the stars, but that experience requires a properly illuminated pool. For many new homeowners or those renting a vacation property with a pool for the first time, figuring out the electrical controls can feel surprisingly intimidating. You might be staring at a confusing wall of switches, dials, and breaker boxes, unsure of which one controls the underwater illumination.
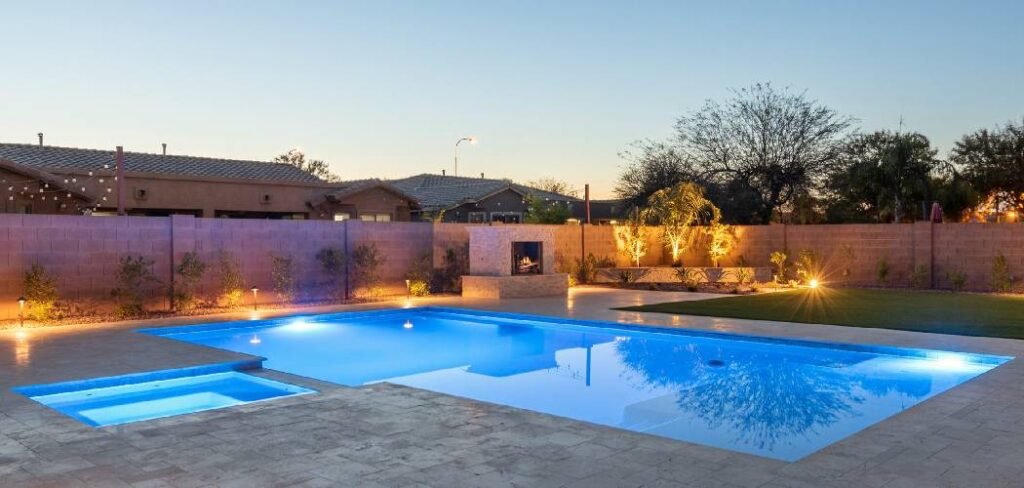
This guide is designed to demystify that process entirely. We will walk you through everything you need to know about your pool’s electrical system so you can enjoy your backyard oasis safely. By the end of this article, you will know exactly how to turn on pool light fixtures and manage your system like a pro, ensuring your evening swims are safe, bright, and beautiful.
Why Proper Pool Lighting Matters
Understanding the mechanisms behind your pool lighting is about more than just aesthetics; it is a crucial component of backyard safety and home maintenance. When you know how to operate your lights correctly, you extend the lifespan of the bulbs and the electrical components, saving money on costly replacements. Furthermore, adequate lighting prevents accidents by ensuring that the depth and edges of the pool are clearly visible to swimmers and guests walking nearby.
8 Step-by-Step Guide on How To Turn On Pool Light
Step 1: Locate Your Main Pool Equipment Pad
The journey to illumination begins with finding where the magic happens, which is typically your main equipment pad. This area is usually located on the side of the house, near the garage, or sometimes hidden behind landscaping or a privacy screen in the backyard. You are looking for a cluster of equipment that includes the pump, filter, heater, and the electrical subpanel.
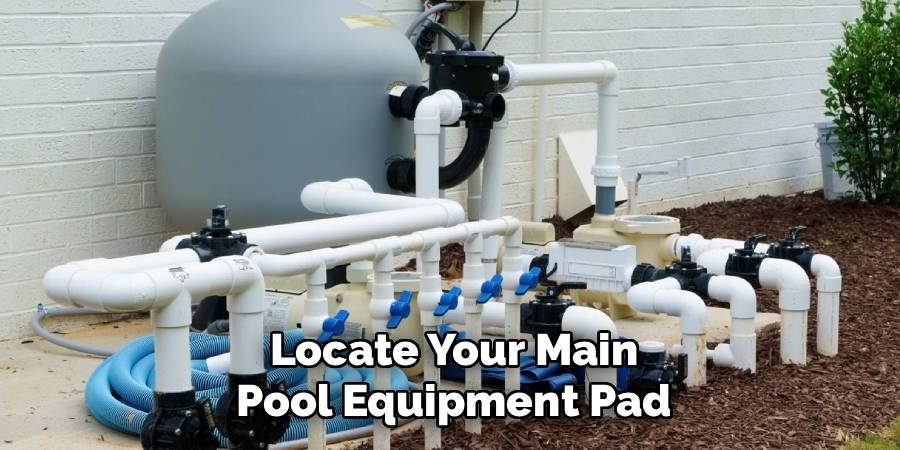
This subpanel is a metal box that houses the breakers and switches specifically for your pool equipment. It is distinct from the main breaker panel inside your home. Approach this area carefully, especially if the ground is wet, and ensure you have a flashlight if you are attempting this for the first time at night. Familiarizing yourself with this equipment pad is essential for all pool maintenance tasks.
Step 2: Identify the Electrical Subpanel Door
Once you are standing in front of the equipment pad, your next task is to identify the electrical subpanel that controls the various components of your system. This is usually a grey metal box mounted on the wall or a post near the pump. It will likely have a latched door to protect the switches from the elements. Gently lift the latch or unscrew the fastener to open the door. Inside, you should see a series of switches or breakers.
In a well-organized system, these switches will be clearly labeled with stickers indicating “Pump,” “Heater,” “Blower,” and “Lights.” If the labels are faded or missing, do not start flipping switches randomly. Take a moment to observe the layout and look for any diagrams on the inside of the door that might offer clues to the configuration.
Step 3: Check the GFCI Breaker Status
Before you attempt to flip any switches for the lights, you must ensure that the safety breakers are functioning correctly. Most pool lights are connected to a Ground Fault Circuit Interrupter (GFCI) to prevent electrical shock in the water. Look for a breaker that has a “Test” and “Reset” button, similar to the outlets you might see in a bathroom.
If the “Reset” button is popped out, the circuit has been tripped, and no amount of switch-flipping will turn the lights on. Firmly press the reset button until it clicks into place. If it immediately pops back out, you have an electrical fault that needs professional attention. Verifying that this safety mechanism is engaged and active is a critical safety step before proceeding with how to turn on pool light operations.
Step 4: Engage the Manual Light Switch
If your system is older or operates manually, you will likely see a standard toggle switch inside the subpanel box or mounted externally in a weather-proof box. This switch looks exactly like a regular light switch you would find inside your home. To activate the light, simply flip this toggle to the “On” position.
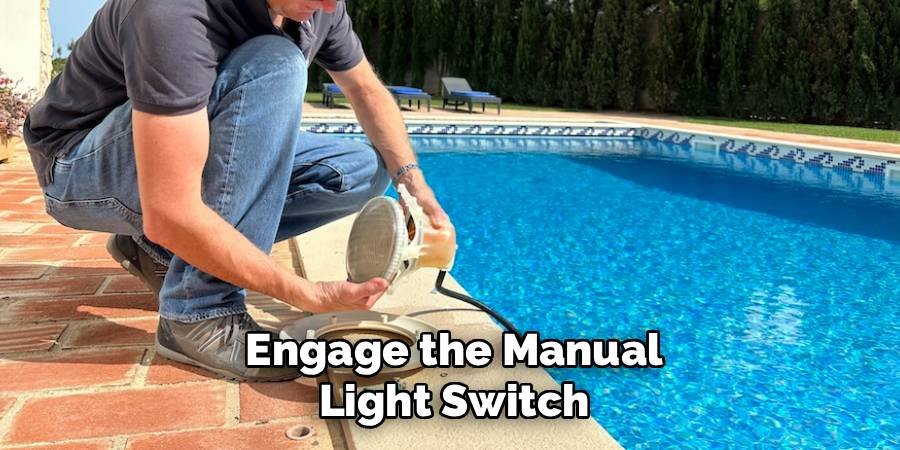
You might hear a satisfying click or the hum of a transformer engaging. If the switch feels loose or does not snap firmly into position, it may be worn out and require replacement. After flipping the switch, look toward the pool to see if the light has illuminated. Keep in mind that some older incandescent lights may take a split second to warm up and reach full brightness, so give it a moment before deciding it didn’t work.
Step 5: Operating Systems with Automation
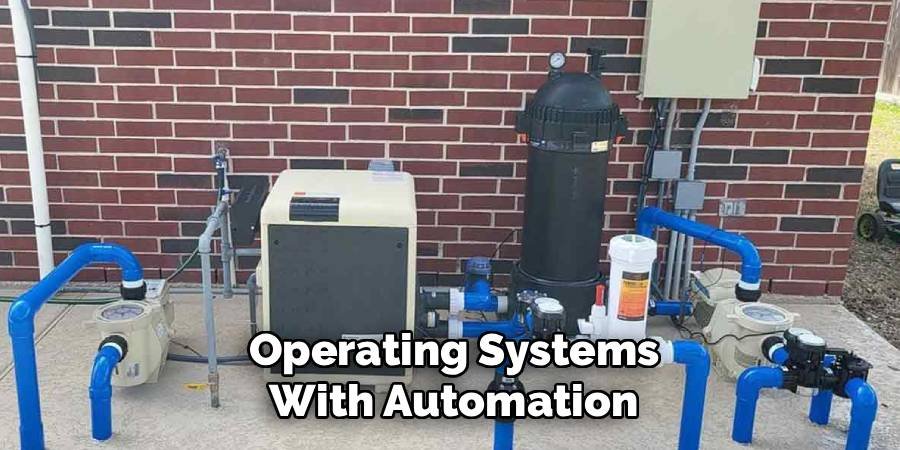
Modern pools often utilize automation systems rather than manual toggle switches, which changes the process slightly. If you see a digital screen or a keypad inside the subpanel box instead of physical switches, you are dealing with automation. Look for a button specifically labeled “Lights,” “Aux 1,” or “Aux 2.”
Often, the “Aux” buttons are assigned to lighting circuits. Press the button firmly once. You should see a small LED indicator light up next to the button or an icon appear on the digital display screen confirming the command was sent. If the system is in “Service Mode,” the buttons on the panel will work, but if it is in “Auto” mode, it might be waiting for a scheduled timer. You may need to press a “Mode” button to switch to service mode to manually override the timer.
Step 6: Using Remote Controls or Apps
Many homeowners today control their backyard environment using wireless remotes or smartphone applications linked to their automation system. If you have a handheld remote, ensure it has fresh batteries and is within range of the antenna mounted at the equipment pad. Look for the button with a light bulb icon or text indicating the pool light. Press and hold it until the signal is received.
For smartphone apps, open the application and navigate to the “Features” or “Lighting” tab. Tap the icon to toggle the lights on. The app usually provides real-time feedback, turning the icon green or bright to show the light is active. This method is the most convenient way regarding how to turn on pool light features without leaving your patio chair.
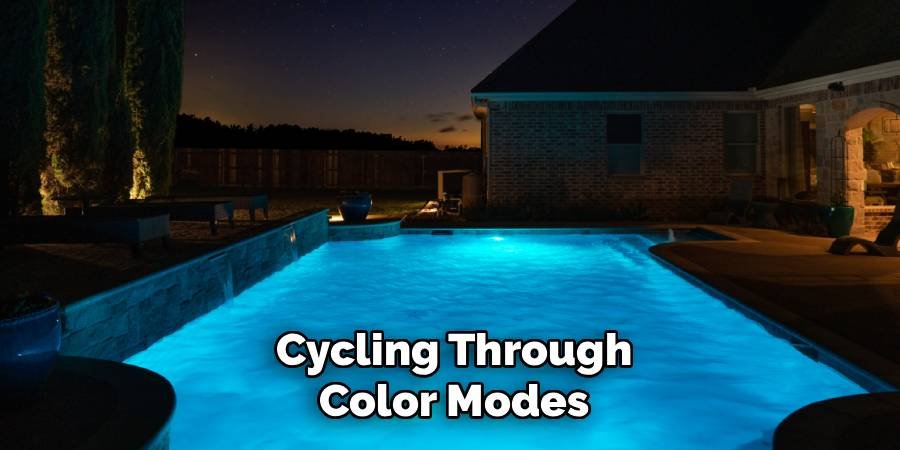
Step 7: Cycling Through Color Modes
If you have LED pool lights, simply turning them on is often just the beginning of the process. Many LED fixtures use power-toggling to change colors and light shows. To cycle through colors, you must turn the light switch off and then back on quickly, usually within one or two seconds.
Each time you pulse the switch off and on, the light will advance to the next color theme or solid color in its sequence. Some systems require a specific number of toggles to reach a favorite show, like “USA colors” or “Party Mode.” Consult your specific light manufacturer’s manual to learn the exact toggle sequence. Mastering this rhythm allows you to customize the aesthetic of your pool for any occasion.
Step 8: Setting the Automatic Timer
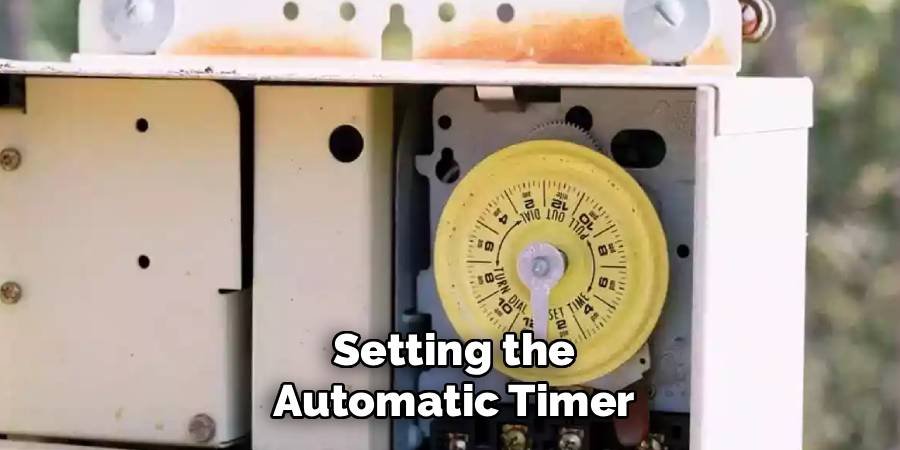
To avoid the hassle of manually turning lights on every evening, you should learn to set the mechanical or digital timer. For mechanical timers, locate the yellow dial inside the subpanel. There are “On” and “Off” trippers—small metal or plastic clips attached to the dial.
Loosen the screw on the “On” tripper and slide it to your desired start time, such as 7:00 PM. Do the same for the “Off” tripper, perhaps setting it for 11:00 PM. Tighten them back down. As the dial rotates with the time of day, it will physically hit the switch to turn your lights on and off. For digital systems, access the “Schedules” menu on your keypad or app and program the start and stop times there.
Frequently Asked Questions (FAQ)
Can I Get Shocked Changing The Settings?
Generally, you will not get shocked simply by flipping switches or pressing buttons on the control panel, provided the equipment is up to code and the panel door is closed when not in use. However, you should never operate electrical equipment with wet hands or while standing in a puddle of water. If you need to reset a breaker or touch bare metal, ensure you are dry and wearing rubber-soled shoes to minimize any risk of electrical injury.
Why Is My Pool Light Flickering?
A flickering pool light usually indicates a loose connection or an aging bulb that is about to burn out completely. It could also signal a voltage drop if too many appliances are running on the same circuit. If you have an LED light, flickering might mean the internal driver is failing. Check the bulb tightness first; if that does not fix it, you may need to inspect the wiring in the junction box or consult an electrician.
How Much Does It Cost To Run Pool Lights?
The cost depends heavily on the type of bulb you are using. An old-fashioned 500-watt incandescent bulb can be quite expensive to run, potentially costing a distinct amount per hour depending on your local electricity rates. In contrast, modern LED pool lights use a fraction of that power, often between 30 and 50 watts. Switching to LED can save you significant money on your monthly utility bill while providing brighter, more versatile lighting options.
Can I Add A Remote Control Later?
Yes, you can almost always add a remote control system to an existing manual pool setup. There are aftermarket kits available that wire easily into your existing subpanel. These kits typically include a receiver that connects to the light circuit and a wireless handheld remote. This is a popular upgrade for older pools because it eliminates the need to walk out to the dark equipment pad at night just to turn on the illumination.
Do I Need To Drain The Pool To Fix A Light?
Fortunately, you rarely need to drain the water to fix or replace a pool light. The light fixture is housed in a “niche” in the pool wall and has a long cord coiled behind it. You can unscrew the fixture from the wall and pull it up onto the pool deck to change the bulb or gasket. Just make sure the breaker is off before you attempt to remove the fixture from the water.
Conclusion
Mastering your pool’s lighting system transforms your backyard into a usable and beautiful space well after the sun goes down. By familiarizing yourself with the equipment pad, understanding the difference between manual switches and automation, and learning to troubleshoot basic issues, you gain confidence as a homeowner. You no longer have to guess which button to press or worry about swimming in the dark.
We hope this guide has illuminated the process for you and motivated you to get out there and enjoy your pool to the fullest. Remember, safety comes first, so always handle electrical components with care. Now that you understand the steps, go ahead and try how to turn on pool light features tonight—your perfect evening swim is just one switch flip away.

About
Jovie Mathews is a backyard and outdoor expert writer with over 12 years of hands-on experience transforming neglected outdoor spaces into thriving gardens and functional retreats. Raised in a family where weekends meant digging in the soil and building raised beds from scratch, Jovie developed a genuine love for the outdoors long before it became a career.
She writes with a practical, no-fluff approach — always testing ideas in her own backyard before sharing them with readers. From composting systems and native plant selection to patio design and pest control, Jovie covers the full spectrum of backyard life with equal parts expertise and enthusiasm.
Education
B.Sc. in Horticulture Science
University of Florida (UF) · Gainesville, FL · 2014
IFAS College of Agricultural and Life Sciences
Minor in Environmental Studies
University of Florida (UF) · Gainesville, FL · 2014
College of Liberal Arts and Sciences
Areas of expertise
- Lawn & Garden Care
- Soil prep, planting, seasonal care
- Outdoor DIY Projects
- Raised beds, fencing, pathways
- Composting & Soil Health
- Organic methods, amendments
- Native Plants & Wildlife
- Pollinators, habitat gardening
When she is not writing, Jovie can be found testing new composting techniques, growing tomatoes in questionable quantities, or convincing her neighbors that clover lawns are actually a great idea. She currently gardens in the Pacific Northwest.




