

Is your swimming pool sitting unused, gathering leaves, and draining your bank account with endless maintenance costs? Many homeowners eventually realize that the dream of owning a pool does not match the reality of keeping one, especially when that space could be a beautiful, productive vegetable garden or a vibrant flower bed.
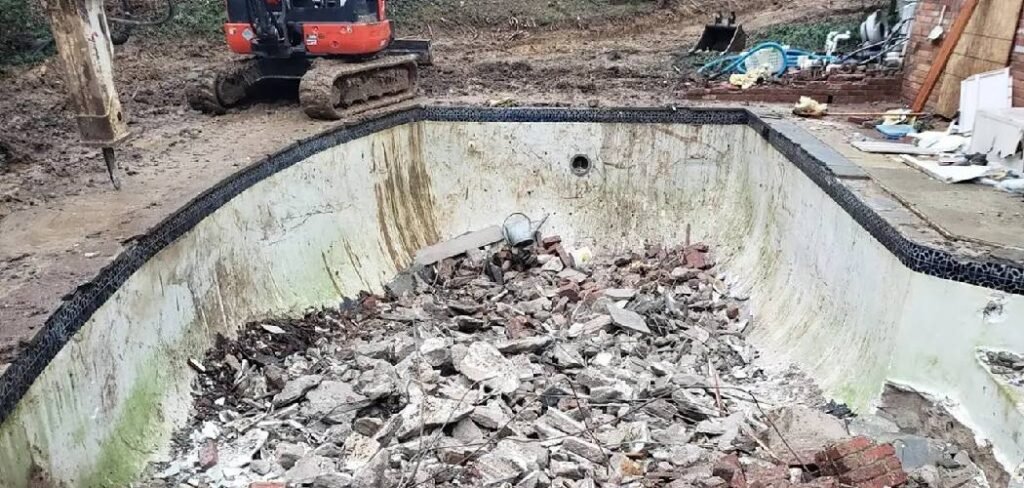
If you are ready to stop cleaning filters and start planting tomatoes, you need to know the right way to handle demolition. Learning how to remove a pool correctly is the first step toward transforming your backyard into the lush oasis you have always wanted. This process might seem daunting at first, but with the right planning, permits, and heavy machinery, you can reclaim your property. Whether you choose a partial fill-in or a complete excavation, getting rid of that concrete shell opens up a world of landscaping possibilities for your home.
Why Remove a Pool?
There are compelling reasons why a homeowner might choose to remove a pool, and for garden enthusiasts, the biggest motivation is often usable space. A swimming pool dominates a backyard, leaving very little room for raised beds, fruit trees, or a sprawling lawn. By removing the structure, you instantly gain significant square footage that can be repurposed for landscaping projects that add beauty and utility to your property.
Beyond the desire for a garden, the financial burden is a major factor. Pools require electricity for pumps, expensive chemicals for water balance, and regular repairs for liners or concrete. Liability is another concern; removing a pool eliminates the risk of accidents, which can lower homeowner insurance premiums. Furthermore, an unmaintained or aging pool can actually detract from your property value, scaring away potential buyers who see it as a liability rather than an asset. Removing it can make your home more marketable to a wider range of buyers who prefer low-maintenance yards. Finally, many people simply outgrow the pool lifestyle; once the kids move out, the water often sits stagnant, serving no purpose other than to collect algae.
8 Step-by-Step Guide on How to Remove a Pool
Step 1: Obtain Necessary Permits and Inspections
Before you rent an excavator or swing a sledgehammer, the absolute first task is navigating local bureaucracy. You must visit your local city or county building department to apply for a demolition permit. Every municipality has strict rules regarding heavy equipment usage, debris disposal, and runoff management. Failing to get a permit can result in hefty fines or a stop-work order.
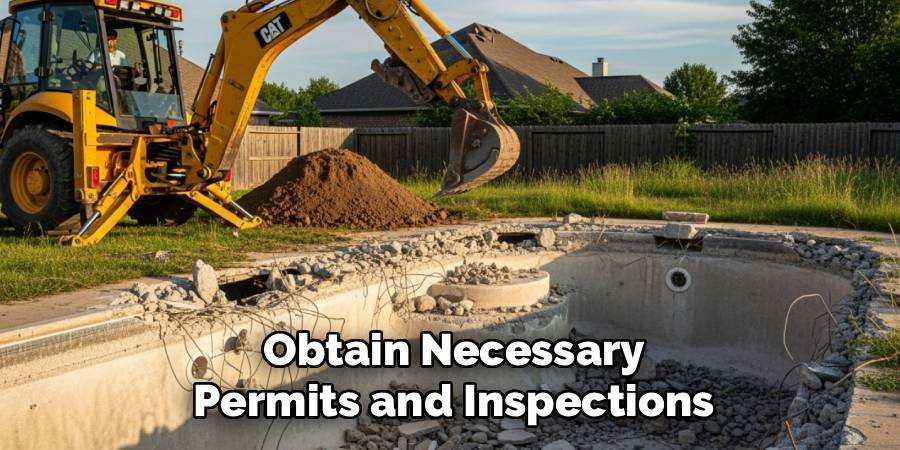
During this phase, you must also call 811 or your local utility notification service to have underground lines marked. Knowing exactly where gas, electric, and water lines run is critical for safety. This planning stage ensures your project remains legal and safe from start to finish.
Step 2: Pump Out The Water Completely
Once you have the green light from the city, you need to drain the pool. This is not as simple as opening a valve; you will likely need a submersible pump to move thousands of gallons of water. You must be careful about where this water goes. Most cities prohibit draining chlorinated pool water into storm drains because it flows directly into local waterways, harming wildlife. Instead, you usually need to direct the water into your home’s sewer cleanout access point. Monitor the process closely to ensure the sewer system does not back up into your home. This step ensures the shell is dry and ready for the heavy demolition work that follows.
Step 3: Disconnect All Electrical and Gas Utilities
Safety is paramount when preparing the site for demolition, and that means severing all utility connections. Your pool equipment pad is connected to high-voltage electricity for the pump and potentially a gas line for a heater. These must be disconnected at the source, not just turned off. If you are not comfortable working with electricity or gas plumbing, hiring a licensed professional for this specific hour of work is a wise investment. You need to cap the gas line securely and remove all electrical conduit leading to the pool area. This prevents any accidental sparks, fires, or injuries when the heavy machinery starts tearing up the concrete surrounding the equipment pad.
Step 4: Drill Holes for Drainage
If you are performing a partial removal—which is common for turning a pool into a garden—you must prevent the old shell from acting like a giant underground bathtub. If you simply fill the pool with dirt without modifying the bottom, rainwater will collect and turn your new garden into a swamp.
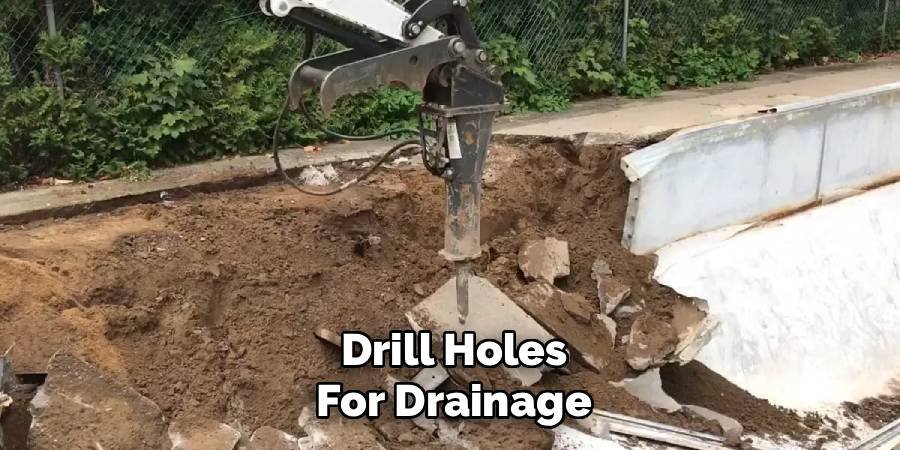
You must use a jackhammer or an excavator attachment to punch large drainage holes throughout the bottom of the concrete shell. These holes allow rainwater to seep deep into the ground rather than pooling in the soil. This is a critical step in understanding how to remove a pool successfully because proper drainage ensures the stability of the ground above for years to come.
Step 5: Demolish the Top Rim (The Coping)
For a partial fill-in, you do not need to remove the entire concrete shell, but you must remove the top portion to allow for proper soil depth. This process involves demolishing the “coping”—the concrete or stone perimeter of the pool—and the top 18 to 36 inches of the pool walls. You will use heavy machinery or jackhammers to break this concrete into manageable rubble. This rubble is usually thrown into the deep end of the pool to serve as part of the fill material. By removing the top few feet of the structure, you ensure that the old concrete will not interfere with future root growth or landscaping plans.
Step 6: Layer the Bottom with Gravel and Rubble
After the holes are drilled and the top rim is smashed, you will have a pile of concrete rubble at the bottom of the hole. It is essential to arrange this rubble evenly and potentially add a layer of clean gravel over it. This layer acts as a drainage field.
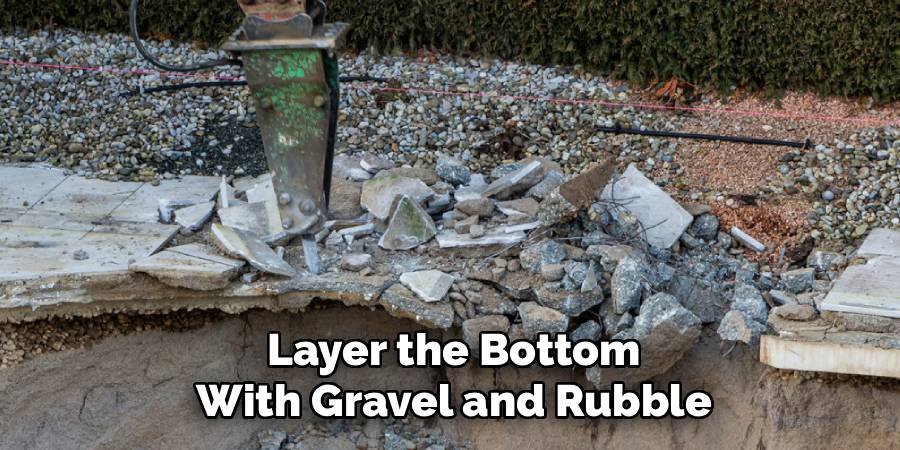
Do not just dump dirt directly on top of large slabs of concrete, as this creates voids that will eventually collapse, leading to sinkholes in your new garden. You want a solid, shifting-resistant base. The goal here is to create a subterranean layer that allows water to move freely while supporting the massive weight of the soil that will be placed on top.
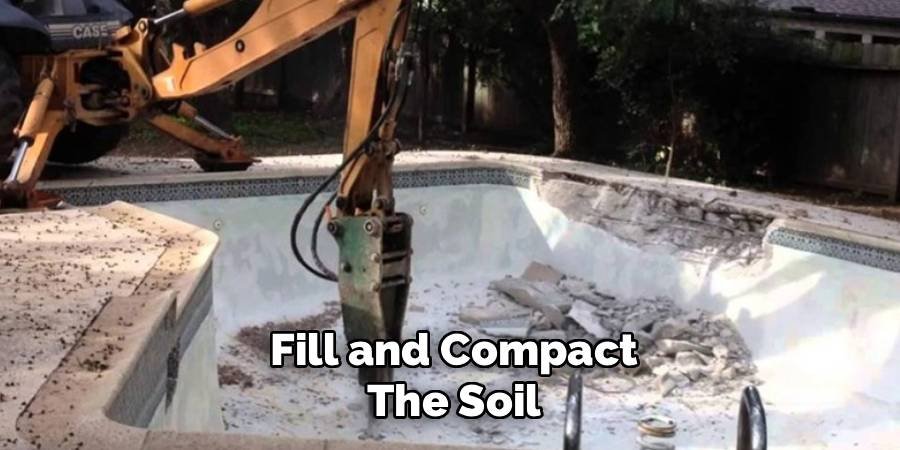
Step 7: Fill and Compact the Soil
This is the most labor-intensive part of the process where precision matters most. You will need truckloads of “fill dirt”—usually a mix of subsoil that is cheaper than topsoil. You cannot dump it all in at once. You must fill the hole in layers of about six to twelve inches. After each layer, you must use a mechanical compactor to pack the soil down tight. Failing to compact the soil correctly is the number one cause of sunken yards later on. If you skip this, the ground will settle naturally over time, leaving you with a depression where the pool used to be.
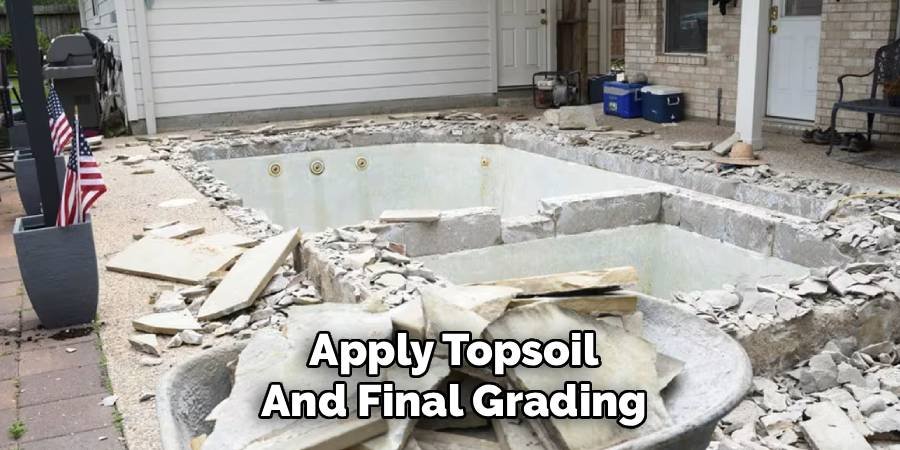
Step 8: Apply Topsoil and Final Grading
Once you are within the last six to twelve inches of the surface, switch from fill dirt to high-quality topsoil. This is the moment home gardeners have been waiting for. The fill dirt used underneath is often poor in nutrients, so this top layer is crucial for growing grass, flowers, or vegetables. Grade the surface so that it slopes slightly away from your home to assist with water runoff. Now that you have learned the mechanics of how to remove a pool, you can finally scatter your grass seed or plant your garden beds, transforming a concrete pit into a vibrant, living landscape.
Frequently Asked Questions (FAQ)
How Much Does It Cost To Remove A Pool?
The price varies significantly depending on the method you choose and your location. Generally, a partial removal (filling it in) costs between $3,000 and $10,000. A full removal, where the entire concrete shell is excavated and hauled away, is much more expensive, often ranging from $10,000 to over $25,000. Factors like limited access for heavy machinery, the size of the pool, and local dumping fees will all influence the final quote you receive from contractors.
Is It Better To Do A Partial Or Full Removal?
For most homeowners and gardeners, a partial removal is the preferred choice because it is faster and significantly cheaper. It provides a stable enough base for lawns and gardens. However, if you plan to build a new structure on that spot, like an addition to your house or a guest cottage, you must do a full removal. You cannot build a structural foundation on top of buried concrete rubble, so your future plans for the yard dictate the method.
Will Removing A Pool Decrease My Home Value?
In the past, real estate agents often viewed pools as assets, but market trends have shifted. Today, removing a pool can actually increase your home’s value or marketability, especially if the pool is old or in disrepair. Many buyers see an old pool as a money pit and a safety liability. By replacing it with a functional, attractive yard or garden, you open your home up to a larger pool of buyers who do not want the hassle of pool maintenance.
Can I Remove A Pool Myself?
While it is physically possible for a very experienced DIYer with heavy equipment skills to do it, it is generally not recommended. The process involves dangerous utility disconnections, operating large excavators, and understanding precise soil compaction techniques. One mistake with the backhoe can damage your house foundation or rupture a gas line. For safety and long-term stability of the ground, hiring a licensed demolition contractor is usually the smartest route for most homeowners.
What Do I Do With The Old Pool Equipment?
You should not throw pumps, heaters, and filters into the hole with the concrete rubble. These items contain metals, plastics, and potentially hazardous chemicals that should not be buried. Instead, try to sell them if they are still functional; there is a decent market for used pool parts. If they are broken, take them to a local recycling center or scrap metal yard. Proper disposal ensures you are being environmentally responsible while clearing out your yard.
Conclusion
Transforming your backyard from a high-maintenance pool area into a serene garden is a rewarding project that adds value and usability to your home. By following the proper steps—from securing permits to ensuring proper soil compaction—you can avoid future headaches like sinkholes or drainage issues. While the demolition process is heavy work, the result is a blank canvas ready for your creative landscaping ideas. Now that you understand how to remove a pool safely and effectively, you can confidently take the next steps toward creating the outdoor space you have always dreamed of. Whether you plant a vegetable patch or a sprawling lawn, your new yard awaits.

About
Jovie Mathews is a backyard and outdoor expert writer with over 12 years of hands-on experience transforming neglected outdoor spaces into thriving gardens and functional retreats. Raised in a family where weekends meant digging in the soil and building raised beds from scratch, Jovie developed a genuine love for the outdoors long before it became a career.
She writes with a practical, no-fluff approach — always testing ideas in her own backyard before sharing them with readers. From composting systems and native plant selection to patio design and pest control, Jovie covers the full spectrum of backyard life with equal parts expertise and enthusiasm.
Education
B.Sc. in Horticulture Science
University of Florida (UF) · Gainesville, FL · 2014
IFAS College of Agricultural and Life Sciences
Minor in Environmental Studies
University of Florida (UF) · Gainesville, FL · 2014
College of Liberal Arts and Sciences
Areas of expertise
- Lawn & Garden Care
- Soil prep, planting, seasonal care
- Outdoor DIY Projects
- Raised beds, fencing, pathways
- Composting & Soil Health
- Organic methods, amendments
- Native Plants & Wildlife
- Pollinators, habitat gardening
When she is not writing, Jovie can be found testing new composting techniques, growing tomatoes in questionable quantities, or convincing her neighbors that clover lawns are actually a great idea. She currently gardens in the Pacific Northwest.




