

As the swimming season comes to an end, proper winterization becomes the most important task for any pool owner. In climates where temperatures drop below freezing, failing to prepare your pool can lead to catastrophic damage. Water left in the plumbing lines can freeze, expand, and crack the pipes, leading to incredibly expensive and difficult repairs come springtime. The most critical step in this process is removing every last drop of water from the plumbing. This guide will provide clear, safety-focused instructions for DIY pool owners on how to blow out inground pool lines and ensure your investment is protected all winter long.
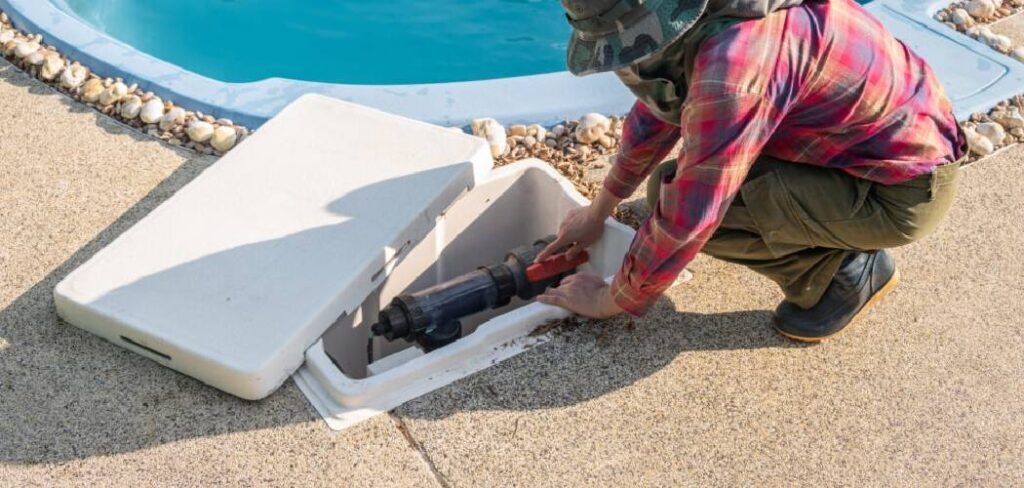
Properly winterizing your pool is essential to prevent costly damage and ensure a smooth reopening in the spring. Blowing out your pool lines may seem intimidating at first, but with the right tools and precautions, it can be a straightforward process for most DIY pool owners. By carefully following each step, you can safeguard your plumbing system against freezing temperatures and avoid unexpected repairs when warmer weather returns. Here are the essential steps to properly blow out your pool lines.
8 Step-by-Step Guide on How to Blow Out Inground Pool Lines
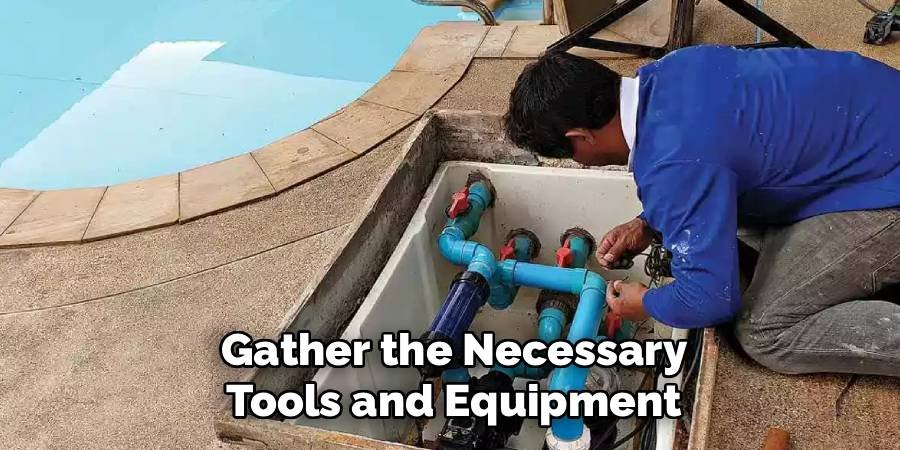
Step 1: Gather the Necessary Tools and Equipment
Before you start, you’ll need a powerful air source capable of pushing a high volume of air. A shop-style vacuum with a blower port or a dedicated air compressor is ideal. You will also need threaded fittings and adapters to connect the blower hose securely to your pool’s plumbing, typically at the pump or drain plug. Have non-toxic pool antifreeze and expansion plugs (also known as winterizing plugs) for all your return jets and skimmers on hand. Finally, make sure all power to the pool equipment is turned off at the circuit breaker for safety.
Step 2: Lower the Pool’s Water Level
The first step in the winterization process is to lower the water level in your pool. The target level should be about four to six inches below the skimmer opening. This is crucial because it prevents water from re-entering the skimmer line after you have blown it out. You can lower the water level by setting your multiport valve to the “waste” setting and running the pump, or by using a submersible pump. This step ensures that when you clear the lines, they stay clear of water for the entire winter season.
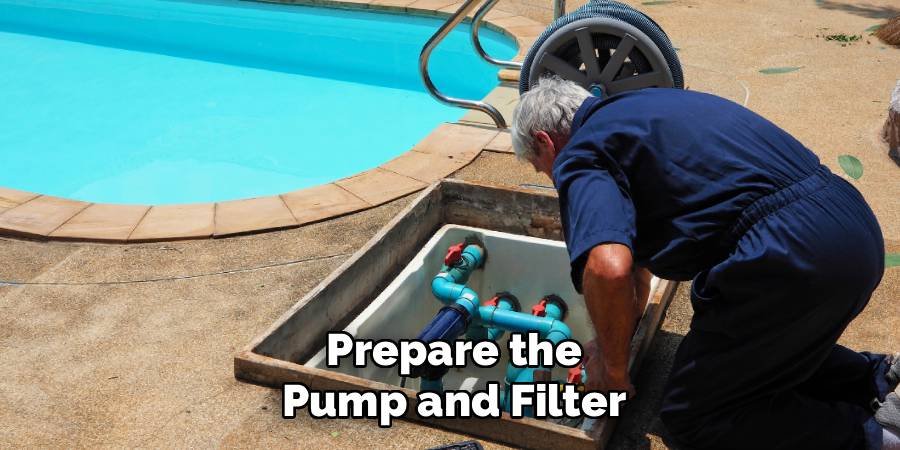
Step 3: Prepare the Pump and Filter
With the power off and the water level lowered, you can now prepare your equipment pad. Remove all drain plugs from the pump, filter, heater, and any other equipment to allow them to drain completely. This is a good time to store the plugs in the pump basket so you don’t lose them. Disconnect the blower hose from your shop vac and connect it to the drain plug opening on your pump or directly to the plumbing lines using an adapter. A secure, airtight connection is essential for forcing enough air through the system.
Step 4: Blow Out the Main Drain Line
The main drain is often the most difficult line to clear due to the hydrostatic pressure from the pool water. To start, set your multiport valve to the “main drain” or “recirculate” position. Turn on your air blower. You will see a massive eruption of bubbles coming from the main drain at the bottom of the pool. Let the air run for several minutes until the bubbles become less forceful and you can hear the air gurgling. Once you see a consistent stream of air, quickly close the main drain valve to trap the air and prevent water from flowing back in.
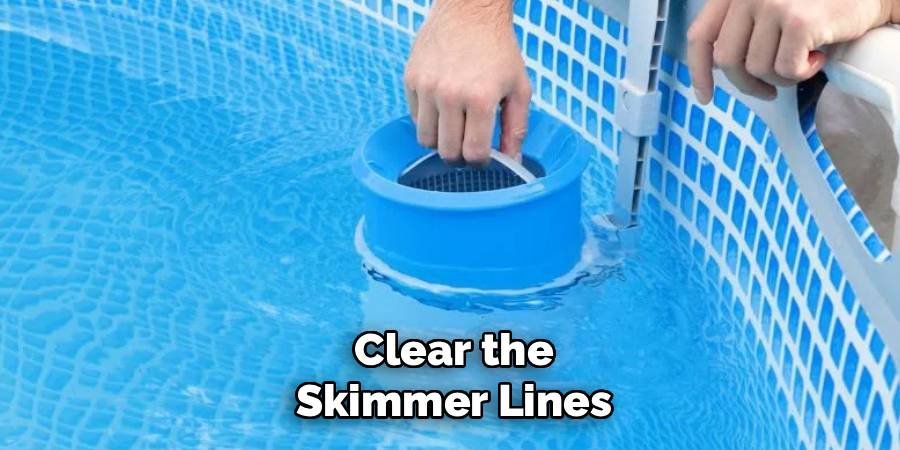
Step 5: Clear the Skimmer Lines
Next, you will clear the skimmer lines one by one. Adjust your multiport valve to isolate one skimmer line. If you have a ball valve system, close all valves except for the skimmer you want to blow out. Turn on your blower and watch the skimmer opening. You will see water being forced out, followed by a powerful spray of air. Let this run for a couple of minutes until it’s clear. While the air is still blowing, securely screw in your winterizing plug or Gizzmo into the skimmer’s suction hole to seal the line. Repeat this process for each skimmer.
Step 6: Clear All of the Return Jet Lines
Now it’s time to clear the lines that return water to the pool. Adjust your multiport valve to the “filter” setting (even though the filter is drained). Turn on the air blower. You will see air and water bubbling out of all the return jets around the pool. Walk around the pool and, as each jet begins to blow mostly air, screw in a threaded winterizing plug to seal it off. Plug the jets that are bubbling most forcefully first. Continue until every return jet has been sealed with a plug.
Step 7: Blow Out Any Extra Feature Lines
If your pool has additional features like a waterfall, deck jets, or a pressure-side cleaner line, you must blow these out as well. Isolate each feature line one at a time using your valve system and turn on the air blower. Watch the feature until you see a steady stream of air coming out, indicating the line is clear of water. Just like with the return jets, you will need to plug the line securely while the air is still running to prevent any water from seeping back into the plumbing over the winter.
Step 8: Add Pool Antifreeze and Finalize
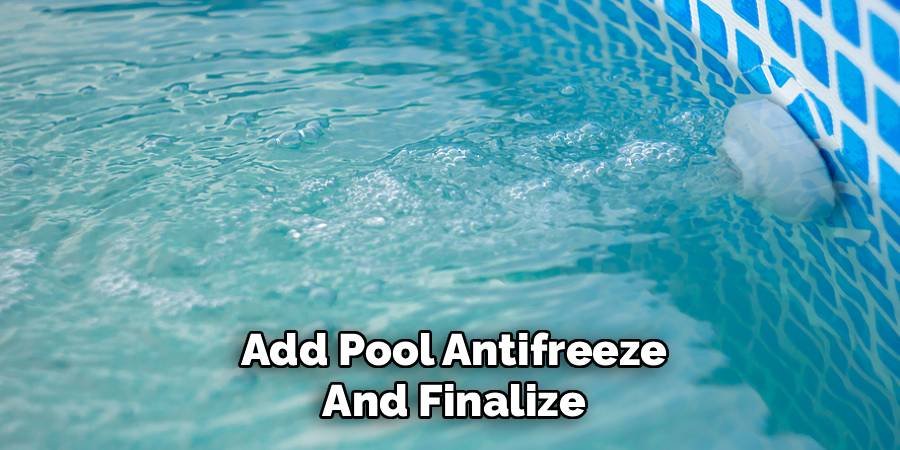
As a final measure of protection, it is wise to add non-toxic pool antifreeze to the lines. Pour about half a gallon of antifreeze down each skimmer line before you put the cover on. This will protect against any small amount of water that may have remained or seeped into the plumbing, preventing it from freezing and causing damage. Once all lines are blown out, plugged, and have antifreeze, you can replace all the drain plugs on your equipment and put your winter cover on the pool.
Frequently Asked Questions (FAQ)
What Kind of Air Blower Do I Need?
The ideal tool is a high-volume, low-pressure blower. A powerful shop vacuum with a reversible hose that can be used as a blower is a popular choice for DIYers. A dedicated cyclone blower or a large air compressor with the pressure regulated down to about 5 PSI will also work. You want high air volume (CFM), not high pressure (PSI), as too much pressure can damage your plumbing.
How Do I Know When a Line Is Completely Cleared of Water?
You will know a line is clear when you see a powerful, consistent stream of air coming out of the jet, skimmer, or drain with very little water spray. For the main drain, you will see a large, steady eruption of bubbles. Let the air run for at least 2-3 minutes on each line to ensure all the pockets of water have been forced out before you plug it.
What Happens if I Don’t Blow Out My Pool Lines?
If you live in a climate where temperatures drop below freezing, water left in the pool lines will freeze. As water freezes, it expands with incredible force. This expansion can easily crack the PVC pipes buried underground around your pool. Repairing these cracked pipes can be an extremely expensive and invasive process, often requiring excavation of your deck or yard.
Should I Use Antifreeze in My Pool Lines?
Yes, it is highly recommended as a final safety measure. After blowing out the lines, pouring non-toxic pool antifreeze (never use automotive antifreeze) into the skimmers and return lines provides an extra layer of protection. It ensures that if any small amount of water remains or gets into the pipes, it won’t freeze solid and cause damage.
Can I Hire a Professional to Do This?
Absolutely. Closing a pool, especially blowing out the lines, can be an intimidating process for a new pool owner. If you are unsure about any step or don’t have the right equipment, it is always a smart and safe decision to hire a professional pool service company. They have the experience and specialized tools to do the job quickly and correctly.
Conclusion
Properly winterizing your inground pool is the most important maintenance task you will perform all year. The effort you put in now will save you from costly and stressful repairs when you reopen your pool in the spring. The key to a successful closing is ensuring every drop of water is removed from the plumbing to prevent freeze damage. While the process requires careful attention to detail, it is a manageable task for a prepared DIYer. Now that you have a better understanding of how to blow out inground pool lines, you can tackle the job with confidence and give your pool the protection it needs to survive the winter.

About
Jovie Mathews is a backyard and outdoor expert writer with over 12 years of hands-on experience transforming neglected outdoor spaces into thriving gardens and functional retreats. Raised in a family where weekends meant digging in the soil and building raised beds from scratch, Jovie developed a genuine love for the outdoors long before it became a career.
She writes with a practical, no-fluff approach — always testing ideas in her own backyard before sharing them with readers. From composting systems and native plant selection to patio design and pest control, Jovie covers the full spectrum of backyard life with equal parts expertise and enthusiasm.
Education
B.Sc. in Horticulture Science
University of Florida (UF) · Gainesville, FL · 2014
IFAS College of Agricultural and Life Sciences
Minor in Environmental Studies
University of Florida (UF) · Gainesville, FL · 2014
College of Liberal Arts and Sciences
Areas of expertise
- Lawn & Garden Care
- Soil prep, planting, seasonal care
- Outdoor DIY Projects
- Raised beds, fencing, pathways
- Composting & Soil Health
- Organic methods, amendments
- Native Plants & Wildlife
- Pollinators, habitat gardening
When she is not writing, Jovie can be found testing new composting techniques, growing tomatoes in questionable quantities, or convincing her neighbors that clover lawns are actually a great idea. She currently gardens in the Pacific Northwest.




