

A beautifully installed paver patio is more than just an outdoor surface; it is an extension of your home. It’s the stage for summer barbecues, quiet morning coffees, and evenings spent under the stars. The interlocking stones offer a timeless elegance and durability that poured concrete often lacks.
However, like any part of your home, a paver patio is not entirely maintenance-free. Exposure to the elements, foot traffic, and organic growth can take a toll, leading to weeds, stains, and shifting stones.
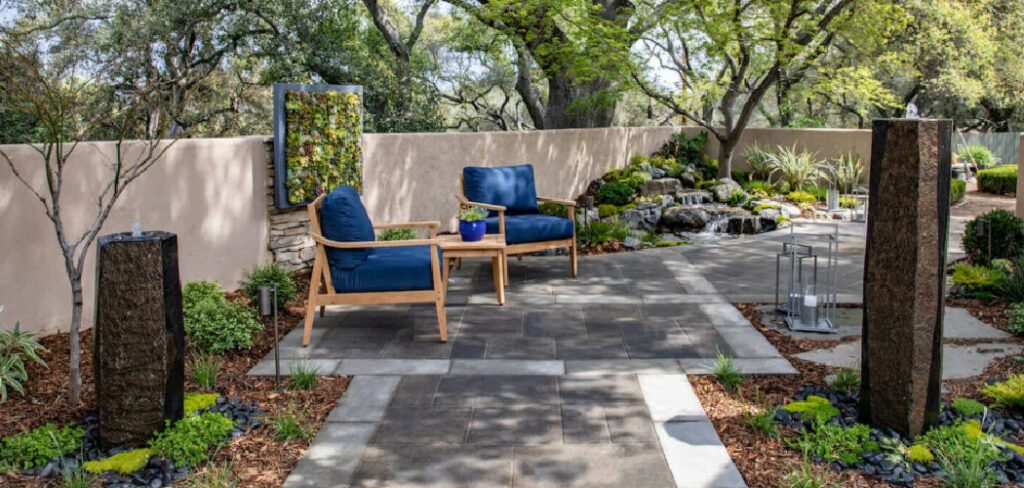
The good news is that with a consistent and straightforward routine, you can keep your patio looking as good as the day it was installed. This guide will walk you through exactly how to maintain paver patio surfaces, ensuring your outdoor oasis remains a source of pride for many years.
A well-maintained paver patio not only enhances the beauty of your outdoor space but also extends its lifespan. Proper care involves addressing common issues like weed growth, discoloration, and shifting pavers before they can worsen.
By dedicating just a little time to upkeep, you can preserve the integrity and charm of your patio, making it a functional and visually appealing space for relaxation and gatherings.
Step-by-Step Guide on How to Maintain Paver Patio Surfaces
Step 1: Perform Regular Sweeping and Rinsing
The simplest yet most effective maintenance task is to keep the surface clean. Debris like fallen leaves, twigs, and dirt can accumulate, and if left to sit, they will decompose and create a layer of soil perfect for weed growth.
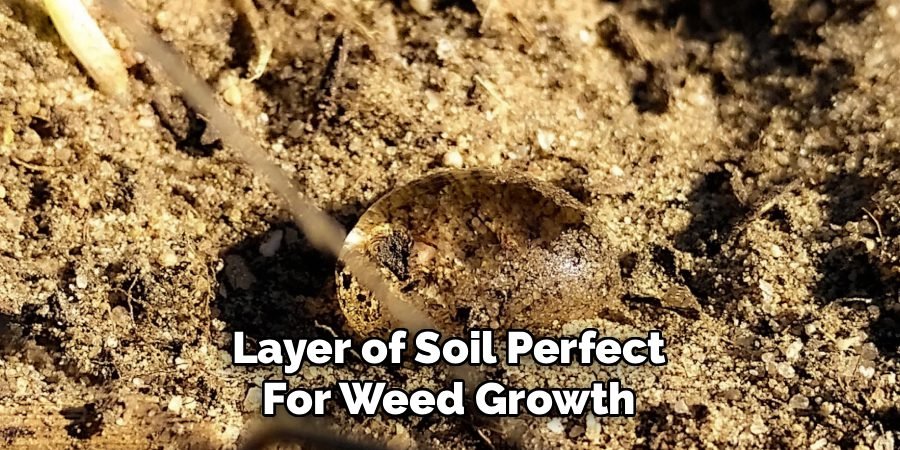
More importantly, this organic matter can trap moisture against the pavers, encouraging moss or algae and potentially causing stains. Get into the habit of sweeping your patio with a stiff-bristle broom at least once a week.
Following up with a quick rinse from a garden hose will wash away any remaining fine dust and pollen. This basic cleaning routine prevents bigger problems from taking root and keeps your patio looking fresh.
Step 2: Tackle Weeds in the Joints Immediately
Weeds are the primary enemy of a pristine paver patio. They pop up in the sand-filled joints, creating an unkempt look and potentially displacing the pavers over time if their root systems become established.
As soon as you spot a weed, pull it out by hand. For more stubborn growth, a specialized paver weeding tool can help you scrape the joints clean without damaging the stones. For a widespread problem, you can use a natural weed killer like boiling water or a vinegar solution.
Avoid using harsh chemical weed killers that could discolor your pavers. Consistent weeding is a fundamental part of learning how to maintain paver patio integrity and appearance.
Step 3: Spot Clean Stains as They Occur
Accidents happen. Whether it’s a spilled glass of red wine, grease from the grill, or rust from metal patio furniture, stains are inevitable. The key is to act quickly. Most spills can be managed easily if they are treated before they have a chance to set into the porous surface of the pavers.
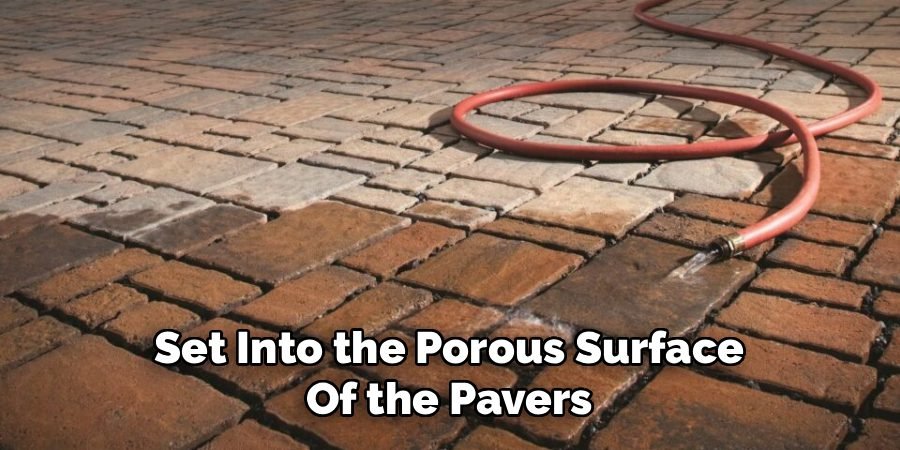
For general grime and food spills, a simple solution of dish soap and warm water applied with a scrub brush is often effective. For tougher stains like oil or rust, you may need a specialized paver cleaner designed for that specific type of blemish. Always test any cleaner on an inconspicuous paver first to ensure it doesn’t cause discoloration.
Step 4: Perform a Deep Cleaning Annually
At least once a year, typically in the spring, your patio will benefit from a thorough deep cleaning. This goes beyond a simple sweep and rinse. Start by removing all furniture and planters from the surface. For this task, a pressure washer can be your best friend, but it must be used with caution.
Use a fan-tip nozzle and maintain a low-pressure setting (under 1,500 PSI) to avoid damaging the pavers or blasting the jointing sand out from between them. Keep the nozzle at a safe distance and sweep the water across the surface to lift away a year’s worth of ground-in dirt and grime, restoring the original color of the stones.
Step 5: Inspect and Refill Jointing Sand
The sand between your pavers, known as jointing sand, is critically important. It locks the pavers together, prevents them from shifting, and deters weed growth. Over time, rain, wind, and pressure washing can erode this sand. After your annual deep clean, inspect all the joints.
If you see gaps where the sand has washed away, you must refill them. Use polymeric sand for the best results. This special sand contains polymers that, when activated with water, harden and bind together, creating a firm yet flexible joint that is highly resistant to both weeds and erosion.
Step 6: Check for and Correct Uneven or Sinking Pavers
Even with a proper installation, individual pavers or small sections can sometimes sink or become uneven over time due to ground settling or water erosion. Addressing these issues promptly is crucial to prevent them from worsening and becoming a tripping hazard.
To fix a sunken paver, carefully pry it up using two flat-head screwdrivers. Add and level a small amount of new base material (coarse sand or paver base) into the hole until the height is correct. Then, carefully replace the paver, tapping it into place with a rubber mallet. Finally, sweep new jointing sand into the surrounding gaps to lock it in.
Step 7: Apply a Quality Sealer Every 3-5 Years
Sealing is a proactive step that provides the highest level of protection for your patio. A good quality paver sealer will create a protective barrier on the surface of the stones. This barrier helps to prevent stains from penetrating, makes the surface easier to clean, and enhances the color and richness of the pavers.

Furthermore, it helps to lock the jointing sand in place, providing another layer of defense against erosion and weeds. While not strictly necessary every year, applying a fresh coat of sealer every three to five years is one of the best long-term strategies for preserving the beauty and structural integrity of your investment.
Frequently Asked Questions (FAQ)
How Often Should I Pressure Wash My Paver Patio?
A deep cleaning with a pressure washer is typically only needed once a year. Over-washing, especially with high pressure, can erode the paver surface and blast out the jointing sand, creating more maintenance work for you.
Always use a low-pressure setting and a wide fan-tip nozzle. For the rest of the year, a simple rinse with a garden hose is sufficient for regular cleaning.
What Is the Best Sand to Use Between Pavers?
Polymeric sand is the best choice for paver joints. Unlike regular sand, it contains a polymer additive that hardens after being wetted. This creates a durable, flexible bond that locks pavers in place, resists erosion from rain, and is highly effective at preventing weeds from growing in the joints.
While it costs more than regular sand, its benefits significantly reduce long-term maintenance.
Can I Use Bleach to Clean My Pavers?
It is strongly recommended that you avoid using bleach on your paver patio. Bleach is a harsh chemical that can discolor and damage the surface of many types of pavers, especially colored concrete ones.
It can also harm surrounding plants and grass. For tough stains like mold or mildew, it is much safer to use a dedicated paver cleaner formulated for that purpose or a simple solution of oxygenated bleach (which is gentler) and water.
Is Sealing a Paver Patio Really Necessary?
While not strictly necessary for the structural integrity of the pavers, sealing is highly recommended for longevity and aesthetics. Sealing protects the porous surface from stains, prevents color fading from UV rays, makes cleaning easier, and helps lock jointing sand in place.
Think of it as a sacrificial layer that takes the abuse from weather and spills, preserving the paver itself. Applying a sealer every 3-5 years is a smart investment.
How Do I Stop Ants from Coming Up Between Pavers?
Ants love the sandy environment between pavers. The best long-term solution is to use polymeric sand in the joints. When it hardens, it creates a barrier that is very difficult for ants to tunnel through.
If you have an existing infestation with regular sand, you can sprinkle diatomaceous earth in the joints or use a targeted ant bait. Sweeping regularly also helps disrupt their nests.
Conclusion
A paver patio is a significant investment that adds immense value and enjoyment to your home. Protecting that investment requires a commitment to a simple, consistent maintenance routine. By staying on top of regular sweeping, spot cleaning, and weed control, you can prevent small issues from becoming major problems.
Performing an annual deep clean and ensuring the joints are filled with polymeric sand will maintain the structural integrity of the surface. Topping it all off with a quality sealer every few years will keep your patio vibrant and protected for the long haul.
Now that you have this clear guide on how to maintain paver patio surfaces, you are well-equipped to keep your outdoor living space beautiful and functional for countless seasons to come.

About
Jovie Mathews is a backyard and outdoor expert writer with over 12 years of hands-on experience transforming neglected outdoor spaces into thriving gardens and functional retreats. Raised in a family where weekends meant digging in the soil and building raised beds from scratch, Jovie developed a genuine love for the outdoors long before it became a career.
She writes with a practical, no-fluff approach — always testing ideas in her own backyard before sharing them with readers. From composting systems and native plant selection to patio design and pest control, Jovie covers the full spectrum of backyard life with equal parts expertise and enthusiasm.
Education
B.Sc. in Horticulture Science
University of Florida (UF) · Gainesville, FL · 2014
IFAS College of Agricultural and Life Sciences
Minor in Environmental Studies
University of Florida (UF) · Gainesville, FL · 2014
College of Liberal Arts and Sciences
Areas of expertise
- Lawn & Garden Care
- Soil prep, planting, seasonal care
- Outdoor DIY Projects
- Raised beds, fencing, pathways
- Composting & Soil Health
- Organic methods, amendments
- Native Plants & Wildlife
- Pollinators, habitat gardening
When she is not writing, Jovie can be found testing new composting techniques, growing tomatoes in questionable quantities, or convincing her neighbors that clover lawns are actually a great idea. She currently gardens in the Pacific Northwest.




