

Adding a touch of warmth and ambiance to your outdoor space doesn’t require a massive budget or a sprawling backyard. A personal, portable fire feature can transform any patio, balcony, or deck into a cozy retreat.
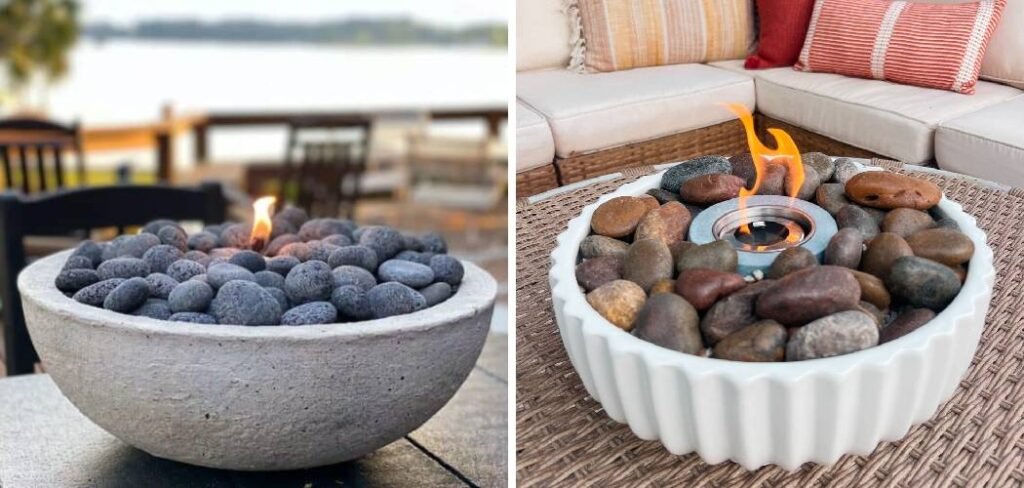
This guide will walk you through how to make tabletop fire pit using simple materials you can find at most hardware and craft stores. This project is perfect for beginners, offering a quick and satisfying way to elevate your evenings outdoors. You’ll create a stylish and functional centerpiece that provides a beautiful, flickering flame, perfect for relaxing after a long day or entertaining guests.
Why a Tabletop Fire Pit is a Great DIY Project
A tabletop fire pit is an incredibly rewarding project for several reasons. It offers the allure of a larger fire feature without the commitment, cost, or space requirements. These compact fire bowls are perfect for adding a cozy atmosphere to small spaces like apartment balconies or intimate patio settings. The DIY process is straightforward and requires minimal tools, making it accessible even for those with no prior crafting experience. You can easily customize the design to match your personal style, using different colors, stones, or container shapes. It’s a fast, affordable, and impactful way to enhance your outdoor living area.
8 Step-by-Step Guide on How to Make Tabletop Fire Pit
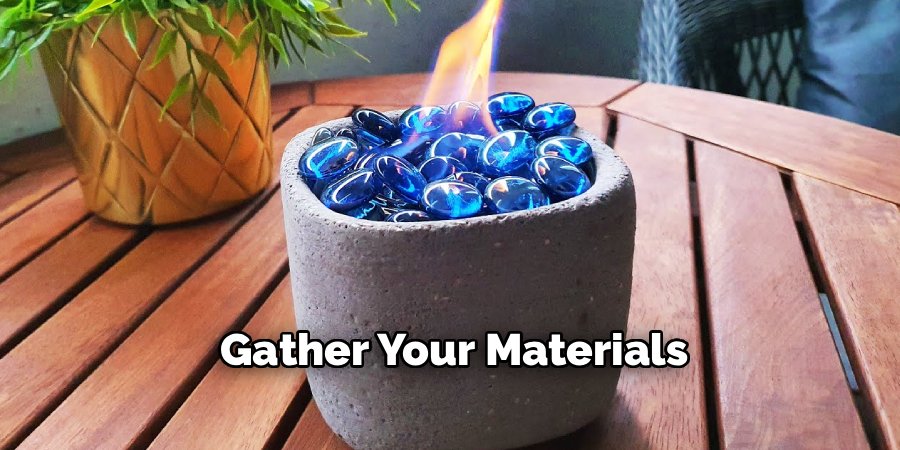
Step 1: Gather Your Materials
Before you begin, gather all your necessary supplies. You will need a concrete or ceramic planter pot that is at least 6-8 inches in diameter and has no drainage hole. You’ll also need a smaller metal can, like a clean, empty tuna or cat food can, that can fit inside the larger pot with space around it. The other essential items are quick-set concrete mix, a bucket for mixing, a trowel or sturdy stick, decorative rocks or fire glass, and a can of gel fuel. Having everything laid out and ready will make the assembly process smooth and efficient.
Step 2: Prepare Your Concrete Mixture
The next step is to mix your concrete. It’s best to do this outdoors or in a well-ventilated area, and consider wearing gloves and a mask to avoid dust. Pour the dry quick-set concrete mix into your mixing bucket. Gradually add small amounts of water, stirring continuously with your trowel or stick. You are aiming for a thick, pancake-batter-like consistency. Be careful not to add too much water at once, as a runny mixture will take much longer to set and may not be as strong. Continue mixing until all the dry powder is incorporated and the texture is smooth.
Step 3: Set the Fuel Can in the Concrete
Once your concrete is mixed, carefully pour it into your larger ceramic or concrete pot, filling it about two-thirds full. Immediately take your smaller metal can and press it firmly into the center of the wet concrete. Push it down until the rim of the can is just slightly above the surface of the concrete. This can will serve as the chamber for your gel fuel. Ensure it is level and centered. The concrete will hold it securely in place once it sets, creating a safe and stable housing for the flame.
Step 4: Let the Concrete Cure
Patience is key for this step. The concrete needs time to fully harden and cure. Most quick-set varieties will begin to solidify within an hour, but it’s best to let it sit undisturbed for at least 24 to 48 hours to ensure maximum strength.
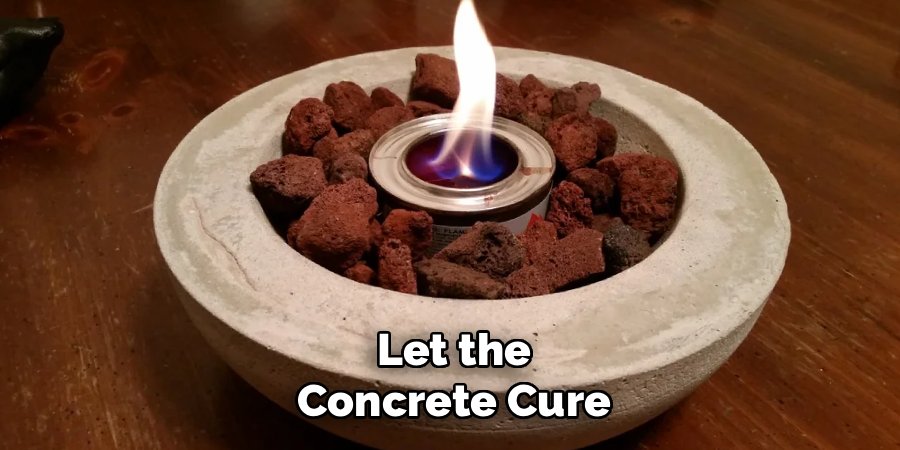
Place the pot in a dry, protected spot away from direct sunlight or rain. Do not try to move or handle it during this curing period, as you could dislodge the metal can or crack the concrete. This waiting time is crucial for the durability and safety of your fire pit.
Step 5: Add Your Decorative Stones or Fire Glass
After the concrete has completely cured, you can add the finishing touches. This is where you can truly personalize your tabletop fire pit. Arrange your decorative rocks, pebbles, or fire glass on the surface of the concrete, surrounding the metal fuel can. You can create patterns or simply fill the space for a more natural look. These stones not only add a decorative element but also help to dissipate heat and protect the concrete surface. Make sure not to cover the opening of the metal can.
Step 6: Insert the Gel Fuel
Your fire pit is now structurally complete. Take your can of gel fuel and remove its lid. Carefully place the open can inside the metal chamber you created in the center of the pot. It should fit snugly. Gel fuel is an ideal choice for this project because it is designed for indoor and outdoor use, burns cleanly without smoke or odor, and is easy to handle. Always ensure you are using a fuel source specifically made for this type of application to guarantee safety and performance. This is a critical part of how to make tabletop fire pit safely.
Step 7: Light Your Fire Pit
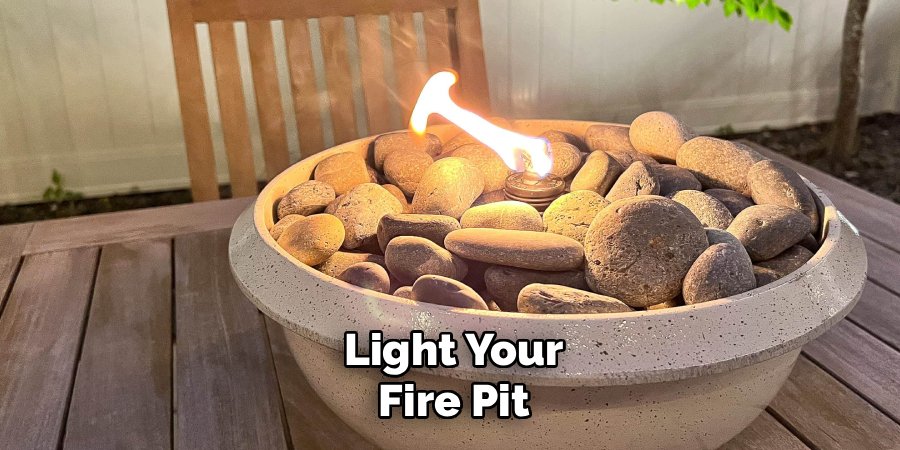
With everything in place, it’s time to enjoy your creation. Use a long-handled lighter or a fireplace match to carefully ignite the surface of the gel fuel. The flame will establish itself within a few seconds, producing a beautiful, dancing light. Always place your fire pit on a stable, level, and non-flammable surface before lighting it. Keep flammable materials like paper napkins or dry leaves far away from the flame. Never leave the fire pit unattended while it is burning.
Step 8: Safely Extinguish the Flame
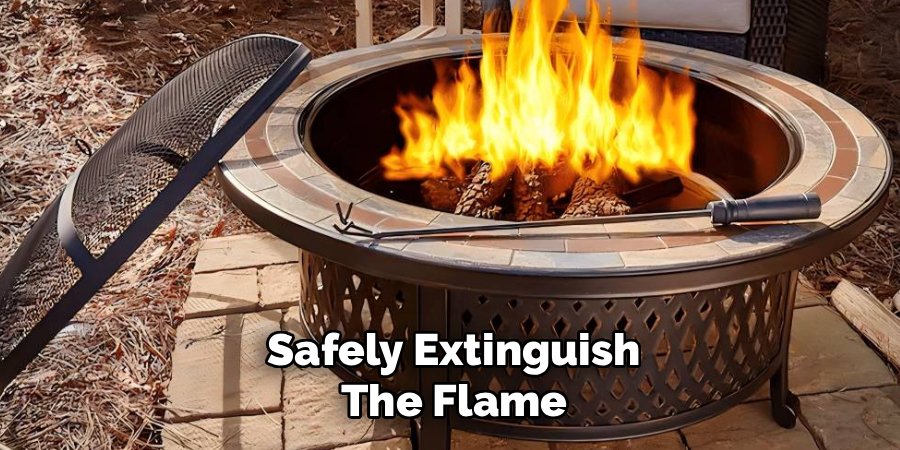
When you are ready to put out the fire, do not blow on it or use water. The gel fuel canister comes with a lid that also serves as a snuffer. Using tongs or a heat-resistant glove, carefully place the snuffer lid over the opening of the fuel can to cut off the oxygen supply. The flame will extinguish almost instantly. Allow the entire unit, including the rocks and pot, to cool down completely before you attempt to move it or store it away.
Frequently Asked Questions
Is It Safe to Use a Tabletop Fire Pit Indoors?
Most tabletop fire pits that use gel fuel or isopropyl alcohol can be used indoors, as they burn cleanly without smoke or soot. However, you must ensure the room is well-ventilated. Always check the fuel manufacturer’s instructions for indoor use guidelines. Never leave it unattended, and keep it away from flammable materials like curtains, blankets, or furniture.
What Kind of Fuel Is Best for a DIY Tabletop Fire Pit?
Chafing gel fuel, commonly used for food warmers, is an excellent and widely available option. It is clean-burning, affordable, and comes in a self-contained can. Another popular choice is 91% or higher isopropyl rubbing alcohol, which produces a vibrant, soot-free flame. Avoid using ethanol, gasoline, or other highly volatile fuels, as they are not safe for this type of application.
How Long Does the Fuel Last in a Tabletop Fire Pit?
The burn time depends entirely on the type and amount of fuel you use. A standard 7-ounce can of gel fuel typically burns for about two to three hours. If you are using isopropyl alcohol, a few ounces will generally last for around 45 to 60 minutes. You can easily extinguish the flame with a snuffer and relight it later to make the fuel last longer.
Can I Put My Tabletop Fire Pit on a Wooden Table?
It is not recommended to place the fire pit directly on a wooden or plastic table. While the concrete pot will absorb most of the heat, the base can still become quite warm. To be safe, always place a heat-resistant barrier, such as a large ceramic tile, a stone coaster, or a metal tray, underneath the fire pit to protect the surface of your table from any potential heat damage.
Can I Make a Tabletop Fire Pit with a Different Material Than Concrete?
While concrete is recommended for its durability, heat resistance, and weight, you can explore other options. Thick, unglazed ceramic or terracotta pots are suitable choices. However, you must ensure they do not have a drainage hole and are rated for high heat. Avoid using plastic, thin glass, or metal containers as the main vessel, as they can crack, melt, or become dangerously hot.
Conclusion
Building your own fire feature is a simple, affordable, and highly rewarding project. With a few basic materials and an afternoon of your time, you can create a stunning centerpiece that brings warmth and style to any outdoor space. By following the steps outlined, you now understand how to make tabletop fire pit that is both beautiful and functional. It’s a perfect entry into the world of DIY home decor, allowing you to craft a personalized item that you can enjoy for many evenings to come.

About
Jovie Mathews is a backyard and outdoor expert writer with over 12 years of hands-on experience transforming neglected outdoor spaces into thriving gardens and functional retreats. Raised in a family where weekends meant digging in the soil and building raised beds from scratch, Jovie developed a genuine love for the outdoors long before it became a career.
She writes with a practical, no-fluff approach — always testing ideas in her own backyard before sharing them with readers. From composting systems and native plant selection to patio design and pest control, Jovie covers the full spectrum of backyard life with equal parts expertise and enthusiasm.
Education
B.Sc. in Horticulture Science
University of Florida (UF) · Gainesville, FL · 2014
IFAS College of Agricultural and Life Sciences
Minor in Environmental Studies
University of Florida (UF) · Gainesville, FL · 2014
College of Liberal Arts and Sciences
Areas of expertise
- Lawn & Garden Care
- Soil prep, planting, seasonal care
- Outdoor DIY Projects
- Raised beds, fencing, pathways
- Composting & Soil Health
- Organic methods, amendments
- Native Plants & Wildlife
- Pollinators, habitat gardening
When she is not writing, Jovie can be found testing new composting techniques, growing tomatoes in questionable quantities, or convincing her neighbors that clover lawns are actually a great idea. She currently gardens in the Pacific Northwest.




