
Salvias, also known as sages, are a garden favorite for their vibrant colors, long blooming seasons, and appeal to pollinators like bees and hummingbirds. With hundreds of varieties available, from the culinary common sage to the stunning ornamental types, it’s no wonder gardeners want more of them.
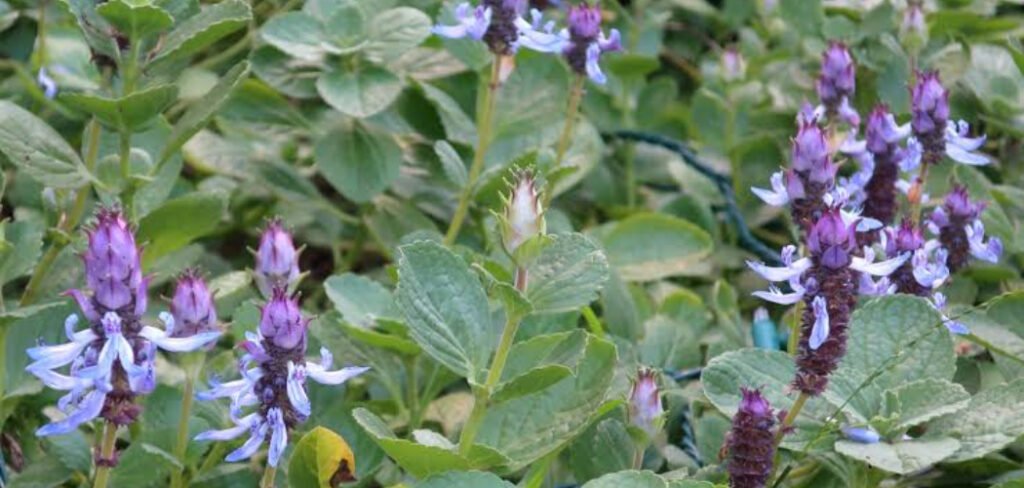
The great news is that you don’t need to keep buying new plants. Learning how to propagate salvias is a simple, rewarding, and cost-effective way to fill your garden with these beautiful perennials. This guide will walk you through the process, empowering you to create new plants from the ones you already love.
Why Propagate Salvias?
Expanding your salvia collection through propagation offers numerous benefits for any home gardener. The most obvious advantage is financial; creating new plants from your existing ones is completely free. This allows you to fill large garden beds or create lush borders without spending a dime at the nursery. Propagation also allows you to preserve the exact traits of a favorite plant. If you have a salvia with exceptionally beautiful flowers or a particularly robust growth habit, cloning it through cuttings ensures the new plants are identical copies.
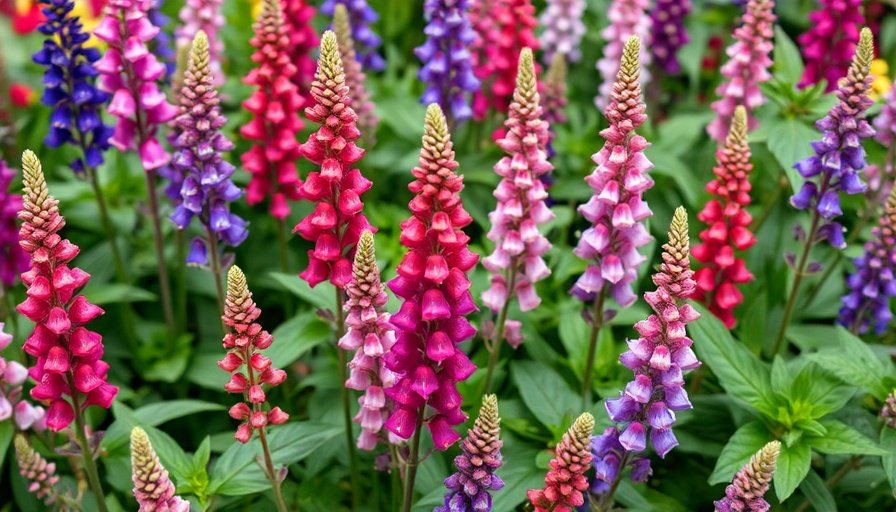
Furthermore, sharing is a huge part of the gardening community. Propagating your salvias means you can give away young plants to friends, family, and neighbors, spreading the joy of gardening. It’s a sustainable practice that reduces the need for commercially grown plants, which often come in plastic pots. Finally, the process itself is deeply satisfying. Watching a small cutting develop roots and grow into a full-sized, flowering plant provides a wonderful sense of accomplishment and a deeper connection to your garden.
8 Step-by-Step Guide on How to Propagate Salvias
Step 1: Choose the Right Time of Year
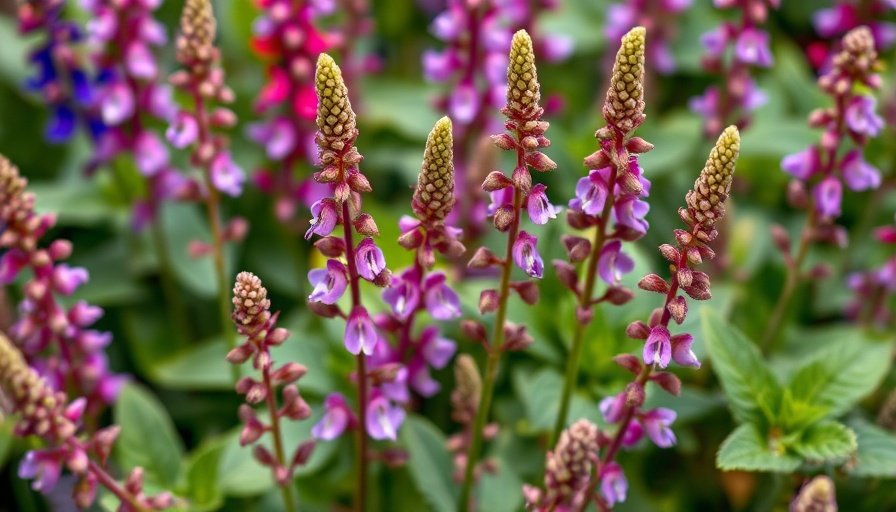
Timing is a critical factor for successful propagation. The best time to take salvia cuttings is from late spring to early fall, when the plant is actively growing. This period, often called the “softwood” or “semi-ripe” stage, is when stems are pliable but not too tender. Softwood, found in spring, is flexible and roots quickly. By mid-summer, the stems become semi-ripe—firm at the base but still soft at the tip. Both stages are ideal for rooting. Avoid taking cuttings during the peak heat of midday, as this can stress the plant. Instead, aim for the morning when the plant is fully hydrated.
Step 2: Select Healthy Stems for Cuttings
Carefully inspect your parent salvia plant and select several healthy, vigorous stems. Look for stems that are free from any signs of disease, pests, or damage. The ideal stems for propagation will be those that have not yet flowered this season, as their energy is focused on vegetative growth rather than producing blooms. Choose stems that are about 4 to 6 inches long and have several sets of leaves. A healthy parent plant will produce strong cuttings, which in turn have a much higher chance of developing a robust root system and growing into thriving new plants.
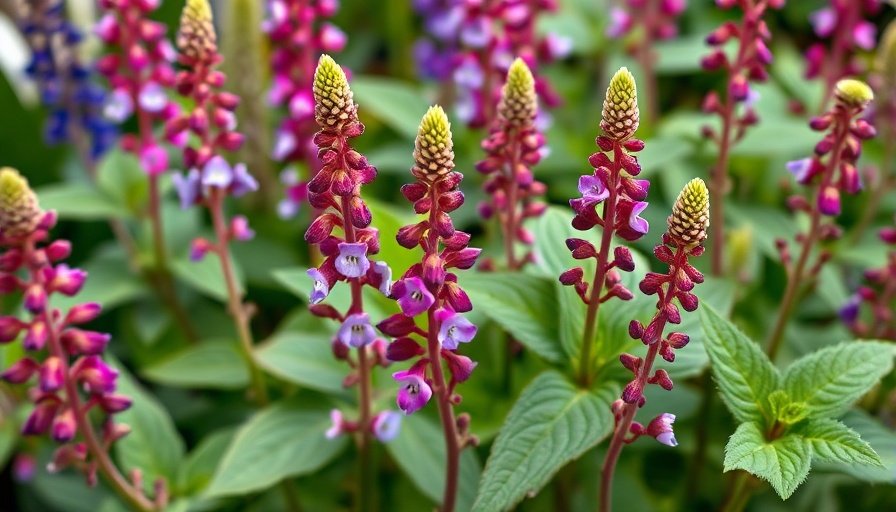
Step 3: Prepare Your Cuttings
Once you have selected your stems, it’s time to prepare them for planting. Using a sharp, clean knife or pair of pruning shears, make a clean cut just below a leaf node (the point where a leaf grows from the stem). This area is rich with rooting hormones. The final cutting should be about 4 inches long. Carefully strip off the leaves from the lower half of the stem, leaving only two or three sets of leaves at the top. Removing the lower leaves prevents them from rotting when planted and directs the cutting’s energy toward root production instead of supporting excess foliage.
Step 4: Dip Cuttings in Rooting Hormone
While not strictly necessary for all salvia varieties, using a rooting hormone can significantly increase your success rate and speed up root development. Rooting hormone comes in powder, gel, or liquid form. To use it, pour a small amount of the hormone into a separate container to avoid contaminating the main supply.
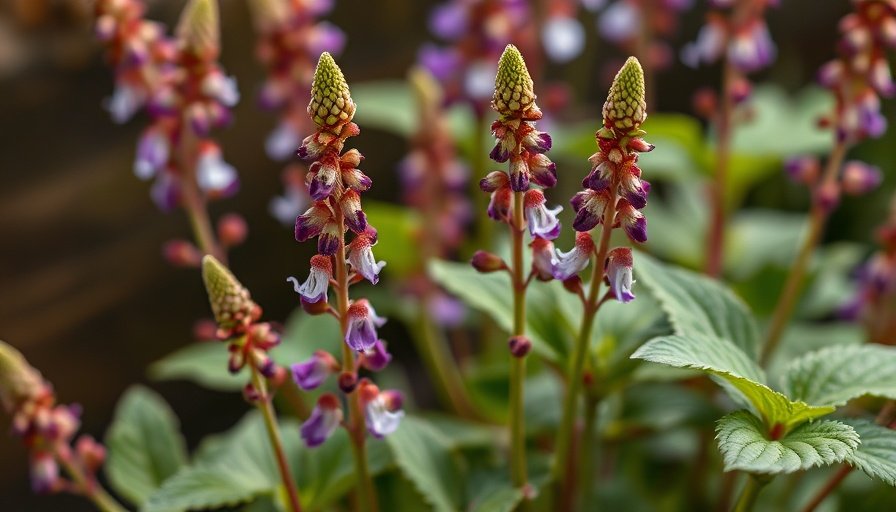
Lightly moisten the bottom inch of your prepared cutting with water, then dip it into the rooting hormone. Gently tap the cutting to shake off any excess powder. This simple step encourages faster and more vigorous root growth, giving your new plant a strong start.
Step 5: Plant the Cuttings
Your cuttings are now ready for their new home. Prepare a small pot or a seed tray filled with a well-draining potting mix. A mixture of perlite and peat moss or a specialized seed-starting mix works perfectly. Use a pencil or a dibber to create a small hole in the soil for each cutting. This prevents the rooting hormone from being wiped off as you plant it. Gently place the cutting into the hole, ensuring the stripped portion of the stem is buried. Firm the soil around the cutting to hold it securely in place.
Step 6: Create a Humid Environment
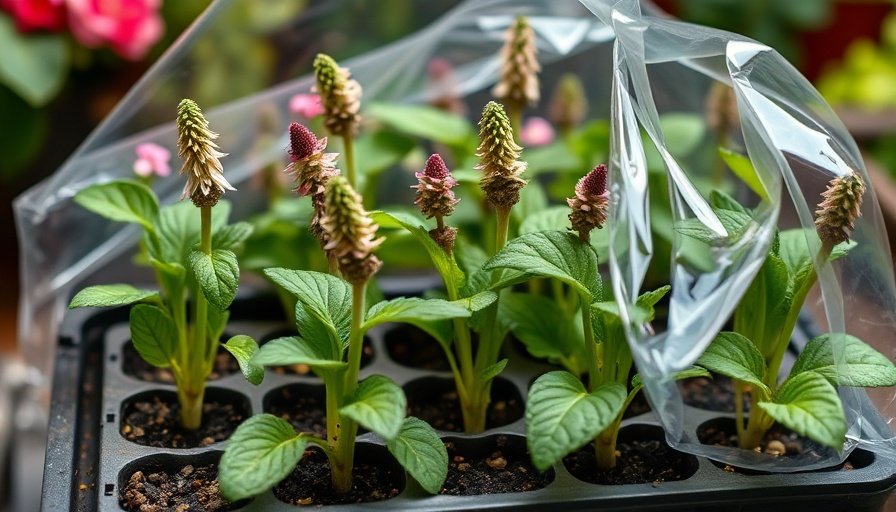
Cuttings need a humid environment to thrive because they don’t have roots to absorb water yet. You can create a mini-greenhouse effect to maintain high humidity. If you used a seed tray with a clear plastic dome, simply place the lid on top. If you planted your cuttings in individual pots, you can cover each one with a clear plastic bag, using stakes or sticks to keep the bag from touching the leaves. This traps moisture around the cutting, preventing it from drying out while it works on developing its root system. This is a crucial step when learning how to propagate salvias from cuttings.
Step 7: Provide Proper Care While Roots Develop
Place your covered cuttings in a warm location that receives bright, indirect light. Direct sunlight can be too intense and may scorch the delicate cuttings. Keep the soil consistently moist but not waterlogged, as overly wet conditions can cause the stems to rot. Check the soil moisture every couple of days by touching the surface. A light misting with a spray bottle can also help maintain humidity. Be patient, as rooting can take anywhere from three to six weeks, depending on the salvia variety and growing conditions.
Step 8: Check for Root Growth and Transplant
After a few weeks, you can check for root development. Give the cutting a very gentle tug. If you feel resistance, it means roots have formed. You may also see new leaf growth at the top of the cutting, which is another positive sign. Once the cutting has a healthy root system, you can transplant it into a slightly larger pot with standard potting soil.
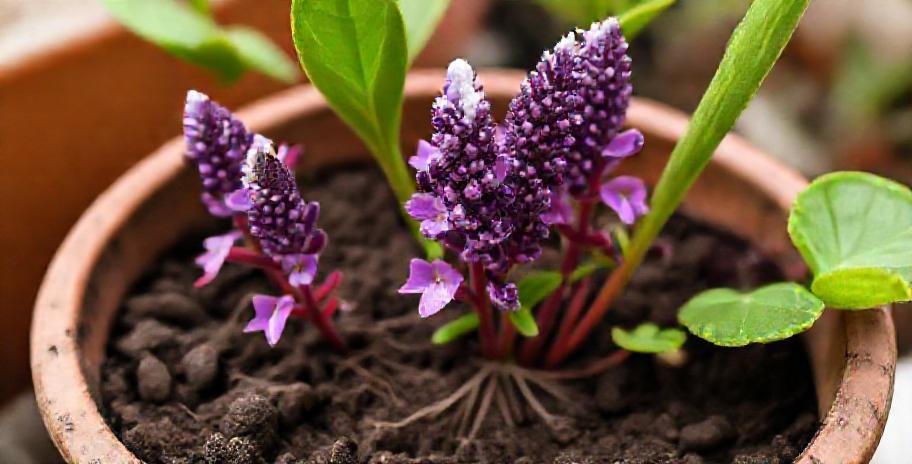
Allow the young plant to grow stronger for a few more weeks before hardening it off and planting it out in the garden. This final step completes the journey of how to propagate salvias successfully.
Frequently Asked Questions
What Is the Easiest Way to Propagate Salvias?
The easiest and most common method for propagating salvias is through softwood or semi-ripe stem cuttings, as described in this guide. This technique creates a genetic clone of the parent plant. It has a high success rate, especially when done in late spring or early summer when the plant is actively growing. Using a rooting hormone will further improve your chances of success and speed up the process of root development.
Can You Propagate Salvias in Water?
Yes, many salvia varieties can be successfully rooted in water. To do this, prepare the cuttings as you would for soil propagation but place the stems in a jar of water instead of a pot. Change the water every few days to keep it fresh and oxygenated. Once a healthy network of roots has formed (usually within a few weeks), you can carefully transplant the cutting into a pot with soil.
How Long Does It Take for Salvia Cuttings to Root?
The time it takes for salvia cuttings to root can vary but generally falls within a 3- to 6-week window. Factors that influence rooting time include:
- The specific salvia variety
- The time of year
- The use of rooting hormone
- Environmental conditions like humidity and temperature
You can confirm rooting by gently tugging on the cutting; resistance indicates that roots have formed.
When Should I Transplant My Rooted Salvia Cuttings?
Once your salvia cutting has developed a solid root ball, it is ready for transplanting. This is typically a few weeks after the initial rooting period. Acclimate the new plant to outdoor conditions gradually over a week—a process called “hardening off.” Start by placing it in a sheltered, shady spot for a few hours a day, slowly increasing its exposure to direct sunlight and outdoor temperatures before planting it in its final garden location.
Can I Grow Salvias from Seed?
Absolutely! Growing salvias from seed is another excellent propagation method, though the resulting plants may not be identical to the parent if it is a hybrid variety. Harvest seeds from dried flower heads in the fall. You can sow them directly in the garden after the last frost or start them indoors 6-8 weeks earlier. Growing from seed is a great way to produce a large number of plants, often with interesting variations in color and form.
Conclusion
Multiplying your salvia collection is an accessible and highly rewarding project for any gardener. By taking cuttings at the right time, preparing them correctly, and providing a nurturing environment, you can easily create new plants to enhance your garden or share with others. This process not only saves you money but also deepens your understanding and appreciation for the life cycle of plants. Now that you know how to propagate salvias, you have the power to fill your outdoor space with an endless supply of these stunning, pollinator-friendly flowers. Give it a try and watch your garden flourish.

About
Jovie Mathews is a backyard and outdoor expert writer with over 12 years of hands-on experience transforming neglected outdoor spaces into thriving gardens and functional retreats. Raised in a family where weekends meant digging in the soil and building raised beds from scratch, Jovie developed a genuine love for the outdoors long before it became a career.
She writes with a practical, no-fluff approach — always testing ideas in her own backyard before sharing them with readers. From composting systems and native plant selection to patio design and pest control, Jovie covers the full spectrum of backyard life with equal parts expertise and enthusiasm.
Education
B.Sc. in Horticulture Science
University of Florida (UF) · Gainesville, FL · 2014
IFAS College of Agricultural and Life Sciences
Minor in Environmental Studies
University of Florida (UF) · Gainesville, FL · 2014
College of Liberal Arts and Sciences
Areas of expertise
- Lawn & Garden Care
- Soil prep, planting, seasonal care
- Outdoor DIY Projects
- Raised beds, fencing, pathways
- Composting & Soil Health
- Organic methods, amendments
- Native Plants & Wildlife
- Pollinators, habitat gardening
When she is not writing, Jovie can be found testing new composting techniques, growing tomatoes in questionable quantities, or convincing her neighbors that clover lawns are actually a great idea. She currently gardens in the Pacific Northwest.