Having a compact outdoor area doesn’t mean you have to sacrifice your dreams of a vibrant garden. In fact, small patios often feel cozier and more intimate than sprawling backyards, providing a perfect nook for relaxation and creativity. The secret lies not in the square footage you have, but in how you utilize it.
With a little strategic planning, you can turn a concrete slab or a tiny balcony into a flourishing sanctuary that feels much larger than it actually is. Many beginners struggle with clutter, unsure of where to place their favorite blooms without making the space feel crowded.
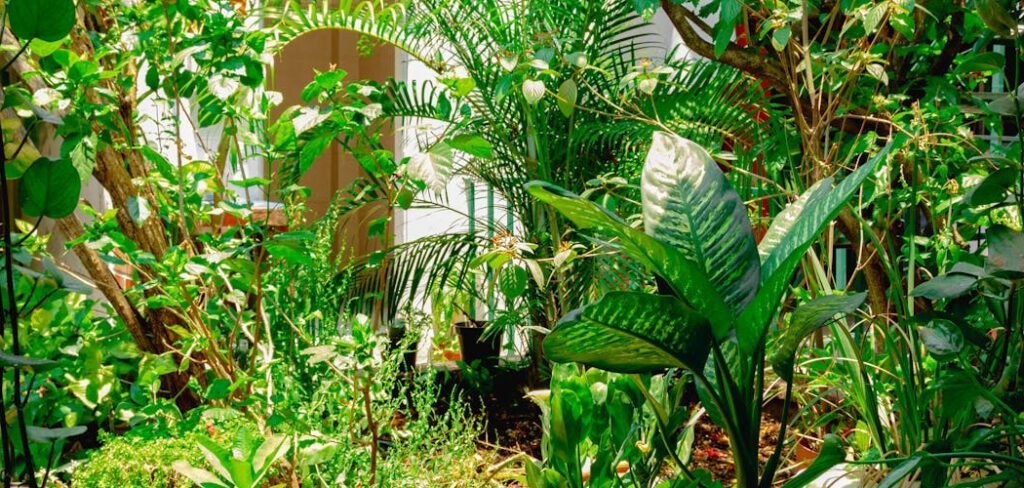
However, understanding how to arrange potted plants on small patio can unlock the potential of every inch of your outdoor room. Whether you are craving a tropical escape, a minimalist herb garden, or a riot of colorful flowers, the right layout makes all the difference.
This guide is dedicated to helping you master the art of container gardening layout, ensuring your small space delivers big impact.
Step-by-Step Guide: How to Arrange Potted Plants on Small Patio
Step 1: Assess Your Light and Space Constraints
Before you purchase a single ceramic container or bag of soil, you must critically evaluate the environmental conditions of your specific area. Spend a day observing how the sunlight moves across the floor and walls. Does your patio receive scorching afternoon sun, or is it shaded by a neighbor’s building for most of the day?
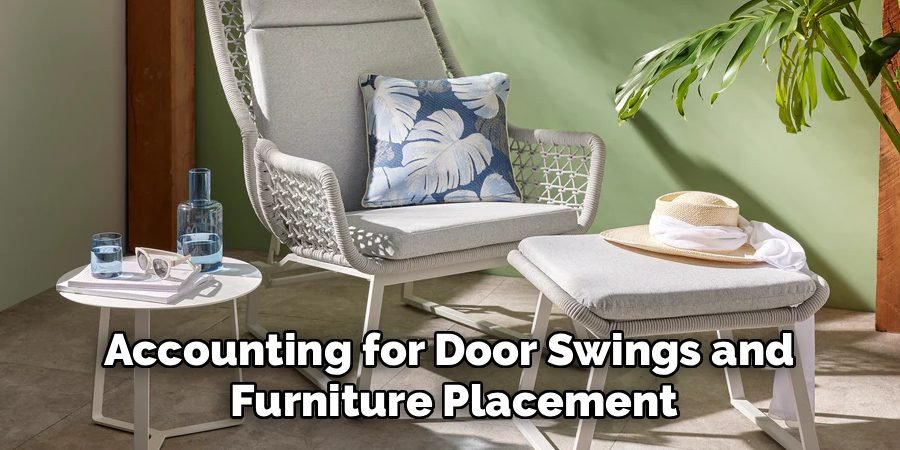
This light audit is the foundation of a successful layout because it dictates which species will thrive in which corners. Additionally, measure your available floor space accurately, accounting for door swings and furniture placement.
Understanding the physical boundaries prevents you from buying pots that are too large, which is a crucial first step in learning how to arrange potted plants on a small patio effectively.
Step 2: Utilize Vertical Space with Hanging Planters
When floor space is at a premium, the only way to go is up. Vertical gardening is a game-changer for compact areas because it draws the eye upward, creating an illusion of height and volume without sacrificing valuable foot traffic zones. Install sturdy hooks for hanging baskets that cascade with trailing ivy or petunias.
You can also mount wall planters or install a trellis against a bare wall for climbing vines like jasmine or clematis. By layering your greenery vertically, you envelop the viewer in nature rather than just having plants at their feet.
This technique adds depth and texture to the environment, transforming flat walls into living tapestries that breathe life into the entire setting.
Step 3: Create Depth with the “Thriller, Filler, Spiller” Method
This classic container gardening technique applies not just to individual pots but to the arrangement of the pots themselves. Place your tallest, most architectural plants—the “thrillers”—in the back corners or against the walls to anchor the space. Medium-sized bushy plants—the “fillers”—should sit in front of them to add mass and color.
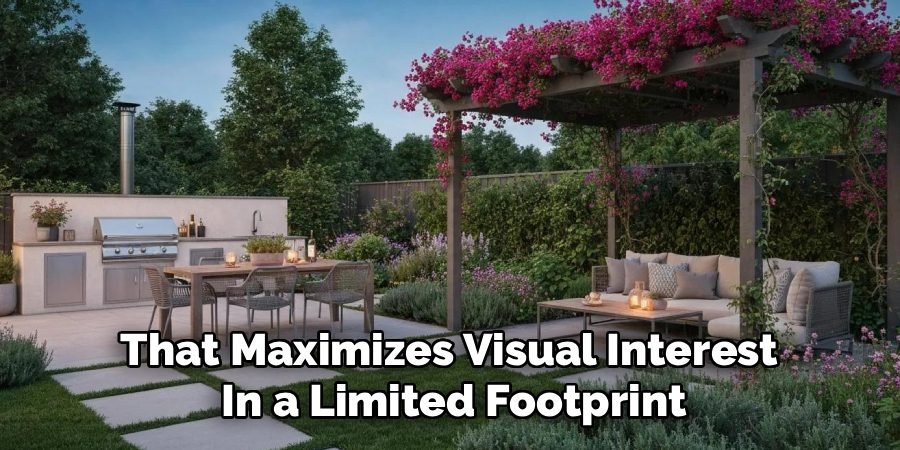
Finally, arrange smaller pots with trailing plants—the “spillers”—at the very front edges. This tiered approach mimics the natural layering found in nature and ensures that every plant is visible. It prevents smaller pots from getting lost behind larger ones and creates a cohesive, professional look that maximizes visual interest in a limited footprint.
Step 4: Group Containers in Odd Numbers for Visual Balance
One of the most effective design tricks for mastering how to arrange potted plants on a small patio is the rule of odd numbers. Grouping your containers in clusters of three or five creates a much more pleasing and natural aesthetic than symmetrical pairs or scattered individual pots.
The human eye tends to move around an odd-numbered grouping, which creates dynamic visual energy. When clustering, vary the height and width of the pots within the group but keep a unifying element, such as a similar color palette or material (like terracotta or glazed ceramic).
These intentional vignettes act as focal points, making your patio look curated and designed rather than cluttered and chaotic.
Step 5: Define Zones with Strategic Plant Placement
Even a tiny patio can serve multiple functions if you use your plants as room dividers. You can arrange tall, dense potted plants like bamboo or ornamental grasses in a row to create a privacy screen or a windbreak. This “green wall” can separate a small bistro table from a storage bench or shield your seating area from the view of the street.
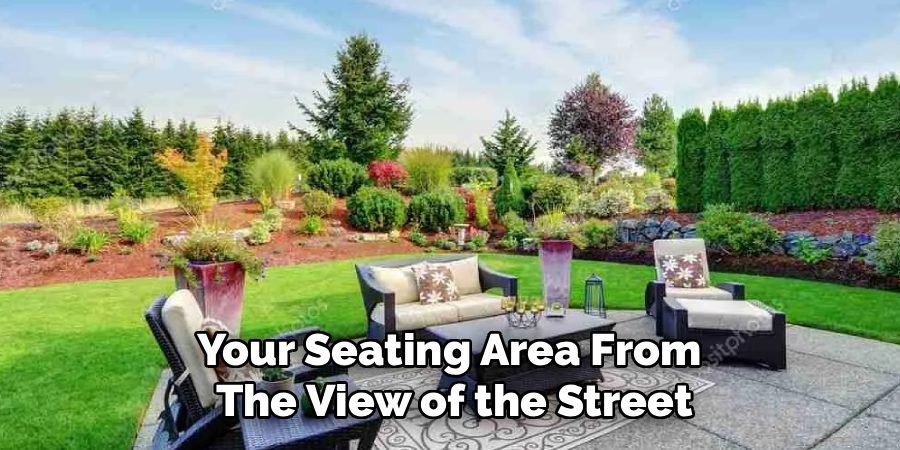
Defining these micro-zones makes the space feel organized and purposeful. It allows you to create a sense of enclosure and intimacy, turning an open slab of concrete into a multi-functional outdoor room where you can eat, read, or garden in relative seclusion.
Step 6: Incorporate Plant Stands and Shelving Units
To prevent your patio floor from becoming an obstacle course of ceramic and plastic, introduce furniture specifically designed for display. Multi-tiered plant stands, bakers’ racks, or even a repurposed ladder can hold multiple pots in the footprint of just one.
This elevation strategy allows you to display smaller collections, such as succulents or herbs, at eye level where they can be appreciated. Furthermore, lifting pots off the ground improves air circulation around the patio and makes sweeping and cleaning significantly easier.
Using shelving adds architectural interest and structure, organizing your collection vertically and keeping the floor clear for walking and furniture.
Step 7: Pay Attention to Color and Texture Harmonies
The final polish on your arrangement comes from the plants themselves. In a small space, a chaotic mix of too many colors can feel overwhelming and messy. Instead, choose a specific color scheme to unify the area. You might opt for a cool palette of blues, purples, and silvers for a calming effect, or warm reds and oranges for high energy.
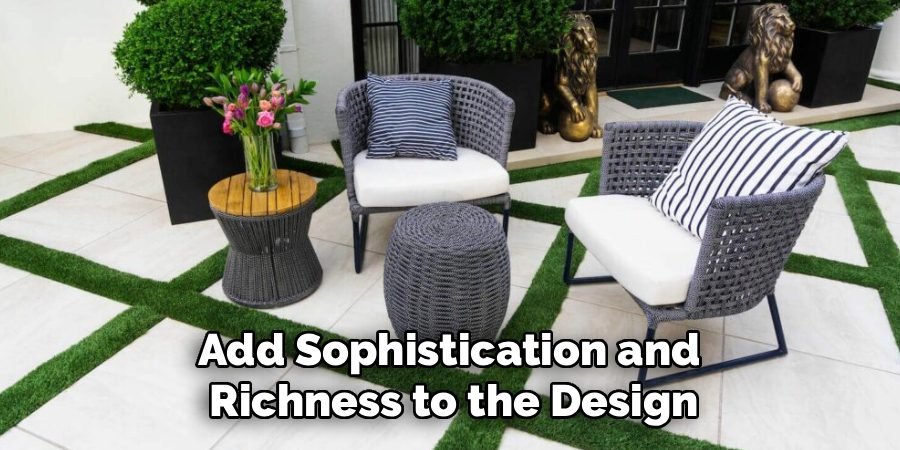
Beyond color, contrast the textures of the foliage. Pair the broad, glossy leaves of a rubber plant with the feathery fronds of a fern. These subtle contrasts add sophistication and richness to the design.
By being selective with your palette, you ensure that your arrangement feels intentional and harmonious, making the small space feel like a dedicated designer garden.
Frequently Asked Questions (FAQ)
What Are the Best Plants for a Shady Patio?
If your small patio doesn’t get much direct sunlight, you still have excellent options.
- Ferns: Boston ferns or Maidenhair ferns love the shade and add lush texture.
- Hostas: These come in various variegated patterns and thrive in low light.
- Begonias: Perfect for adding pops of color without needing full sun.
- Snake Plants: Extremely hardy and capable of tolerating low light conditions while adding vertical structure.
How Do I prevent My Patio From Looking Cluttered?
Clutter is the enemy of small space design.
- Stick to a Palette: Use pots in similar colors or materials (e.g., all terracotta or all white) to create visual cohesion.
- Group Pots: Avoid scattering pots everywhere; cluster them in corners or on stands.
- Edit Regularly: Be willing to remove dead plants or empty pots immediately.
- Use Stands: Elevating plants keeps the floor visible, which makes the room feel larger.
Can I Grow Vegetables in Pots on a Small Patio?
Absolutely, container gardening is perfect for edibles.
- Herbs: Basil, mint, and parsley thrive in small pots and are perfect for beginners.
- Tomatoes: Look for “patio” or “bush” varieties of cherry tomatoes that are bred for containers.
- Peppers: Hot peppers and bell peppers grow very well in medium-sized pots.
- Lettuce: Shallow bowls are excellent for growing cut-and-come-again salad greens.
How Often Should I Water Potted Plants?
Potted plants dry out much faster than plants in the ground.
- Check Daily: In the summer heat, you may need to water daily. Stick your finger an inch into the soil; if it’s dry, water it.
- Drainage: Ensure every pot has holes at the bottom so roots don’t rot in standing water.
- Material Matters: Terracotta pots allow moisture to evaporate faster than plastic or glazed ceramic, so they need more frequent watering.
Do I Need to Bring My Pots Inside During Winter?
This depends on your climate and the type of pot.
- Ceramic and Terracotta: These can crack if moisture freezes and expands inside the clay. It is best to move them to a garage or shed, or wrap them in burlap / bubble wrap.
- Plants: Tropical plants must come inside before the first frost.
- Hardy Plants: Perennials in frost-proof resin or fiberglass pots can often stay out if grouped together against a warm wall for insulation.
Conclusion
Creating a beautiful garden in a limited area is a rewarding challenge that encourages creativity and mindfulness. By assessing your light, utilizing vertical space, and employing smart design principles like clustering and layering, you can transform even the tiniest balcony into a lush sanctuary.
The key is to view the constraints of your square footage not as a limitation, but as a framework for your design. A small space forces you to be intentional with every choice, resulting in a curated collection of plants that brings you joy every day.
Remember that your garden is a living entity that will evolve over time, so don’t be afraid to experiment with different layouts until you find the perfect flow. Now that you have learned how to arrange potted plants on a small patio, step outside and start building your own personal slice of paradise.

About
Jovie Mathews is a backyard and outdoor expert writer with over 12 years of hands-on experience transforming neglected outdoor spaces into thriving gardens and functional retreats. Raised in a family where weekends meant digging in the soil and building raised beds from scratch, Jovie developed a genuine love for the outdoors long before it became a career.
She writes with a practical, no-fluff approach — always testing ideas in her own backyard before sharing them with readers. From composting systems and native plant selection to patio design and pest control, Jovie covers the full spectrum of backyard life with equal parts expertise and enthusiasm.
Education
B.Sc. in Horticulture Science
University of Florida (UF) · Gainesville, FL · 2014
IFAS College of Agricultural and Life Sciences
Minor in Environmental Studies
University of Florida (UF) · Gainesville, FL · 2014
College of Liberal Arts and Sciences
Areas of expertise
- Lawn & Garden Care
- Soil prep, planting, seasonal care
- Outdoor DIY Projects
- Raised beds, fencing, pathways
- Composting & Soil Health
- Organic methods, amendments
- Native Plants & Wildlife
- Pollinators, habitat gardening
When she is not writing, Jovie can be found testing new composting techniques, growing tomatoes in questionable quantities, or convincing her neighbors that clover lawns are actually a great idea. She currently gardens in the Pacific Northwest.