Summer has come to an end, or perhaps you are moving to a new home and want to take your backyard oasis with you. Whatever the reason, you are now facing the task of taking down your swimming pool.
While setting it up was likely a day filled with excitement and anticipation, taking it down requires just as much care and attention to detail. Learning how to disassemble an above ground pool properly ensures that all the components remain in good condition for future use or resale.
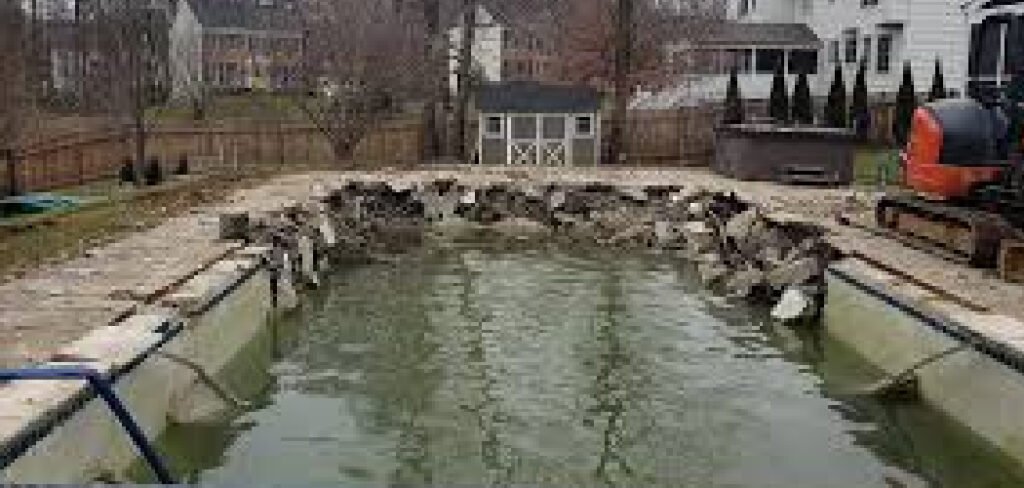
This process involves draining thousands of gallons of water, handling heavy liners, and carefully removing structural parts without causing damage. It might seem like a daunting project to tackle on a Saturday afternoon, but with the right preparation and a systematic approach, you can break it down safely and efficiently.
Taking down an above ground pool can feel overwhelming at first, but with a clear plan in place, the task becomes much more manageable. Whether you’re preparing to store the pool for the off-season or removing it permanently, understanding the process is essential to avoid unnecessary mistakes.
With the right tools and steps, you can protect your pool’s components and complete the disassembly smoothly.
Why Learning How to Disassemble an Above Ground Pool Matters
Understanding the correct procedure for taking down your pool is about more than just clearing space in your yard. It is a matter of safety and preservation. Above-ground pools rely on water pressure and structural tension to maintain their shape.
If you remove parts in the wrong order—for example, taking off the top rails while the pool is still full—you risk a sudden and dangerous collapse. This could cause injury to you or damage to your property.
Furthermore, the components of a pool, such as the vinyl liner, uprights, and wall tracks, are expensive to replace. A rushed disassembly often leads to torn liners, bent metal walls, or lost hardware. By following a structured method, you protect your financial investment.
Whether you plan to store the pool for the winter, sell it to a new owner, or move it to a different location, preserving the integrity of every bolt, rail, and sheet of metal is crucial. Proper disassembly transforms a potential headache into a manageable project that leaves you with a neat, organized pile of parts ready for their next chapter.
Step-by-Step Guide on How to Disassemble an Above Ground Pool
Taking down a pool is a labor-intensive job that is best done with a helper. Follow these steps carefully to ensure the safety of everyone involved and the protection of your pool parts.
Step 1: Drain the Water Completely
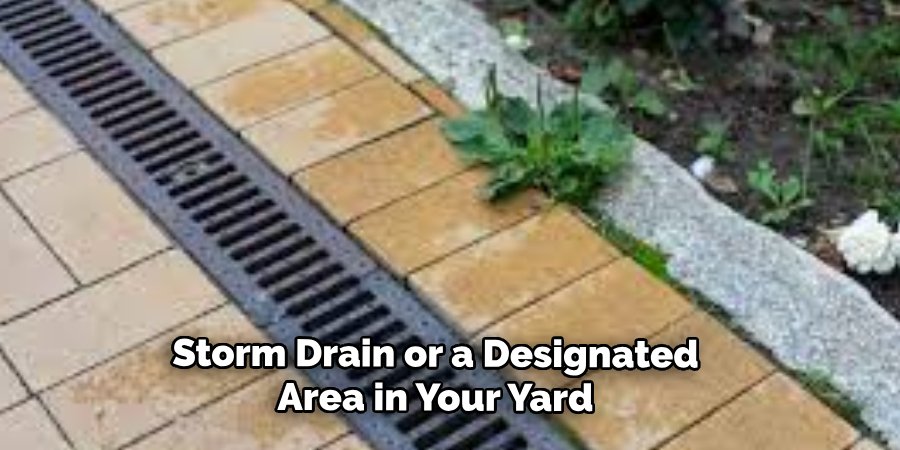
The first and most time-consuming part of the process is removing the water. You cannot begin any structural work until the pool is empty. Use a submersible pump to drain the water to a location that complies with local regulations, such as a storm drain or a designated area in your yard.
As the water level drops, you will need to keep an eye on the pump to ensure it does not run dry. While gravity siphoning with a garden hose works, a pump is significantly faster. Plan to start this step at least 24 hours before you intend to do the physical dismantling.
Step 2: Remove the Skimmer and Return Fittings
Once the water level is below the skimmer and return jet, you can remove these plastic components. Unscrew the faceplate of the skimmer from the inside of the pool and carefully detach the skimmer body from the outside wall. Do the same for the return jet fitting.
It is vital to keep all the screws and gaskets together, preferably in a labeled plastic bag. Removing these items now prevents them from snagging or tearing the liner later in the process. This also allows you to clean these parts thoroughly before storing them away for the season.
Step 3: Remove the Top Rails and Caps
With the pool completely drained and dry, you can begin the structural disassembly. Start by unscrewing the decorative caps that cover the joints where the top rails meet the upright posts. Once the caps are off, use a screwdriver or drill to remove the screws holding the top rails in place.
These rails form the upper rim of the pool frame. As you take them off, label them if they are different lengths or specific to certain spots, although most are interchangeable. Stack them neatly away from your work area to avoid tripping over them as you move around the perimeter.
Step 4: Detach the Liner from the Wall
This step requires patience and a gentle touch. The vinyl liner is usually held in place by plastic coping strips or a bead receiver track under the top rails. carefully peel the liner edge off the wall. If the liner is old and brittle, it may crack, so handle it delicately if you plan to reuse it.
If you are discarding the liner, you can simply cut it into smaller sections with a utility knife for easier disposal. However, if saving it, work your way around the entire pool until the liner is completely free from the metal wall, letting it drop to the ground.
Step 5: Remove the Liner and Prepare for Storage
Now that the liner is detached, you need to fold it for storage. If you cut it up in the previous step, simply bag the pieces for trash. To save the liner, drag it to a clean, flat grassy area. Do not drag it across concrete, as this will create holes. Clean the liner with a soft broom and let it dry completely to prevent mold growth.
Fold it carefully, sprinkling talcum powder between the folds to keep the vinyl from sticking to itself. Store the folded liner in a cool, dry place where mice cannot get to it.
Step 6: Disassemble the Vertical Uprights
The vertical posts, or uprights, provide the main support for the pool wall. Now that the top rails and liner are gone, these posts are ready to come down. Remove the screws connecting the uprights to the bottom rim or track. In some models, the uprights might just lift out of a bottom plate.

Take them down one by one. As you remove each post, the pool wall will become less stable, so be careful not to lean on it. This is a good time to inspect the uprights for any rust or damage that might need addressing before reassembly.
Frequently Asked Question (Faq)
Can I Reuse My Above Ground Pool Liner After Disassembly?
Reusing a pool liner is possible but risky. Vinyl liners shrink and become brittle over time when exposed to sunlight and chemicals. Once you drain the water, the liner will shrink slightly. Trying to stretch it back into place during reassembly often results in tearing.
If the liner is less than three years old and still pliable, you might have success. However, most experts recommend purchasing a new liner when you move or reinstall a pool to ensure a leak-free fit and avoid the frustration of a mid-fill failure.
How Should I Store the Pool Parts During Winter?
Proper storage is key to extending the life of your pool. All metal parts should be washed and thoroughly dried to prevent rust. Store the metal wall, uprights, and rails in a dry shed or garage, off the ground if possible. The liner should be stored indoors in a climate-controlled area to prevent it from freezing and cracking.
Keep all screws, bolts, and small hardware in clearly labeled jars or heavy-duty freezer bags. Taping these bags to the larger parts they belong to is a great way to stay organized.
Do I Need to Put Sand Under the Pool Again When I Reinstall It?
Yes, you will absolutely need a new base when you set the pool up again. The sand base protects the liner from rocks, roots, and sharp objects in the ground. You cannot effectively transport the old sand to a new location as it will be full of dirt and debris.
When preparing the new site, plan to order fresh masonry sand. It provides a smooth, cushioned floor for the pool and is essential for the structural integrity and comfort of the swimming area.
What Is the Hardest Part of Taking Down a Pool?
The most difficult aspect is typically handling the metal wall. It is essentially a giant, heavy spring made of sheet metal. When you unbolt the seam, it can easily flop over, kink, or spring open violently if not controlled. It requires at least two, preferably three, people to manage safely.
Rolling it up tight enough to transport without bending or creasing the metal takes significant effort and coordination. Once the wall is creased, it is permanently damaged and structurally compromised.
How Long Does It Take to Disassemble an Above Ground Pool?
The time required depends on the size of the pool and the number of helpers you have. Excluding the time it takes to drain the water, which can take 8 to 24 hours, the physical disassembly usually takes a full day. A small round pool might take 4 to 6 hours with two people.
A large oval pool with side buttresses could take 8 to 10 hours. Rushing the process increases the risk of damaging parts or causing injury, so plan for a full weekend project to be safe.

Conclusion
Taking down a backyard pool is a significant project that marks the end of a season or a chapter in your home life. It requires patience, physical effort, and careful planning to ensure that the materials are preserved and the site is left clean.
By following a methodical approach—draining the water, removing the liner, and dismantling the frame piece by piece—you protect your investment and ensure safety.
Whether you are storing it for the winter or selling it to a neighbor, knowing how to disassemble an above ground pool correctly saves you time and money in the long run.
With the parts neatly organized and stored, you can rest easy knowing that your pool will be ready for its next splash when the warm weather returns. Take your time, prioritize safety, and you will have the job done effectively.

About
Jovie Mathews is a backyard and outdoor expert writer with over 12 years of hands-on experience transforming neglected outdoor spaces into thriving gardens and functional retreats. Raised in a family where weekends meant digging in the soil and building raised beds from scratch, Jovie developed a genuine love for the outdoors long before it became a career.
She writes with a practical, no-fluff approach — always testing ideas in her own backyard before sharing them with readers. From composting systems and native plant selection to patio design and pest control, Jovie covers the full spectrum of backyard life with equal parts expertise and enthusiasm.
Education
B.Sc. in Horticulture Science
University of Florida (UF) · Gainesville, FL · 2014
IFAS College of Agricultural and Life Sciences
Minor in Environmental Studies
University of Florida (UF) · Gainesville, FL · 2014
College of Liberal Arts and Sciences
Areas of expertise
- Lawn & Garden Care
- Soil prep, planting, seasonal care
- Outdoor DIY Projects
- Raised beds, fencing, pathways
- Composting & Soil Health
- Organic methods, amendments
- Native Plants & Wildlife
- Pollinators, habitat gardening
When she is not writing, Jovie can be found testing new composting techniques, growing tomatoes in questionable quantities, or convincing her neighbors that clover lawns are actually a great idea. She currently gardens in the Pacific Northwest.