There is something primal and deeply satisfying about gathering around a crackling fire. Whether you are roasting marshmallows with the kids, sharing a bottle of wine with friends, or simply enjoying a quiet moment of solitude under the stars, a fire pit is the ultimate centerpiece for outdoor living.
However, for many homeowners, the dream of a cozy evening is often dampened by the frustrating reality of a fire that smokes, sputters, and refuses to catch. Lighting a fire is not just about throwing a match onto a pile of wood; it is an art form that requires the right materials, preparation, and technique.
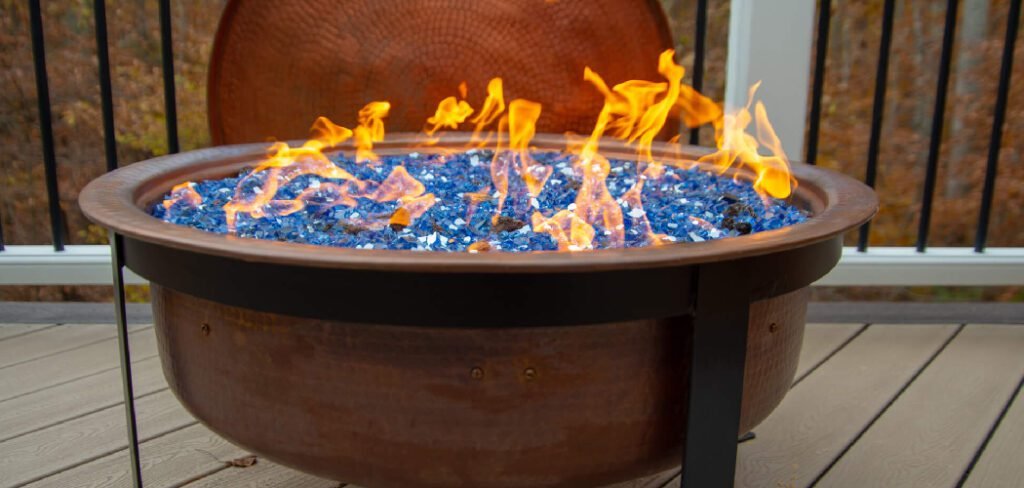
Without a proper strategy, you end up with charred paper, cold logs, and a lot of disappointment. But fear not, because mastering this skill is easier than you think. By understanding the basics of airflow and fuel arrangement, you can create a warm, inviting ambiance every time.
This guide is designed to teach you exactly how to light logs in fire pit, transforming your backyard into a warm haven of relaxation and memories.
Step-by-Step Guide on How to Light Logs in Fire Pit
Step 1: Select the Right Hardwood Fuel
The foundation of any successful fire begins long before you strike a match. You must choose high-quality firewood if you want a clean burn with minimal smoke. Avoid softwoods like pine or cedar for your main fuel source, as they contain high sap levels that cause dangerous popping and excessive creosote buildup.
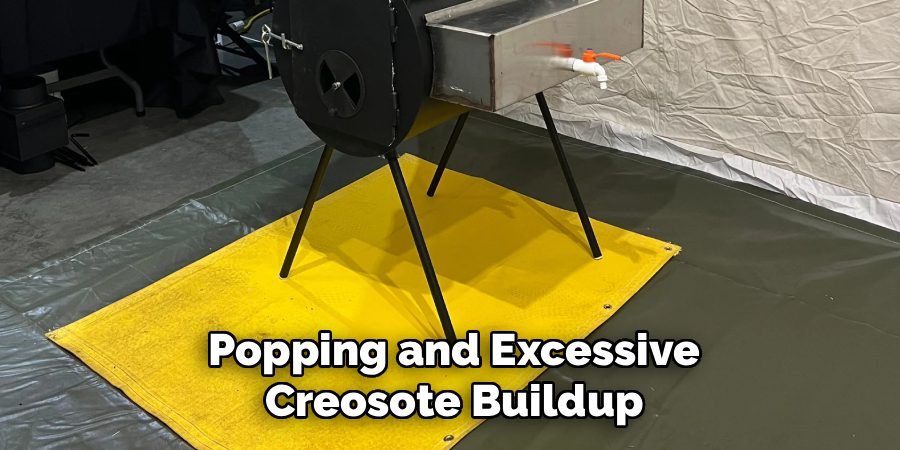
Instead, opt for seasoned hardwoods such as oak, hickory, maple, or ash. Seasoned wood, which has been dried for at least six months, is crucial because moisture is the enemy of combustion. Wet or “green” wood will simply hiss and smolder, refusing to generate heat.
Inspect your logs to ensure they are dry, lighter in weight, and have visible cracks in the grain. Starting with premium, dry fuel is the single most important factor when learning how to light logs in fire pit successfully.
Step 2: Prepare a Clean and Safe Base
Before building your structure, you need to prepare the fire pit itself. A common mistake is trying to light a new fire on top of a massive pile of old, wet ash. While a small layer of ash can insulate the ground, too much will choke off the oxygen supply needed for the flames to breathe.
Take a shovel and remove the bulk of the debris from your previous fires, leaving just a thin layer of ash at the bottom to protect the pit’s surface. Ensure the vents, if your model has them, are completely clear of obstruction to allow for maximum airflow. Safety is also paramount here.
Check the immediate area around your pit to ensure there are no dry leaves, overhanging branches, or flammable furniture nearby. A clean, safe, and well-ventilated base sets the stage for a fire that burns hot and steady.
Step 3: Arrange Tinder in the Center
Now you begin the actual construction of your fire. Place a generous handful of tinder directly in the center of the fire pit base. Tinder is the easiest material to ignite and serves as the catalyst for the entire process. excellent options include dry dryer lint, crumpled newspaper, cardboard strips, or commercial fire starter cubes.
If you want a more natural approach, dry pine needles, birch bark, or dried leaves work wonderfully. Do not pack the tinder too tightly; it needs air pockets to catch fire quickly. The goal is to create a small, highly flammable core that will burn hot enough to ignite the next layer of fuel.
This initial spark is delicate, so shield it from strong winds if necessary until you have built up the next layers of your structure.
Step 4: Construct a Kindling Teepee or Log Cabin
Once your tinder is in place, you need to add kindling. These are small, thin sticks or twigs, roughly the width of a pencil, that catch fire easily from the burning tinder. There are two primary architectural styles you can use here. The “teepee” method involves leaning the kindling sticks against each other over the tinder pile to form a cone.
This encourages flames to rise upward rapidly. Alternatively, the “log cabin” method involves stacking kindling in a square formation around the tinder, alternating directions with each layer. Both methods work well, but the key is to leave plenty of space between the sticks for oxygen to circulate.
Mastering this transition from tinder to kindling is a critical intermediate step in understanding how to light logs in fire pit effectively without smothering the initial flame.
Step 5: Add Small Logs to the Structure
With your kindling structure secure, it is time to introduce the first pieces of actual firewood. Do not reach for the massive logs just yet. Instead, select smaller pieces of split wood, often called “splits,” which are about the thickness of your wrist. Carefully place these over your kindling arrangement.
If you used the teepee method, lean these larger pieces against the existing cone. If you used the log cabin style, continue the square pattern with these heavier pieces. The objective is to increase the fuel size gradually. Throwing a giant log onto fragile burning twigs will crush the structure and extinguish the fire.
By stepping up the size of the wood incrementally, you ensure that the heat generated by the kindling is sufficient to raise the temperature of the logs to their combustion point.
Step 6: Ignite the Tinder from the Bottom
You are now ready for ignition. Using a long-handled lighter or a long match, reach into the heart of your structure and light the tinder in several places. Lighting it from multiple sides ensures an even burn that spreads quickly to the kindling.
It is helpful to light the side that is upwind first, allowing the wind to blow the flame across the rest of the pile. Once lit, step back and observe. You should hear the crackle of the tinder catching the kindling. Do not be tempted to poke or prod the fire immediately. Let the structure do its work.
The heat will naturally rise, drawing fresh oxygen in from the bottom and feeding the flames upward into the larger wood pieces you carefully arranged. Patience in these first few minutes is vital.
Step 7: Sustain and Feed the Fire Gradually
As the fire establishes itself and the initial logs begin to burn steadily, you can start adding larger, full-sized logs. Place them carefully onto the fire, ensuring you do not collapse the burning core or block airflow. A good rule of thumb is to add wood only when the current logs are burning well, maintaining a balance between fuel and air.
Keep a poker tool handy to adjust logs if they shift or roll, ensuring the fire remains centered and safe. Pay attention to the wind direction and adjust your seating accordingly to avoid smoke.
Remember to never leave the fire unattended. By feeding it gradually, you maintain a consistent temperature and a beautiful flame that will last for hours, providing the perfect backdrop for your evening outdoors.
Fire Pit Maintenance
Proper fire pit maintenance is essential to ensure its longevity and safe use. After the fire has completely burned out and the ashes are cool, remove any debris and ash from the fire pit to promote airflow for future fires. Use a metal shovel or scoop to safely collect the ash and place it in a metal container for disposal or cooling.
Regularly check the fire pit for signs of wear, such as cracks or rust, especially if it’s exposed to the elements. For fire pits made of metal, applying a heat-resistant paint can help prevent rusting. Stone or brick fire pits should be inspected for loose or damaged pieces, and any necessary repairs should be made promptly.
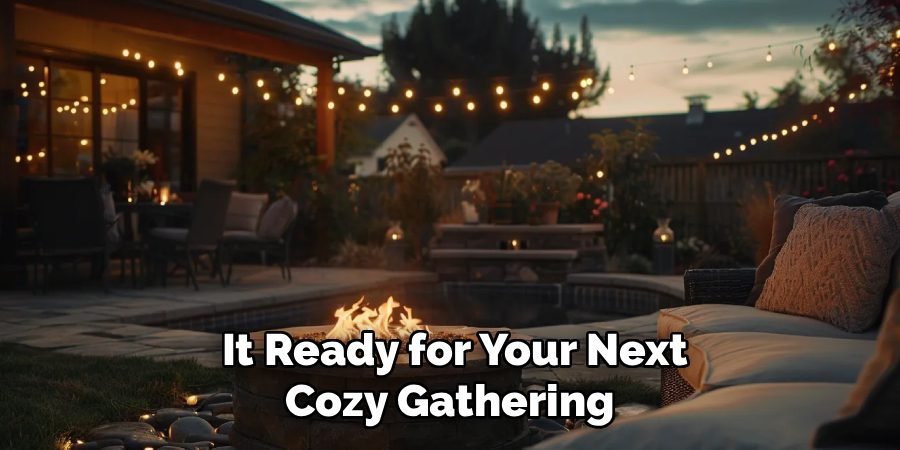
Lastly, always cover your fire pit with a weatherproof cover when not in use to protect it from rain and debris, keeping it ready for your next cozy gathering.
Frequently Asked Questions (FAQ)
Why Does My Fire Pit Keep Going Out?
The most common reason a fire dies prematurely is a lack of oxygen or wet wood.
- Airflow: If you pack the logs too tightly, air cannot circulate to feed the flames. Build your structure loosely with gaps between the wood.
- Moisture: Wood that sizzles or hisses is too wet. Always use seasoned firewood with a moisture content below 20%.
- Ash Buildup: A thick layer of old ash at the bottom can block air vents; clean your pit regularly.
What Is the Best Wood for a Fire Pit?
Hardwoods are superior to softwoods for a long-lasting, clean fire.
- Oak: Burns very hot and slow, making it ideal for long evenings.
- Hickory: Known for its high heat output and pleasant aroma, often used for cooking.
- Ash: Easy to split and burns well even if slightly green (though seasoned is always better).
Avoid pine or spruce, as they burn fast, produce a lot of smoke, and can pop embers onto your guests.
Is It Safe to Use Lighter Fluid?
It is generally recommended to avoid using lighter fluid or gasoline in a fire pit.
- Unpredictability: Liquid accelerants can flare up explosively, causing burns or singing eyebrows.
- Chemical Smell: They leave a lingering chemical odor that ruins the ambiance and the taste of any food you might roast.
- Alternatives: Stick to natural fire starters like tumbleweeds, fatwood, or simple newspaper for a safer, more pleasant experience.
How Do I Put Out the Fire Safely?
Never leave a fire until it is completely extinguished.
- Water Method: Gently sprinkle water over the embers (don’t dump a bucket, or you might crack the fire pit bowl) and stir with a shovel until the hissing stops.
- Sand/Dirt: If you don’t have water, smother the fire with dry sand or dirt to cut off the oxygen supply.
- Check Temperature: Place your hand near the ashes (without touching) to ensure no heat is radiating before you walk away.
Can I Burn Leaves in My Fire Pit?
While technically possible, burning leaves is not advisable for a recreational fire pit.
- excessive Smoke: Leaves, especially damp ones, produce thick, billowing smoke that will irritate your eyes and lungs.
- Flying Embers: Burning leaves are lightweight and can easily float out of the pit while still on fire, posing a significant fire hazard to nearby grass or structures.
- Quick Burn: They burn away almost instantly, providing no sustained heat or light.
Conclusion
Building a fire is a timeless skill that blends science, art, and a little bit of patience. It transforms a cold pile of wood into a living, breathing source of warmth and connection. By selecting the right seasoned hardwoods, preparing your pit correctly, and building a structure that prioritizes airflow, you eliminate the frustration of smoky, stalling fires.
Following these steps ensures that every time you head out to your backyard, you are greeted by a robust, comforting blaze rather than a disappointing smolder. The memories made around a fire—the stories shared, the laughter, and the peace—are well worth the effort of learning to do it right.
Now that you possess the knowledge of how to light logs in fire pit, you are ready to confidently host your next gathering, knowing that a perfect fire is just a match strike away.

About
Jovie Mathews is a backyard and outdoor expert writer with over 12 years of hands-on experience transforming neglected outdoor spaces into thriving gardens and functional retreats. Raised in a family where weekends meant digging in the soil and building raised beds from scratch, Jovie developed a genuine love for the outdoors long before it became a career.
She writes with a practical, no-fluff approach — always testing ideas in her own backyard before sharing them with readers. From composting systems and native plant selection to patio design and pest control, Jovie covers the full spectrum of backyard life with equal parts expertise and enthusiasm.
Education
B.Sc. in Horticulture Science
University of Florida (UF) · Gainesville, FL · 2014
IFAS College of Agricultural and Life Sciences
Minor in Environmental Studies
University of Florida (UF) · Gainesville, FL · 2014
College of Liberal Arts and Sciences
Areas of expertise
- Lawn & Garden Care
- Soil prep, planting, seasonal care
- Outdoor DIY Projects
- Raised beds, fencing, pathways
- Composting & Soil Health
- Organic methods, amendments
- Native Plants & Wildlife
- Pollinators, habitat gardening
When she is not writing, Jovie can be found testing new composting techniques, growing tomatoes in questionable quantities, or convincing her neighbors that clover lawns are actually a great idea. She currently gardens in the Pacific Northwest.