Epsom salt, a naturally occurring mineral compound of magnesium and sulfate, has been a secret weapon for experienced gardeners for years. Despite its name, it isn’t actually salt but a mineral that can offer significant benefits to your plants.
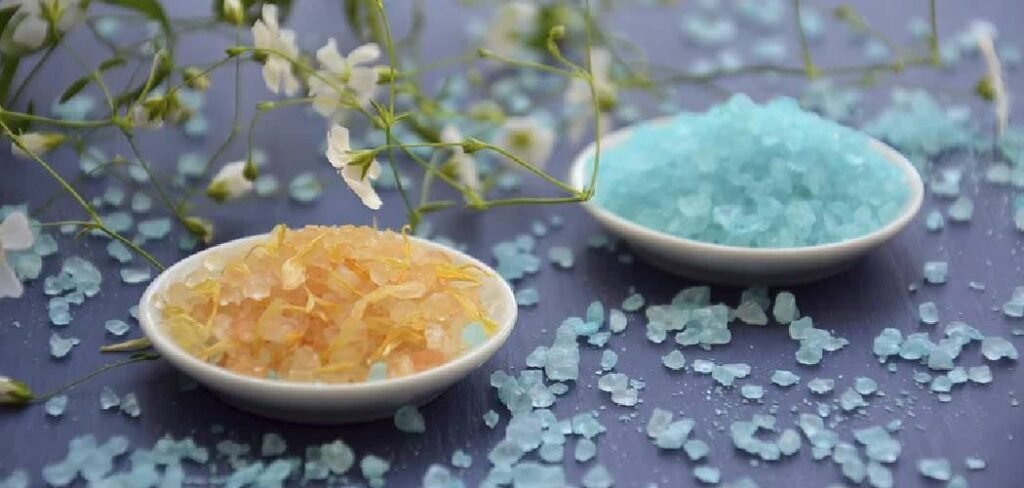
If you’ve ever wondered how this simple household product can lead to a more vibrant and productive garden, you’ve come to the right place. This guide will provide clear, straightforward instructions on how to use epsom salt for gardening, helping you unlock its potential to improve plant health, boost flower production, and enhance vegetable yields. It’s a simple, affordable, and effective tool for any gardener to have.
Why Use Epsom Salt for Gardening?
Epsom salt is valued in gardening primarily for its magnesium and sulfate content, two essential secondary nutrients for plant growth. Magnesium plays a crucial role in photosynthesis, as it is a central component of the chlorophyll molecule—the pigment that makes plants green. Without sufficient magnesium, plants cannot effectively capture sun energy to create their food, leading to yellowing leaves (a condition known as chlorosis), stunted growth, and lower yields. A magnesium deficiency is common in sandy soils or gardens that have been heavily farmed over time.
8 Step-by-Step Guide on How to Use Epsom Salt for Gardening
Step 1: Test Your Soil
Before adding any amendments, it’s wise to understand your soil’s composition. A simple soil test kit, available at most garden centers, can tell you if your soil is deficient in magnesium. While Epsom salt is beneficial for magnesium-poor soil, adding it to soil that already has high levels can create a nutrient imbalance and inhibit calcium uptake.
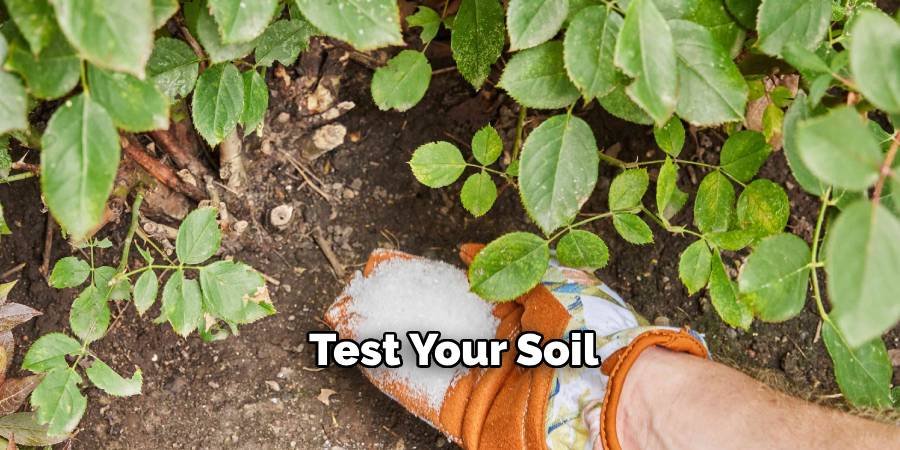
This initial step ensures you are providing what your plants truly need. If your test confirms a magnesium deficiency, you can proceed with confidence, knowing that your efforts will be genuinely helpful for your garden’s health and productivity.
Step 2: Prepare a Foliar Spray
One of the quickest ways for plants to absorb magnesium is through their leaves. A foliar spray delivers nutrients directly where photosynthesis occurs. To create this spray, dissolve one to two tablespoons of Epsom salt in one gallon of water. Stir the mixture thoroughly until all the crystals are completely dissolved to prevent the sprayer from clogging and to ensure an even application. Pour the solution into a clean garden sprayer. This method is particularly effective for correcting visible signs of magnesium deficiency, like yellowing leaves, and can give your plants a quick boost during the growing season.
Step 3: Apply the Foliar Spray Correctly
For best results, apply the foliar spray to your plants during a cool or overcast day, either in the early morning or late evening. Spraying in the midday sun can cause the water droplets to act like tiny magnifying glasses, potentially scorching the leaves. Mist the leaves evenly, ensuring you cover both the tops and undersides. The plant’s stomata, or pores, are often more concentrated on the underside of the leaves, which enhances absorption. Apply this spray every two to four weeks for plants known to benefit from extra magnesium, such as tomatoes, peppers, and roses, especially during their peak growing and fruiting periods.
Step 4: Prepare a Soil Drench
A soil drench is another excellent method, providing nutrients directly to the root system for steady uptake. To prepare a soil drench, mix one to two tablespoons of Epsom salt into one gallon of water. Just as with the foliar spray, stir until the salt has fully dissolved.
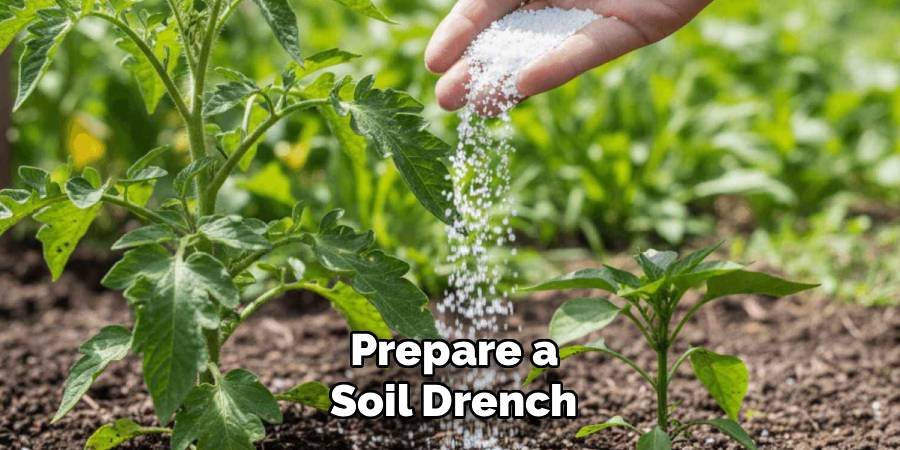
This concentration is safe for most established plants and provides a substantial dose of magnesium and sulfate to the root zone. This technique is ideal for regular maintenance and for providing foundational support to your plants throughout their life cycle. It helps improve overall plant structure and vigor from the ground up.
Step 5: Apply the Soil Drench to Established Plants
Use the prepared soil drench to water the base of your established plants, such as shrubs, vegetables, and flowers. Pour the solution slowly and directly onto the soil around the plant’s root zone, allowing it to soak in deeply. For most garden plants, applying this drench once a month during the growing season is sufficient. For heavy feeders like tomatoes and roses, you might apply it every two to three weeks. This method is a great way to learn how to use epsom salt for gardening because it builds healthier root systems and improves the plant’s ability to absorb other essential nutrients from the soil.
Step 6: Incorporate into Soil Before Planting
You can also use Epsom salt to prepare your garden beds before planting seeds or transplanting seedlings. This technique enriches the soil from the start, giving new plants a strong foundation. Sprinkle approximately one cup of Epsom salt over every 100 square feet of garden area.
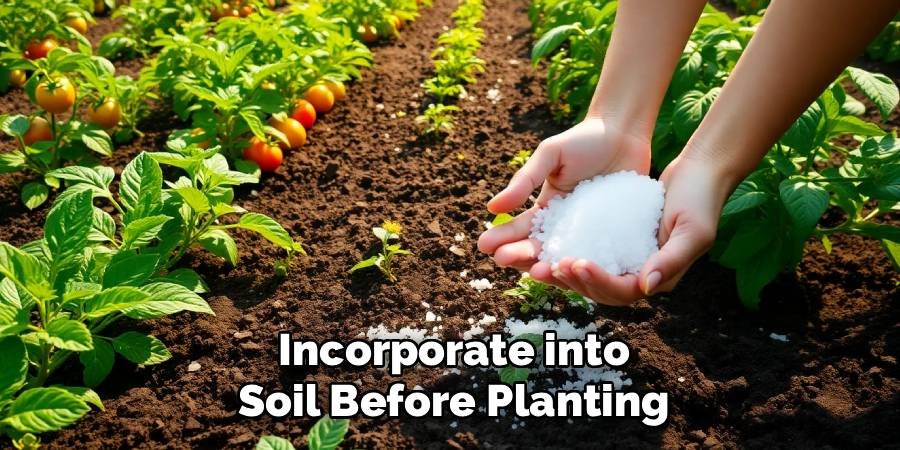
Use a rake or tiller to work the granules into the top few inches of soil. This ensures the magnesium and sulfate are readily available to the young roots as they begin to grow. This pre-planting application is especially beneficial in areas where soil tests have shown a magnesium deficiency or in gardens with sandy soil.
Step 7: Use for Houseplants
Your indoor plants can benefit from Epsom salt, too. Houseplants often become magnesium-deficient over time because the nutrients in their potting mix get depleted with each watering. To refresh their soil, you can apply a soil drench. Mix one tablespoon of Epsom salt per gallon of water and use this solution to water your houseplants once a month. For flowering houseplants, this can encourage more vibrant and longer-lasting blooms. Avoid over-application, as excess salts can build up in the confined space of a pot and potentially harm the plant’s roots.
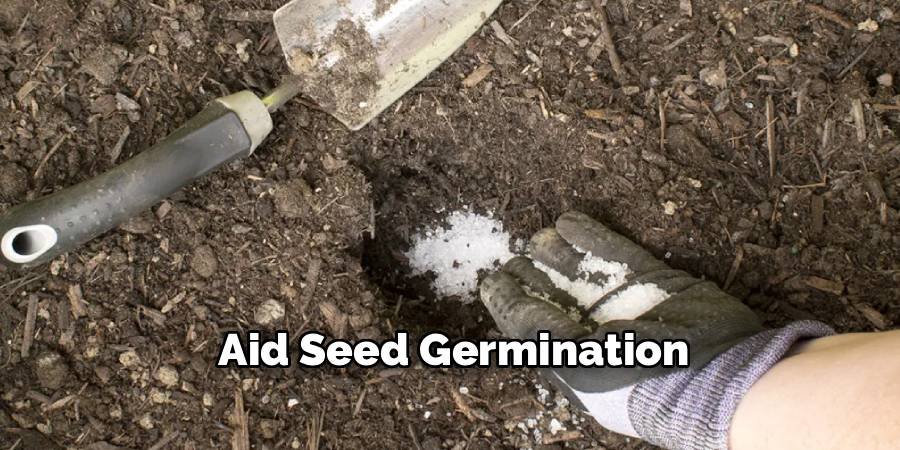
Step 8: Aid Seed Germination
Magnesium helps strengthen cell walls and provides a boost of energy for new seedlings. To give your seeds a better start, you can apply a small amount of Epsom salt during planting. After sowing your seeds, lightly sprinkle a solution of one tablespoon of Epsom salt dissolved in a gallon of water over the soil. Alternatively, you can add a small pinch of dry Epsom salt into each hole before dropping in the seed. This practice can improve germination rates and lead to stronger, more vigorous seedlings right from the beginning of their life cycle.
Frequently Asked Questions
Can Epsom Salt Burn My Plants?
Yes, Epsom salt can burn plants if used improperly. Applying too much, either as a concentrated soil drench or a strong foliar spray in direct sun, can cause leaf scorch and root damage. Always dilute it according to recommendations—typically one to two tablespoons per gallon of water. It’s also best to perform a soil test to confirm a magnesium deficiency before applying, as excess magnesium can be harmful.
How Often Should I Use Epsom Salt on My Tomatoes?
Tomatoes are heavy feeders and often benefit from regular Epsom salt applications. Start by adding a tablespoon to the planting hole when transplanting. Afterward, you can apply a soil drench or a foliar spray (one to two tablespoons per gallon of water) every two to three weeks throughout the growing season. This can help prevent blossom-end rot and promote lusher foliage and fruit production.
Is It Safe to Use on All Plants?
While many plants like tomatoes, peppers, and roses thrive with extra magnesium, not all plants need it. Some plants, particularly those adapted to acidic or low-nutrient soils, may not respond well. Cacti and succulents, for example, generally do not require supplemental magnesium. It’s always best to research the specific needs of your plants or conduct a small patch test before applying it to your entire garden.
Does Epsom Salt Help with Pest Control?
Epsom salt is not an effective pesticide. While some anecdotal claims suggest it can deter slugs or other pests, scientific evidence does not support this. The abrasive crystals might create a minor barrier, but they dissolve quickly with rain or watering, losing any deterrent effect. Its primary and proven benefit for gardening is as a source of the essential plant nutrients magnesium and sulfate.
Can I Use Scented Epsom Salts From My Bathroom?
No, you should not use scented Epsom salts intended for bathing in your garden. These products often contain added oils, perfumes, and other chemicals that can be harmful to plants and soil microorganisms. For gardening purposes, it is crucial to use only pure, unscented Epsom salt (magnesium sulfate) to ensure you are only adding beneficial minerals to your soil.
Conclusion
Mastering how to use epsom salt for gardening is a simple yet powerful step toward achieving a healthier, more productive garden. By understanding its benefits and applying it correctly—whether through a foliar spray, a soil drench, or by enriching the soil before planting—you can address common nutrient deficiencies and give your plants the building blocks they need to flourish. From promoting vibrant blooms in your roses to boosting the yield of your tomatoes, Epsom salt is a versatile and cost-effective tool. Now that you have the knowledge, you can confidently integrate this mineral into your gardening routine and watch your plants thrive.

About
Jovie Mathews is a backyard and outdoor expert writer with over 12 years of hands-on experience transforming neglected outdoor spaces into thriving gardens and functional retreats. Raised in a family where weekends meant digging in the soil and building raised beds from scratch, Jovie developed a genuine love for the outdoors long before it became a career.
She writes with a practical, no-fluff approach — always testing ideas in her own backyard before sharing them with readers. From composting systems and native plant selection to patio design and pest control, Jovie covers the full spectrum of backyard life with equal parts expertise and enthusiasm.
Education
B.Sc. in Horticulture Science
University of Florida (UF) · Gainesville, FL · 2014
IFAS College of Agricultural and Life Sciences
Minor in Environmental Studies
University of Florida (UF) · Gainesville, FL · 2014
College of Liberal Arts and Sciences
Areas of expertise
- Lawn & Garden Care
- Soil prep, planting, seasonal care
- Outdoor DIY Projects
- Raised beds, fencing, pathways
- Composting & Soil Health
- Organic methods, amendments
- Native Plants & Wildlife
- Pollinators, habitat gardening
When she is not writing, Jovie can be found testing new composting techniques, growing tomatoes in questionable quantities, or convincing her neighbors that clover lawns are actually a great idea. She currently gardens in the Pacific Northwest.