

Creating a safe and engaging play area for your children is one of the most rewarding DIY projects you can undertake as a homeowner. While selecting the right slides and swing sets is exciting, the ground beneath those structures is arguably the most critical component for safety. A proper surface acts as a shock absorber, significantly reducing the risk of injury from inevitable tumbles and falls.
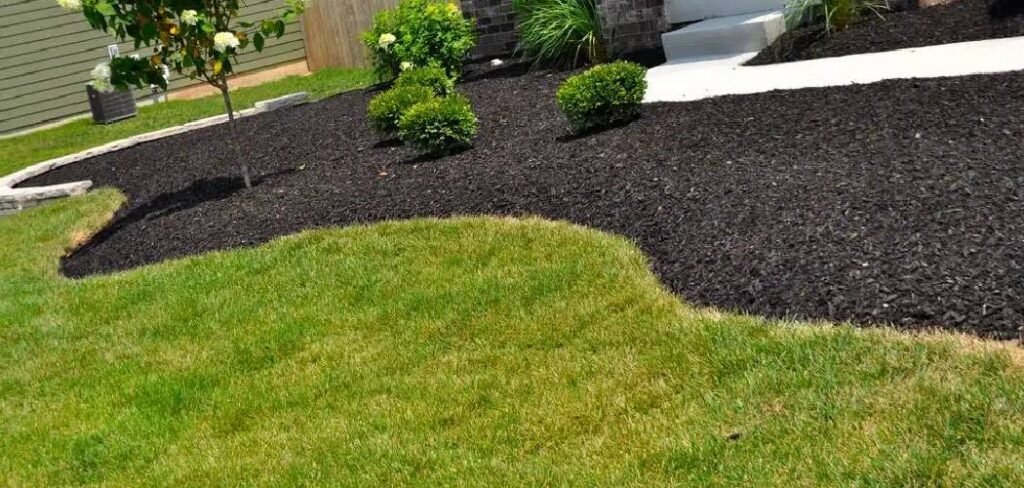
Many parents choose mulch because it is affordable, attractive, and highly effective at cushioning impacts. However, simply dumping a pile of wood chips onto the grass is not enough to guarantee safety or longevity. You need to follow a specific process to ensure the surface performs correctly. In this guide, we will walk you through exactly how to install playground mulch to create a professional-grade play zone that keeps your family safe and your yard looking beautiful for years to come.
Proper Playground Surfacing is Essential
Installing a dedicated safety surface is not just about aesthetics; it is a fundamental safety requirement for any play zone. The primary function of playground mulch is impact attenuation, which means it absorbs the energy from a falling child to prevent serious head or bodily injuries. Unlike grass, which can become as hard as concrete during dry spells, properly installed mulch provides consistent cushioning regardless of the weather.
Beyond safety, a well-installed mulch bed suppresses weed growth and prevents the area from becoming a muddy mess after rainstorms. Taking the time to prepare the site correctly ensures that your investment lasts longer and requires less maintenance over time. By excavating, leveling, and edging the area properly, you prevent the material from washing away and maintain the critical depth needed for fall protection.
8 Step Methods Guide on How to Install Playground Mulch
Step 1: Select the Perfect Location and Measure Dimensions
Before you purchase any materials or break ground, you must carefully select the right spot for your play area. You should look for a flat, open area that is free from low-hanging branches, electrical wires, or underground utility lines. Once you have identified the ideal location, use measuring tape and marking paint to outline the perimeter of the play zone.
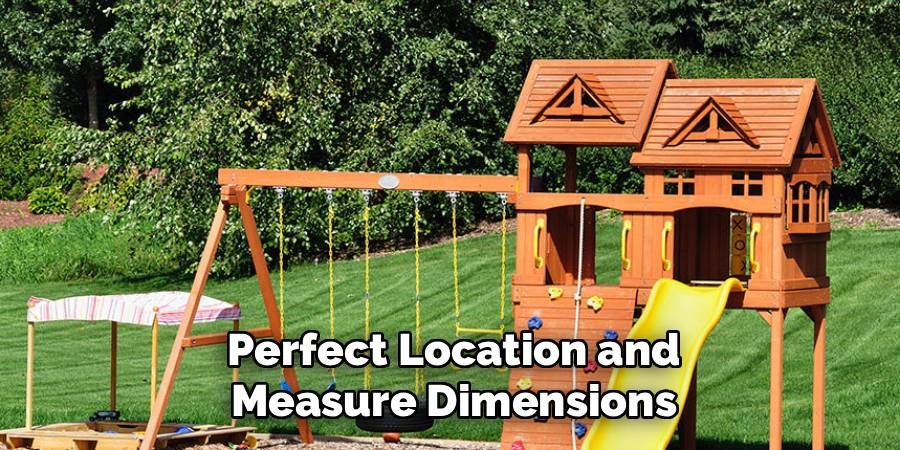
It is crucial to include a safety buffer zone around the equipment, usually extending six feet in all directions from the edge of the structure. Accurate measurements at this stage will save you significant money and effort later by ensuring you only buy the materials you truly need.
Step 2: Excavate the Site to the Correct Depth
Once your perimeter is marked, the physical work begins with excavation. You cannot simply place safety surfacing on top of existing grass, as this raises the elevation and creates tripping hazards. You must dig out the soil to a depth of roughly six to twelve inches, depending on the type of mulch you plan to use and the height of your play equipment. This excavation creates a “pit” that will hold the surfacing material securely. Be sure to remove all grass, roots, and rocks during this process to create a clean, smooth earthen base that will serve as the foundation for your project.
Step 3: Grade the Soil for Proper Drainage
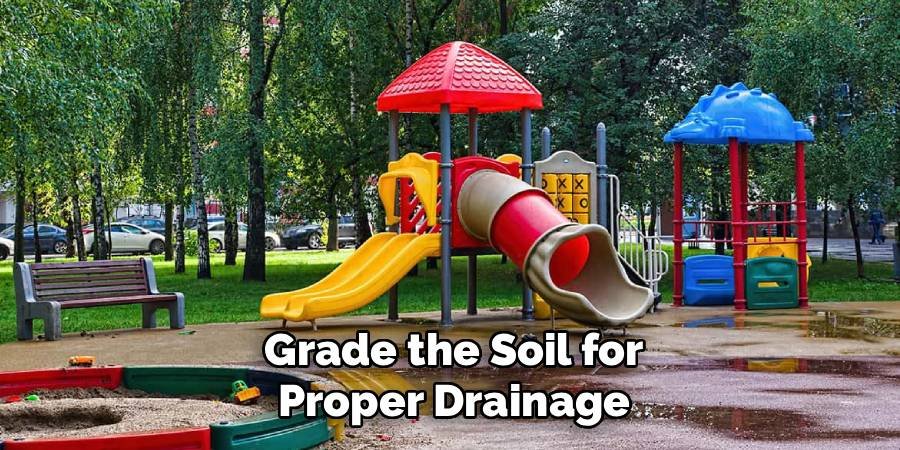
Water accumulation is the enemy of any playground surface, as it can lead to mold, rot, and freezing hazards in winter. After excavating the area, you must grade the soil to ensure water flows away from the center of the play area. Use a heavy-duty garden rake and a level to smooth out the dirt, creating a very slight slope toward the outer edges or a designated drainage area. If your soil is heavy clay that holds water, you might need to add a thin layer of crushed stone or gravel at this stage to further assist with drainage. A dry base extends the life of your mulch significantly.
Step 4: Install a Heavy-Duty Weed Barrier
One of the most common mistakes beginners make when learning how to install playground mulch is skipping the weed barrier. To prevent grass and weeds from growing up through your beautiful new surface, you must lay down a commercial-grade landscape fabric over the excavated soil.
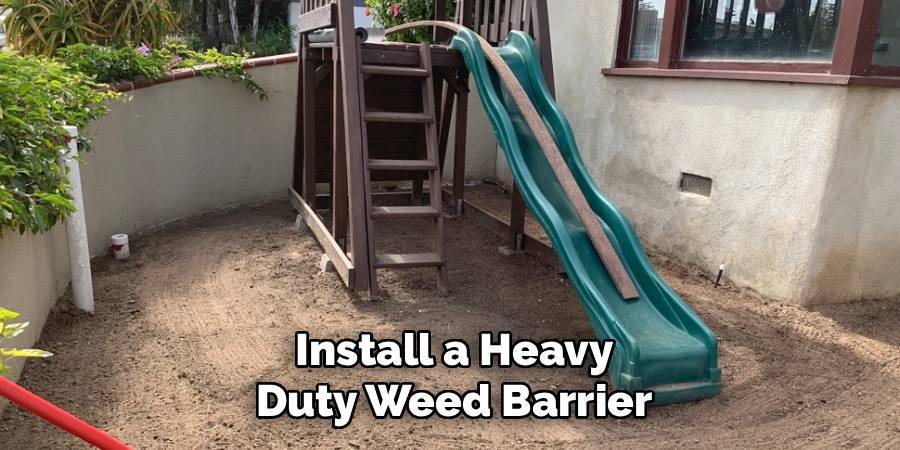
Roll out the fabric across the entire area, ensuring that you overlap the edges of each strip by at least six inches to prevent gaps. Secure the fabric firmly into the ground using landscape staples every few feet. This barrier separates the soil from the mulch, preventing them from mixing while still allowing water to drain through freely.
Step 5: Construct a Sturdy Border or Edging
Loose-fill surfacing materials have a tendency to migrate and scatter if they are not properly contained. To keep your play area tidy and safe, you need to install a robust border around the perimeter of your excavation. You can use plastic timbers, pressure-treated wood, or specialized rubber playground borders for this purpose. The edging should be tall enough to retain the mulch at the required depth but not so high that it creates a tripping hazard. Secure the borders into the ground using spikes or rebar to ensure they can withstand the pressure of the mulch and the activity of children running over them.
Step 6: Understanding How to Install Playground Mulch Depths
Safety standards dictate specific depths for loose-fill materials to ensure they provide adequate fall protection. Generally, you need a minimum depth of nine inches of compressed material to protect against falls from equipment up to seven feet high. However, because mulch compacts over time, you should aim to install an initial depth of twelve inches. This extra padding accounts for the natural settling process and ensures you remain compliant with safety guidelines. Calculating this volume correctly is vital; simply multiply your square footage by the desired depth in feet to determine the cubic yards of material required for delivery.
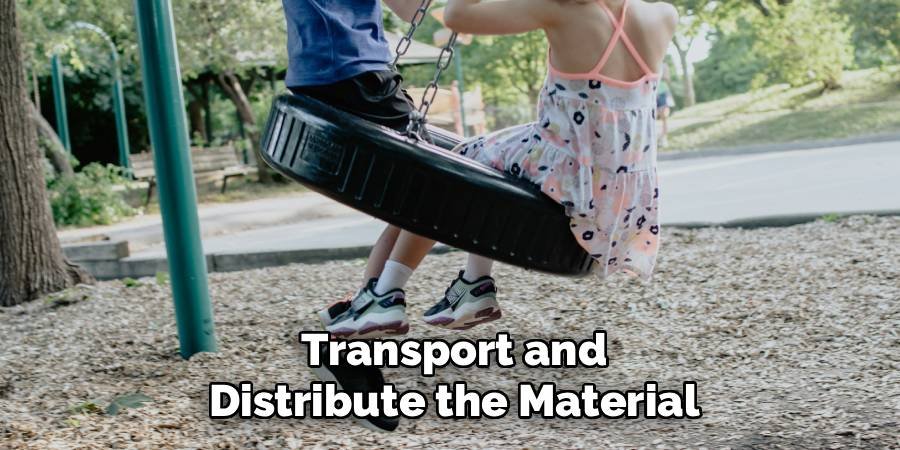
Step 7: Transport and Distribute the Material
When your mulch delivery arrives, the next phase involves moving the material from the drop-off point to your prepared site. This is often the most labor-intensive part of the process, so you may want to enlist help. Use wheelbarrows to transport the mulch, dumping it in small piles spaced evenly throughout the play area rather than one giant mound. This strategy makes spreading much easier. As you pour the material, be careful not to damage your weed barrier or displace your edging. Working methodically from the furthest corner back toward the entrance prevents you from tramping over your fresh work unnecessarily.
Step 8: Spread and Level the Surface Evenly
With the piles of mulch in place, use a bow rake to spread the material evenly across the entire enclosure. Your goal is to create a uniform, flat surface with no dips or hills. Pay special attention to the high-traffic areas, such as the bottom of slides or under swings, where material tends to get kicked away quickly. As you rake, frequently check the depth using a yardstick or a marked shovel handle to ensure you are maintaining that critical twelve-inch layer. Consistent depth is the key to mastering the final stages of how to install playground mulch for maximum safety.
Inspect the Area for Safety Hazards
Before allowing children to play, conduct a thorough safety inspection of the newly installed surface. Walk over the entire area to ensure the mulch has settled and there are no hidden sharp objects or tools left behind. Check that the transition from the surrounding yard to the playground border is smooth to prevent tripping. Verify that the mulch is not piled too high against the structural posts of the equipment, which can sometimes trap moisture and cause wood rot on the playset itself. This final check ensures that your hard work translates into a secure environment.
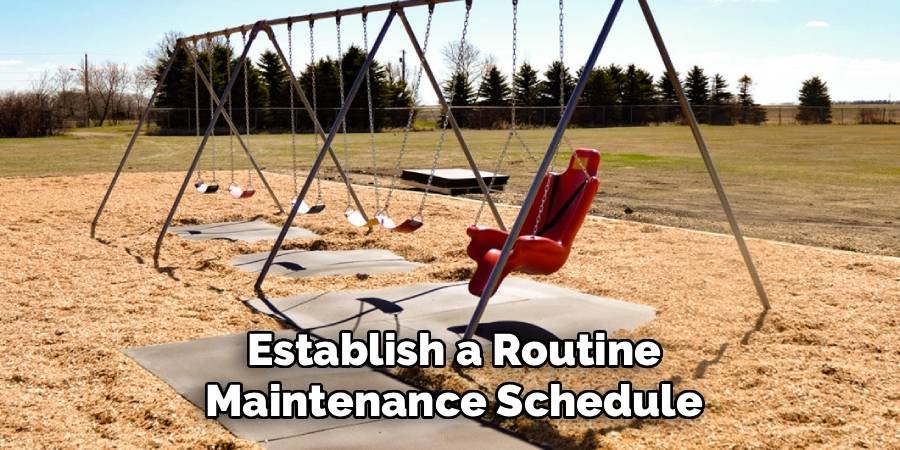
Establish a Routine Maintenance Schedule
Installation is only the beginning; maintaining the surface is what keeps it safe over the long term. Loose-fill mulch will naturally displace as children run, jump, and slide. You should plan to rake the surface periodically to level it back out, paying close attention to “kick-out” zones under swings. Over time, the organic material will decompose or compact, reducing its shock-absorbing capabilities. You will likely need to top off the mulch with a fresh layer every year or two to maintain the required depth. Regular maintenance ensures the area remains a safe haven for play.
Frequently Asked Questions
What Is the Best Type of Mulch for Playgrounds?
The best option is “engineered wood fiber” (EWF) or certified playground mulch. Unlike standard garden mulch, EWF is processed to be free of twigs, leaves, and sharp edges.
- It knits together to form a stable surface.
- It meets ASTM standards for impact attenuation.
- It is wheelchair accessible when compacted.
Avoid using bark mulch, construction waste, or pallets, as these can contain harmful chemicals, nails, or splinters.
How Deep Should Playground Mulch Be?
To ensure safety, the Consumer Product Safety Commission (CPSC) recommends a depth of at least 9 inches of compressed material.
- This depth protects against falls from equipment up to 7 feet high.
- Because loose-fill mulch compresses over time, you should initially install 12 inches.
- Always mark the legs of your play equipment to easily monitor the depth level in the future.
Do I Need a Weed Barrier Under Playground Mulch?
Yes, installing a weed barrier is highly recommended.
- It prevents weeds and grass from growing through the mulch.
- It separates the mulch from the dirt below, preventing the mulch from decomposing too quickly.
- It improves drainage by keeping the soil pores from clogging.
Without a barrier, your mulch will mix with mud, reducing its safety effectiveness and aesthetic appeal.
How Often Should I Replace Playground Mulch?
You generally do not need to replace all the mulch at once, but you will need to “top it off.”
- Engineered wood fiber decomposes slowly, usually requiring a top-up every 1 to 2 years.
- Rubber mulch lasts much longer, often 10 years or more, and does not decompose.
- Inspect the depth every season; if it drops below 9 inches, add fresh material immediately.
Is Playground Mulch Safe for Pets?
Engineered wood fiber is generally safe for pets, but there are considerations.
- It is natural wood, so it is non-toxic if chewed, though splinters are a slight risk.
- Rubber mulch can be dangerous if swallowed by dogs, causing intestinal blockages.
- Cocoa shell mulch should be avoided entirely as it is toxic to dogs.
Stick to certified wood playground mulch if your furry friends share the backyard.
Conclusion
Building a dedicated play area is a wonderful way to encourage outdoor activity and create lasting childhood memories. By following these steps, you ensure that the ground beneath your children’s feet offers the best possible protection against accidents. From calculating the right dimensions to laying down a weed barrier and spreading the material to the correct depth, every part of the process contributes to a safer environment.
Remember that safety is an ongoing commitment. Regular raking and periodic top-ups will keep your surface performing effectively for years. Now that you understand how to install playground mulch, you are ready to transform your backyard into a secure, fun-filled adventure zone. Grab your shovel, order your materials, and get ready to build a space where your kids can play freely and safely.

About
Jovie Mathews is a backyard and outdoor expert writer with over 12 years of hands-on experience transforming neglected outdoor spaces into thriving gardens and functional retreats. Raised in a family where weekends meant digging in the soil and building raised beds from scratch, Jovie developed a genuine love for the outdoors long before it became a career.
She writes with a practical, no-fluff approach — always testing ideas in her own backyard before sharing them with readers. From composting systems and native plant selection to patio design and pest control, Jovie covers the full spectrum of backyard life with equal parts expertise and enthusiasm.
Education
B.Sc. in Horticulture Science
University of Florida (UF) · Gainesville, FL · 2014
IFAS College of Agricultural and Life Sciences
Minor in Environmental Studies
University of Florida (UF) · Gainesville, FL · 2014
College of Liberal Arts and Sciences
Areas of expertise
- Lawn & Garden Care
- Soil prep, planting, seasonal care
- Outdoor DIY Projects
- Raised beds, fencing, pathways
- Composting & Soil Health
- Organic methods, amendments
- Native Plants & Wildlife
- Pollinators, habitat gardening
When she is not writing, Jovie can be found testing new composting techniques, growing tomatoes in questionable quantities, or convincing her neighbors that clover lawns are actually a great idea. She currently gardens in the Pacific Northwest.




